Sunday 30 December 2018

Wilhelmstadt, a SYW scenario using Konig Krieg

The usual gaming routine tends to go out of the window at this time of year and that is before the vagaries of the UK weather begin to make themselves a nuisance.  Management determined that seasonal preparations were of more importance than posting on the blog so I am only now catching up on a game Steve and I played earlier in December.  This provided an opportunity for rare outing, (almost 2 years since the last one), for my small 15mm SYW collection.  The scenario sees a force of Anglo/Brunswick|Prussian troops attempting to protect a supply base (Wilhelmstadt) from an advancing French force.  There are three brigades of French infantry (2 of 4 battalions and battery, 1 of 3 battalions and a battery), plus one brigade of cavalry(4 small regiments) on the table.  A fourth brigade (of 3 battalions) will arrive after on the French right after 3 turns.  For the Allies there are 3 brigades of infantry.  The British and Brunswick brigades have 4 battalions and a battery, the Prussians only 2 battalions, a battery and a detachment of jaegers.

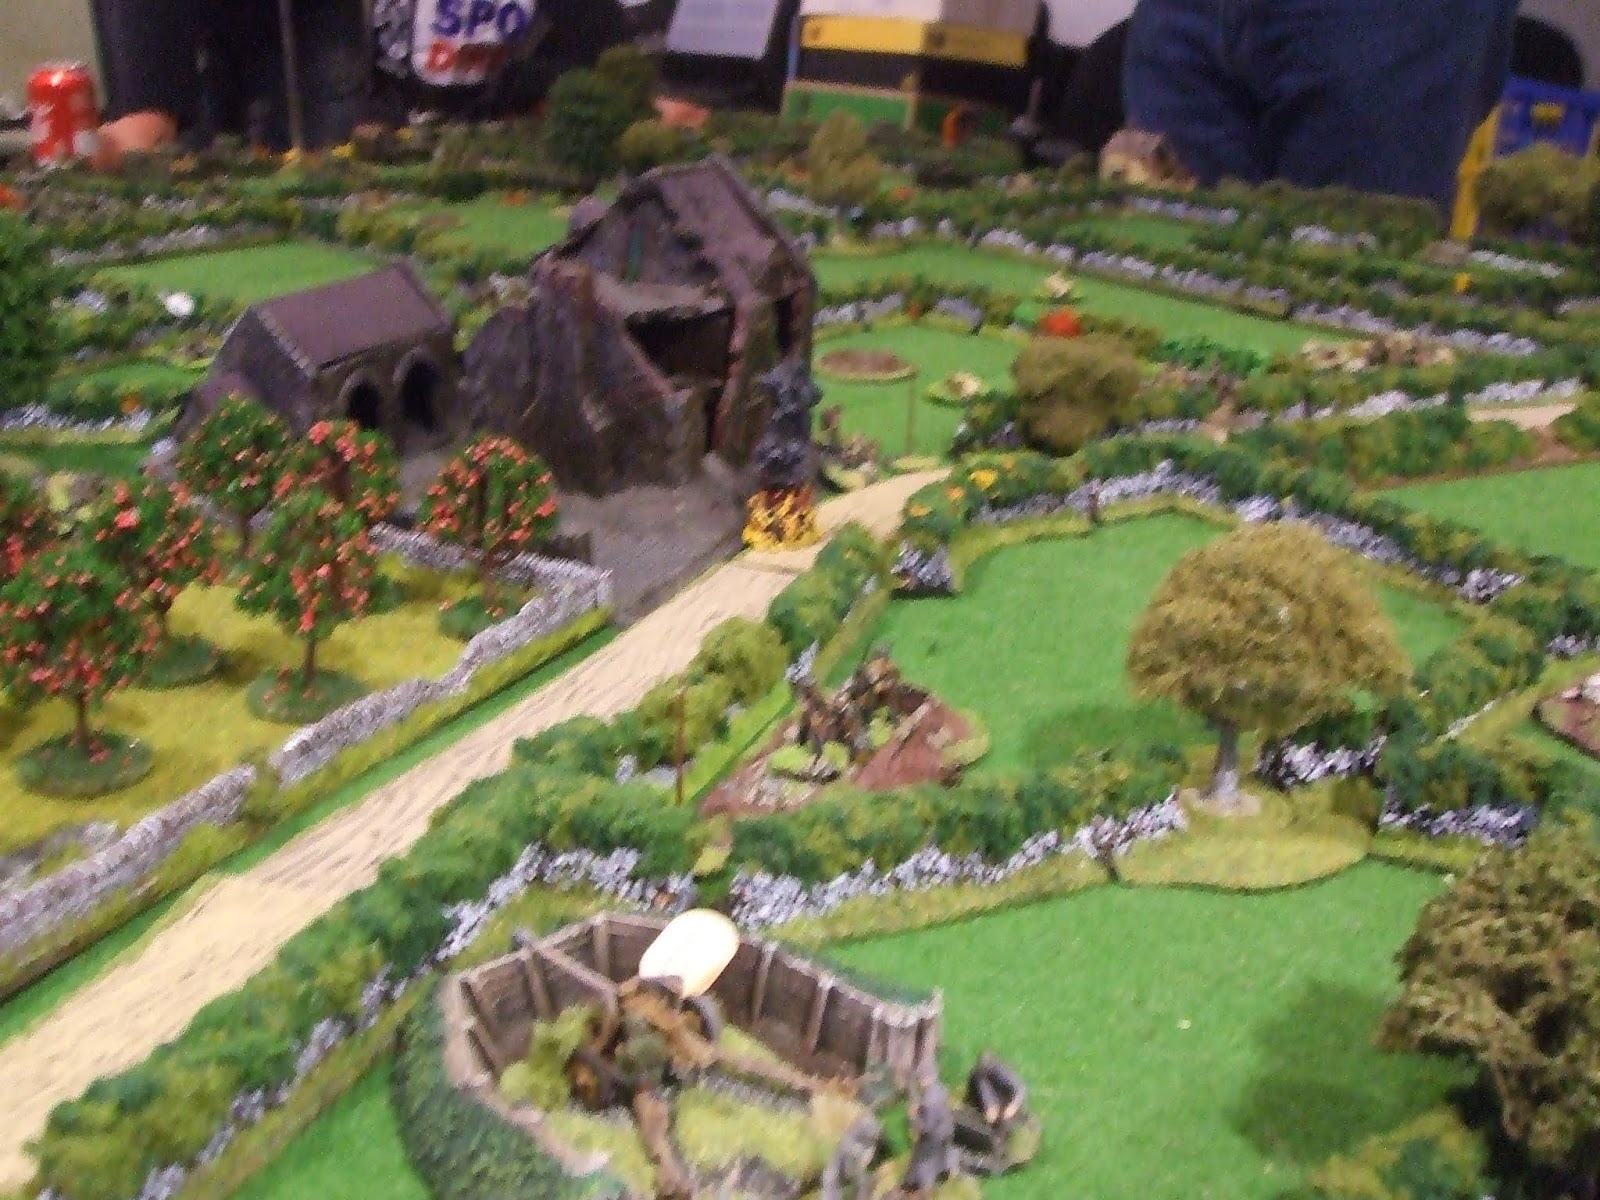
The starting positions can be seen below


The Allies, under General, the Lord Montague, are deployed with Brigadier Howard's 4 British battalions on the Wolfsburg to the right of Wilhelmstadt, Von Helsing's Brunswickers covering the town and Von Stalheim's Prussians on the Waldburg to the left.  Grenville's cavalry are held in reserve.  Wilhelmstadt itself has a garrison of a grenadier battalion.

Marshal Corbiere has his three infantry brigades (left to right, Sully, Montmorency, Givenchy) in the front line with Haut-Provence's cavalry in reserve.  Pozieres' fourth infantry brigade will enter via the road leading from the bottom of the photograph.

A roll of the dice allocated command of the Allies to Steve.  As Marshal Corbiere, I decided to advance Sully and Montmorency, supported by Haut-Provence,  to pin the Allied right and centre.  This would leave the six battalions of Givenchy and Pozieres to try and drive off the Prussians and then advance on Wilhelmstadt.

As the French infantry advanced the Allies threw their first spanner into the works of the carefully crafted plan.  Von Stalheim ordered his jaegers toward the woods to fire into the flank of Givenchy's advance.  Their fire, irritating at first, soon caused the regiment at the right of the line to waver.  As the head of Pozieres' column came into view they were greeted by the sight of some of their comrades from Givenchy's brigade retreating.  Pozierers quickly ordered his leading battalion to form line and advance on the jaegers and force them to fall back.  The jaegers obliged, falling back through the woods and inflicting heavy casualties on their pursuers as they struggled through the trees.

The Prussian jaeger advance
On the right, Montague made another unexpected move, ordering forward Grenville's cavalry.  This stalled the advance of Sully and Montmorency and Haut-Provence struggled to get his troopers into a position to charge the allied cavalry.   Although the French artillery did inflict some casualties, the British cavalry continued their advance and then charged the 1st battalion la Couronne.  The French infantry stood their ground and fired a volley as the British closed.  This emptied quite a few saddles but did not deter the survivors from striking home.


In the short melee which followed the infantry held firm and it was the cavalry who fell back, having suffered the loss of almost half their strength.  Sensing that further attacks would incur needless casualties, Grenville ordered his men to fall back.  He would bide his time and seek further opportunities to attack.

Corbiere now ordered his artillery to concentrate their fire on the allied guns as a prelude to a further advance.  This proved surprisingly effective, (due to some rather fortuitous dice rolls) and soon the allied guns were silenced.  As Sully and Montmorency continued their advance they diverged and opened up a gap through which Haut-Provence could advance his cavalry.  Attempting to bring Grenville's battered command to battle they found themselves denied as the allied cavalry fell back behind Von Helsing's Brunswick infantry.

On the French left Givenchy and Pozieres were struggling to bring the Prussians to battle.  Von Stalheim kept his line battalions on the Waldburg, forcing the French to attack him uphill.  Meanwhile his jaegers were tormenting Pozieres' infantry , evading contact and sniping away as they fell back.  Corbiere's 'right hook' looked to be failing.

In the centre, there was some progress.  Montmorency was grinding down the Brunswick battalions defending Wilhelmstadt.  Close range artillery fire, supported by volleys from the infantry had reduced two battalions to tatters.  Orders were sent to Haut-Provence to complete the job and attack with the cavalry.  Inexplicably, nothing happened.  The cavalry remained motionless, the Brunswick infantry, perhaps not wishing to antagonise their foe, inflicted only minor casualties with their desultory volleys.  A second set of orders were sent, but to no effect.

Meanwhile, Sully had begun his attack on the Wolfsburg.  As the French infantry climbed the slopes they were met by devastating volleys from the well-drilled British battalions.  Whole companies were swept away and the battered remains of once proud battalions fell back to reform.  The disjointed volleys from the French infantry did inflict some losses on the red-coated line, but very little in comparison to the losses they had suffered.  In a belated attempt to salvage some French pride, the Commisary General regiment from Haut-Provence's brigade charged in support of the battered infantry.  They broke through the 4th Foot and reached the crest of the Wolfsburg, but isolated and unsupported they had to fall back.

Grenville's cavalry had not been idle.  Montague had seen the growing strength of the forces attacking the Waldburg and ordered the cavalry to intervene.   With the Royal Dragoons in the lead, the Allied cavalry attacked.  The French infantry were caught unaware.  Their supporting artillery was ridden down and then an infantry battalion suffered the same fate.

The Royal Dragoons attack the French infantry on the Waldburg
With three of his brigades having suffered losses of at least 50%, Corbieres decided to fall back.  The attack on Wilhelstadt had failed, but once he had received some reinforcements he would try again.

An enjoyable game, but at times a bit of a struggle as Steve and I tried to remember the rules.  We had used them frequently when we gamed with Alasdair several years ago, and when you have thirty or more battalions, (as we often did in those days),  losing 3 or 4 is not that significant.  With only half that number these rules are quite unforgiving if you have a bit of bad luck with the dice.  I will have to try and paint some more 15mm figures or perhaps look for a different set of rules (one that doesn't entail re-basing the figures I already have).

Monday 10 December 2018

Whittington 1644

This was a small scale ECW encounter during the campaigns in Shropshire.  The scenario comes from an article by Stephen Maggs which appeared in Miniature Wargames in April 2004.  Oswestry was a key point for the Royalists as it helped guard the vital road between Chester and Shrewsbury.  However, in May 1644 it had been captured by Parliamentary forces.  The Royalists were determined to recapture the town and Sir Fulke Hunkes, governor of Shrewsbury was ordered to gather up all available forces in the area.   By 22nd June the Royalist forces were closing on Oswestry, but took time to organise their siege.  On the 2nd July news came of a Parliamentary relief force under Sir Thomas Myddleton approaching from Ellesmere.  Hunkes detached a force under Colonel John Marrow to march towards them and ascertain their strength.  On the afternoon of the 3rd of July Myddleton's forces saw Marrow's men deployed along the banks of the river Perry, either side of the bridge which crossed the river just east of the village of Whittington.  As the Parliamentary forces deployed Colonel Marrow could see that he outnumbered them, particularly in cavalry and, disregarding his orders to merely ascertain the enemy strength, resolved to attack.  This provided the starting point for our game.

A view of the layout from the south, Royalists on the left
The Royalists have 5 regiments of foot, 2 of which are rated raw, 3 regiments of cavalry, one of which is raw and a single light gun.  Myddleton has 4 regiments of foot, 2 of which are rated raw and 2 light guns.  He only has a single regiment of cavalry.  We treated the river as potentially disordering unless crossed at the bridge.  Hedges were a linear obstacle and targets behind them were unclear.

A roll of the dice allocated command of the Royalists to Steve and as per the scenario his troops moved forward.  The cavalry advance was piecemeal and disordered by the river crossing, so my single regiment was able to drive back two of their opponents.  However, they became 'shaken' in the process and only just held on against the third regiment.  One of the infantry regiments came to their aid, firing a telling volley into the Royalist horse and forcing them to fall back to join their comrades.  This gave my cavalry a brief breathing space to try and recover before the onslaught resumed.

The Royalist cavalry cross the River Perry
The opposing infantry forces had by now closed up to the river and were exchanging volleys.  To the right of the bridge (beyond it in the layout photograph),  my infantry came off worst and had to fall back.  However, as their opponents advanced they became disorganised crossing the river giving me a chance to counterattack and drive them back to the western bank.

The infantry exchange volleys across the river
On my left things were not going well.  Using his numerical advantage he had outflanked my line and was swinging round the barn to attack the units defending the hedge line from the rear.  Fortunately, the Royalist infantry attacking the hedge frontally suffered such heavy casualties they routed, giving me just enough time to deploy them to meet this new threat. 

The Royalist flank attack
On the right the cavalry melee resumed and this time the attack was better co-ordinated.  My single regiment was overwhelmed and driven from the field.  This left a single regiment of foot to oppose the Royalist cavalry.  It was able to fall back to cover its flank, but the Royalist infantry on that flank now began to move forward to support their horse.

With both flanks threatened and no cavalry it was time for the Parliamentarians to retreat,

We ran the game again after lunch and exchanged commands.  Things worked out much the same on the Royalist left.  Their cavalry managed to overcome the Parliamentary cavalry but struggled against the infantry.  On the opposite flank Steve managed to get into position much quicker and my attack never really got going.  The infantry unit leading the attack was destroyed by the Parliamentary volleys and routed from the field.  The Parliamentary brigade commander led an attack across the bridge and ignoring fire from the light gun deployed and charged.  The gun crew routed and the infantry supporting them, although they charged the Royalists, were thrashed in the melee and joined the artillery crew routing from the field.  So, with the road to Oswestry open and no prospect of making progress with the cavalry I ordered the retreat.     

Saturday 1 December 2018

Recon 2019

My usual meander through the Pennines and the Aire valley for the Recon show today.   There was a good range of traders attending though the number of games seemed to be down on last year.  Board games were well represented and looked to attract a steady stream of participants.  Steve and I were pleased with the way our game went; three battles, with one win each for the king and de Montfort.  The final game ran out of time with both sides looking decidedly punch drunk.

Here are a few photos

Prince Edward leads the royalist mounted troops out of Lewes

Gilbert de Clare leads his mounted sergeants against Robert de Bruce's levy foot

The king about to be captured by Simon de Montfort

Antony Bek captures the Montfortian baggage train
Here are a couple of other figure games

A WWII game based on the attack on St Lo


Nicely done scenery and good to see a WWII game which didn't have 'wall-to-wall' AFV's.  The other game looked to be a cold war clash in northern Germany, but on closer inspection was a sci-fi affair with what looked like hover tanks. 


The Wakefield club put on another well-organised show and are very welcoming to traders and gamers alike.  Thanks to Bob, Steve and Will for helping run the game; Dave and Lynne for logistic support (providing the teas ! ); but most of all to John, Andrew and Ben for joining in and trying out the rules.

Wednesday 28 November 2018

Preparation for Recon

With 2018 drawing to a close, it is time for our last wargaming outing of the year, the Recon show at Pudsey.  The Lance & Longbow Society will be attending ad Steve and I will be putting on a participation game using our tried and tested variant of 'Lion Rampant'.  This year the game will be Lewes from the 2nd Barons' War of 1264-66.  We have incorporated some of the key features of the battle  but the result is  by no means a foregone conclusion, (where would be the fun in that?).  Will the outnumbered Montfortians prevail as they did in history, or will the king quash the rebellion?

Here are a few photos taken during our trial run.

Prince Edward leads the Royalist cavalry past the walls of Lewes

The Royalist centre commanded by Richard, earl of Cornwall

The main rebel army ready to attack down Offham Hill
Nicholas de Segrave leading the London contingent
There are several good sources of information on the battle available on the internet; Steve and I found this one very useful. 

 If you are attending the show please drop by and say hello, or even better, have a go at the game, Steve and I are always on the look out for volunteers.


Monday 12 November 2018

Crisis : some of the other games at the show

Even though we had a busy day gaming, there were a couple of opportunities to look at the other games on offer and what a choice there was.  The standard of painting and modelling was very high with plenty to inspire.  This is not an exhaustive review and I tried not to cover games that I had seen at other shows.

I will start with the Great Northern Wars Rugen game

The table before the troops deployed

The Allied right advance on the Swedes

The Allied centre await the onslaught

The Swedish advance
A game on an epic scale, which I had seen reports of, but was delighted to see it "in the flesh"

I was first drawn to this game by Berserkir Wargamers by the excellent modelling of the river and longship.


On closer inspection it was a fantasy game, but there was plenty of nice detail


Close by was a very nice Napoleonic game set in 1809 by (I think) Schild and Vriend

Constructing a pontoon bridge

Austrian Hussars

A lovely windmill 

Bavarian infantry advance
The cavalry clash

Crossing the Isar
Another Napoleonic game, Albuera by South London  Warlords


Back to the medieval period for Hattin by La Grande Armee


The Dortmund Amateur Wargamers presented Dunkerque


Nothing amateur looking about the standard of modelling!

On a smaller scale was this Pikeman's Lament scenario set in the Jacobite period by Kurpfalz Feldherren


Warfare Miniatures showcased their new range of Ottoman figures with this Donnybrook scenario


I would recommend that if you get the chance visit this show.  Not only is there a great range of games, but there is a large trade presence too.  Admittedly a good percentage of those hail from the UK but there is the opportunity to find buildings, etc that just don't appear at UK shows.  On top of that Antwerp is well worth a visit with good museums and varied architecture.

Tuesday 6 November 2018

Crisis 2018: the Lance & Longbow game - the Battle of Arcen

The Gentlemen Pensioners had an international 'away day' over the weekend when a group of us attended the 'Crisis' show in Antwerp.  We had been invited by Jan and Peter (the Alde Garde group) to help them with their Arcen 1511 game.  Readers may remember that Jan and Peter visited the Phalanx Show in 2017 with one of their games (link ).  The game at Crisis represented a "what if" from the campaign between the Habsburgs (with English allies) and the forces of the Duke of Guelders (with French allies).

For us, it was a brilliant day; Jan and Peter provided an excellent terrain and plenty of well painted figures and invited us to play the game whilst they chatted to passers by.  The French and Imperial gendarmes battled it out all day with the former eventually gaining the upper hand.  A similar tussle, between the two blocks of landsknechts took place across the stream, with neither being able to make the decisive breakthrough.  However, the English archers under the command of Sir Edward Poynings stormed the fortified manor of Huys and secured a foothold within it's walls.  After a desperate struggle they were forced back at point of pike.

Here are a few photos of the action

The Guelders landsknechts advance towards the river

Habsburg infantry with their English allies

More Habsburg infantry
Preparing to defend Huys

The French gendarmes move forward
The Habsburg gendarmes move forward

Habsburg forces move up to the river

The attack on Huys develops
Sir Edward encourages his troops


Close quarters fighting along the river
The English gain a foothold

The garrison strikes back
The Geulders landsknechts are pushed back over the river
A great game with fortunes ebbing and flowing.  Many thanks to Jan and Peter and also the Gentlemen Pensioners, John, Neil, Steve and Will who played the game and manned the society stand.

In a second post I will feature some more games from this excellent show.  More photos can be found on Will's blog here