It has been some time since Steve's AWI collection has featured on the blog. So last week Steve set up this scenario for a skype game. General Thomas Armstrong has been given command of a force ordered to seize the town of Bridgeford, a vital communications centre for the revolutionary forces. Until yesterday his march had gone undetected by the enemy forces, but local revolutionary sympathisers had reported his presence. Therefore, just a few miles from his objective he found a force deployed to block his advance at Emmanuel Chapel.

Armstrong deployed his force with Cavendish's British brigade on the left and Von Stalheim's Hessians on the right. Each brigade had 4 battalions (two line, one grenadier and one light/jaeger) and a light gun. Ahead of him, Armstrong saw one unit ensconced in the grounds of Emmanuel Chapel and two more on the ridge. The units on the ridge were behind cover and had artillery support. He needed to advance on one or both of the roads available as quickly as possible.
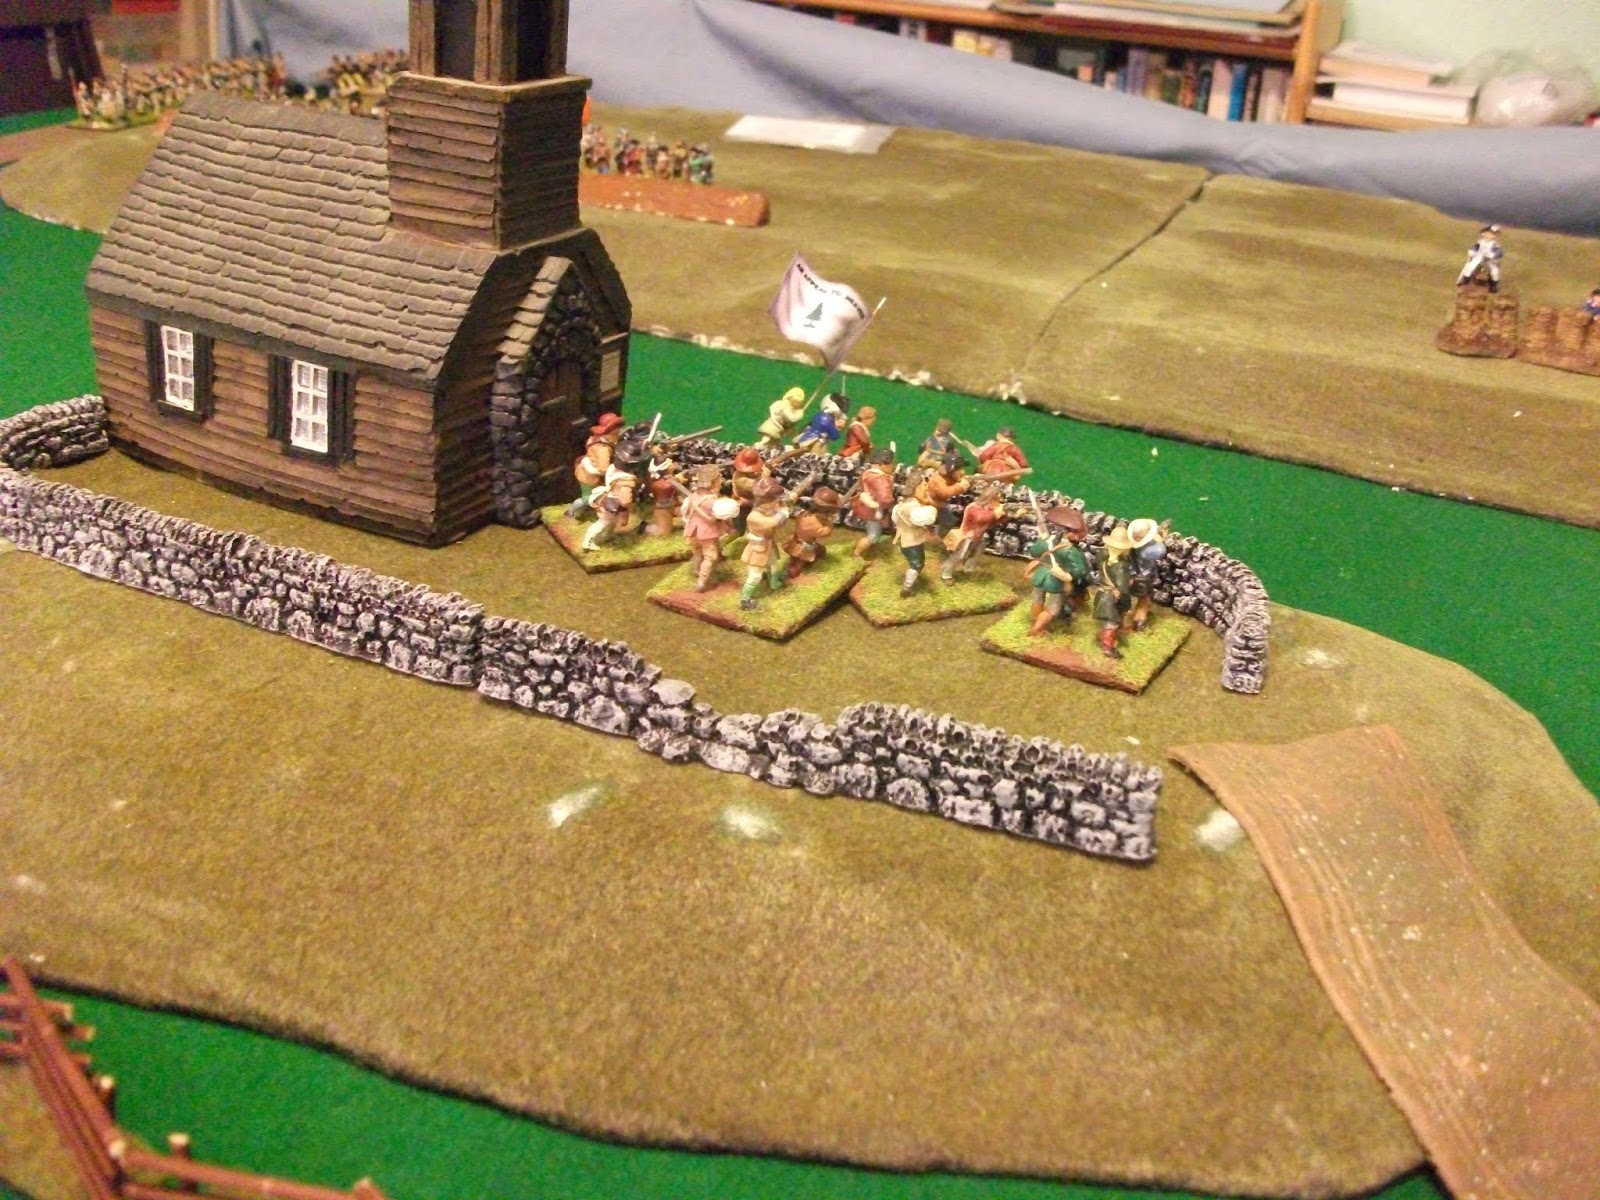
 |
| Armstrong's force prepares to advance |
 |
| Revolutionary forces on the ridge |
Armstrong was unaware that the troops facing him were Collins' brigade, 3 units of militia. Conversations with other commanders had led him to be wary of advancing across fences in the face of enemy fire and also to avoid being surprised by enemy riflemen lodged in cover. He therefore ordered that the light troops of each brigade make sure the woods on their flanks were clear of enemy troops. Also the attack would be down each flank, bypassing the chapel and attempting to outflank the position on the ridge beyond. Each brigade was to deploy one battalion to occupy the defenders of the chapel.
The attack began with the advance of light troops towards the woods. On the left, the British light troops encountered no opposition as they advanced and closed up to the wood. However, the Hessian jaeger were not so fortunate. As they neared the wood they were fired upon by riflemen. Casualties were light and undeterred, the Hessians fired in return , fixed bayonets and charged. Resistance was brief and the riflemen fell back through the wood and attempted to rally in the open ground beyond.
As the light troops advanced on each flank, the line battalions began to advance. They were presented with a dilemma, should they advance in column or line. The former would be quicker, but leave them vulnerable to artillery and musket fire. Line may incur fewer casualties, but lead to delay. Cavendish opted for column, hoping to get some screening from the light infantry once the wood had been cleared. Von Stalheim decided on line and as a consequence his advance was slower and his leading unit, Rall's Grenadiers, found its right flank companies impeded by having to move through the edge of the woods. Each brigade had ordered one unit to wheel and begin firing volleys at the enemy holding the chapel; Cavendish used the 71st Line and von Stalheim the musketeer regiment von Trumbach. This fire seemed to have little effect on the defenders, but it did draw fire to the units involved, thus preserving the strength of the units who would have to assault the ridge.
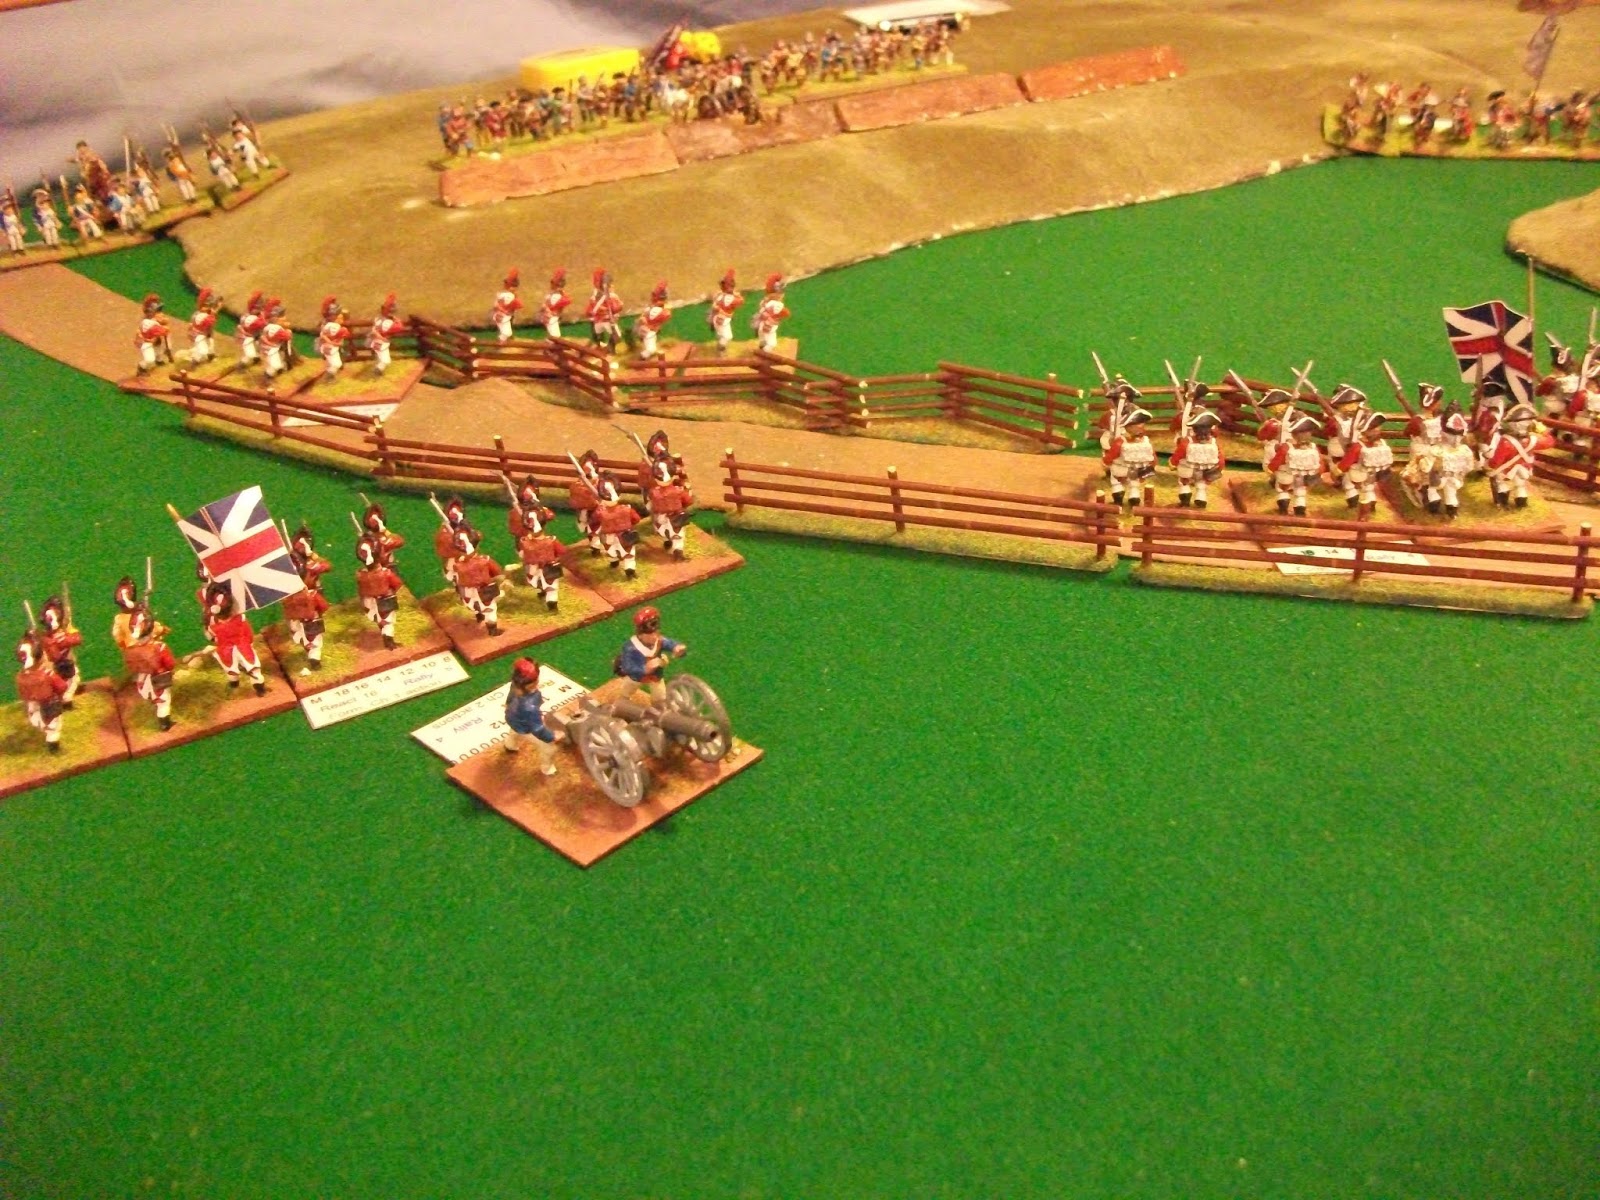
 |
| The Hessian artillery begins to fire on the chapel |
Von Stalheim's advance was slowed even more as his line battalions saw the jaeger running back towards them. The jaeger had pressed forward, hoping to defeat the riflemen of Collins' brigade again. However, as they worked their way through the trees they were hit by a volley from the riflemen . Suffering heavy losses, they had to fall back to rally, giving a check to von Stalheim's advance.
 |
The Hessian jaeger driven back
|
On the opposite flank, Cavendish had made quite good progress. The light infantry had moved through the wood and were now screening the grenadiers, whose column was following them closely. Behind the grenadiers were the 28th line and all three regiments were making for the extreme right of the enemy position. Collins was contemplating having to abandon his position and leave the force in the chapel to their fate, but a rider arrived with news that Wilson's brigade of continental infantry was approaching and would be in a position to block the British advance. Morre good news arrived when Collins saw that the British regiment firing at the chapel had had to retreat due to casualties inflicted by the militia holding the building. Armstrong galloped across to rally the retreating regiment and sent an aide off to request von Stalheim increase the pressure on the chapel defenders. Von Stalheim therefore deployed his artillery to support von Trumbach and this proved decisive. After a few rounds from the artillery, the stone walls of the churchyard began to crumble and chips of stone flew into the militia lining the wall. The volleys from von Trumbach added to the militia's losses and morale cracked; the militiamen running back towards the ridge. Once they got there they found matters in a dire state.
 |
| The militia fall back from the chapel |
Von Rall's men had driven the enemy riflemen back with volleys and now turned their attention to the ridge. Joined by the von Lossberg musketeers they fired at the militia holding the works on the ridge. Even with the protection of the works, the losses were sufficient to force the militia to retreat.
Cavendish's light troops had seen the advance of the continental infantry and managed to get a couple of volleys at the advancing troops before they could deploy from road column. Losses at the head of the column were very heavy and the leading unit had to fall back to recover. The light troops now shifted their focus to the militia on the ridge and soon began eroding their resolve. Cavendish's grenadiers, (now in line) began firing at the second unit of continental infantry and after a few volleys forced them to withdraw as well. When Collins saw that the 28th had now crossed a fence was advancing on the ridge in partnership with the light infantry he realised that he could do no more. Orders were sent for all units to fall back towards Bridgeford in partnership with the continental infantry and to try and delay the Royal forces as long as possible.
 |
| Cavendish's troops begin to bring pressure against the militia on the ridge |


Superb action.
ReplyDeleteGood to see AWI back on the table. I've got a copy of Patriots and Loyalists so hope to try out these rules soon. ...and that is a great scenario you have too.
Thank you. We enjoy the Patriots and Loyalists rules, though we have made a few changes to them
ReplyDelete