
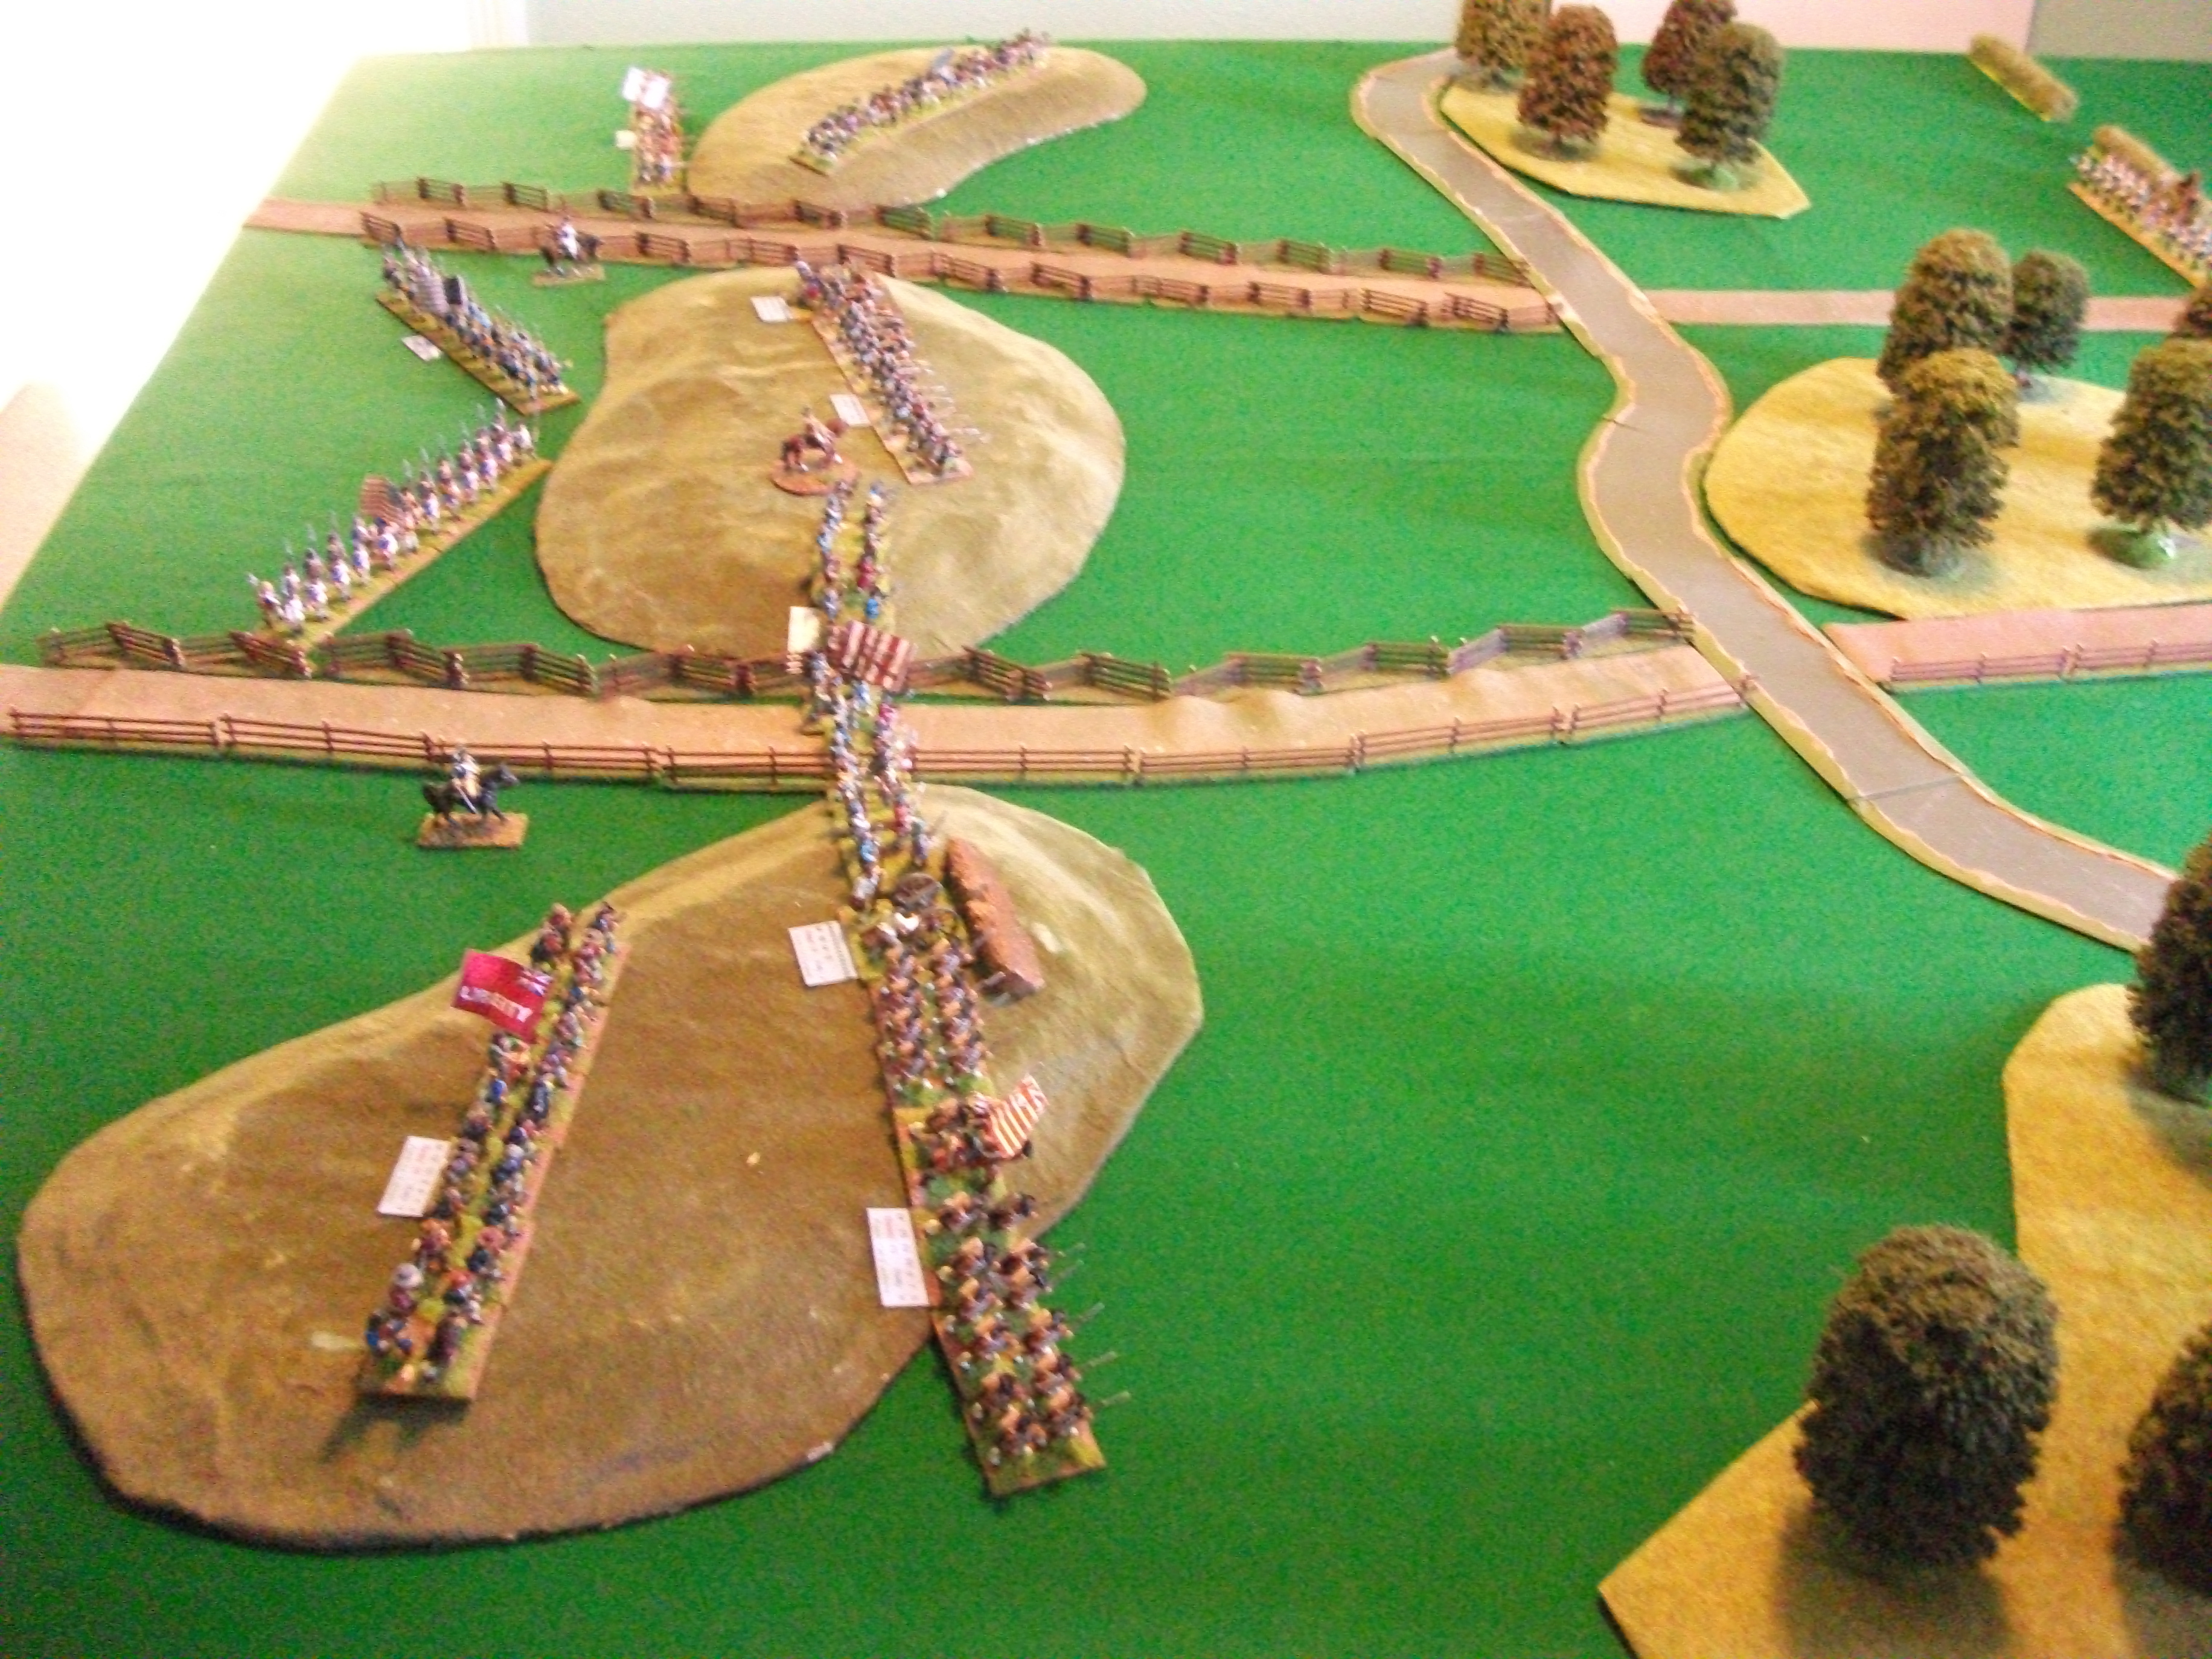
To buy a little time, von Stalheim took great care over the precise positioning of his units, but eventually the Hessian advance began. The rebel/revolutionary commander, Brigadier James Walter, had deployed his two brigades, Baker on his right and Adams to the left. Both brigade commanders had opted to place their riflemen well forward, occupying the flanking woods, their militia units on the ridge and their continental regiments in reserve.
 |
| The Hessian left prepares to advance |
 |
| The rebel/revolutionary force await the Hessians |
As the Hessains advanced their leading units came under fire from the riflemen. Both the jager and von Lossberg suffered casualties and their return fire seemed to have little effect. Von Stalheim ordered the Musketeers von Mirbach to move to the left and bring their fire onto the riflemen, hoping that this additional firepower would prove decisive. On the Hessian right the Fusiliers von Lossberg opted to close the range, increasing the pressure on their tormentors. This proved to be an effective tactic, a couple of close range volleys tore through the ranks of the riflemen and the survivors turned and ran back towards their own lines.
 |
| Adams' riflemen rout |
With the riflemen out of the way, von Lossberg advanced towards the river with the grenadiers in support. Once they reached the river they came under fire from the enemy artillery and the militia unit on the ridge facing them. On the opposite flank, the riflemen were proving stubborn, it took several volleys and an advance by the Musketeer regiment von Mirbach to force them to flee.
 |
| von Mirbach force the riflemen to flee |
This minor success was offset by the Hessian artillery taking a pounding from the rebel/revolutionary artillery on the ridge. The guns had been advanced too far before being deployed and took quite a bit of damage before this error could be rectified. However, once deployed the guns quickly found the range of the militia unit holding the road in front of them and inflicted some serious casualties.
General Arbuthnot noticed that the units on the ridge on the enemy left seemed to be deploying to face a flank attack, was this Collingwood? If so, the British advance was aided by von Lossberg, whose volley caused the militia unit facing them to rout, leaving a solitary militia unit facing the oncoming British brigade.
 |
| The militia rout |
With the light infantry leading the way, the British brigade entered the fray. The gallant militia facing them were reluctant to give ground. They traded volleys with the British light infantry and only fell back when Fraser's Highlanders began to move round their flank. Collingwood had deployed the combined grenadier regiment to the right of the light infantry and they, with the field gun moved towards the road. Walker had seen the extent of the British advance and resolved to move what troops he could to meet it. Two continental regiments hastened to the left, leaving only militia to face von Stalheim.
 |
| Collingwood's advance |

Von Stalheim was also experiencing problems. Once the riflemen had been sent packing he ordered the jaeger and von Mirbach to advance across the river. The jaeger, being in the open, came under fire from the entire rebel/revolutionary right. Already weakened by losses incurred trying to drive back the riflemen, the jaeger routed. At the same time, the enemy artillery fired again on the Hessian artillery, destroying it with a direct hit.
 |
| Walter moves his reserves to the left |
 |
| The Hessian artillery is destroyed |
Collingwood continued with his advance. The light infantry had eventually forced the militia back to the fence lining the road. Behind them, across the road two continental infantry regiments were deployed in support. Spoiling for a fight, Fraser's charged the militia, ignoring a closing volley they charged home. To the surprise of almost everyone present, the militia, lacking bayonets, stood their ground and managed to beat off the attack. With the catcalls of the militia ringing in their ears the highlanders fell back.
 |
| Fraser's are defeated and driven back by the militia |
For their part, the grenadiers were suffering also. Facing a continental infantry unit they fired a volley and advanced; only to be stopped in their tracks by the returning volley. Collingwood's resolve was further weakened when an aide from Arbuthnot reached him, informing him that he could expect no assistance from the Hessians as the the brigade had suffered over 50% losses. Preferring to keep his command intact, Collingwood ordered a withdrawal, covered by the light infantry.
For his part, Walter was content to hold his ground, the morale of his troops boosted by their victory.
Nice action, like the idea of bath tubbing Brandywine.
ReplyDeleteThanks, Norm. The game was a salutary lesson in the problems of dealing with well positioned light troops
DeleteCool looking game.
ReplyDeleteThanks Ray, Steve has a permanent wargames room and the scenery he uses allows for a good game.
Delete