
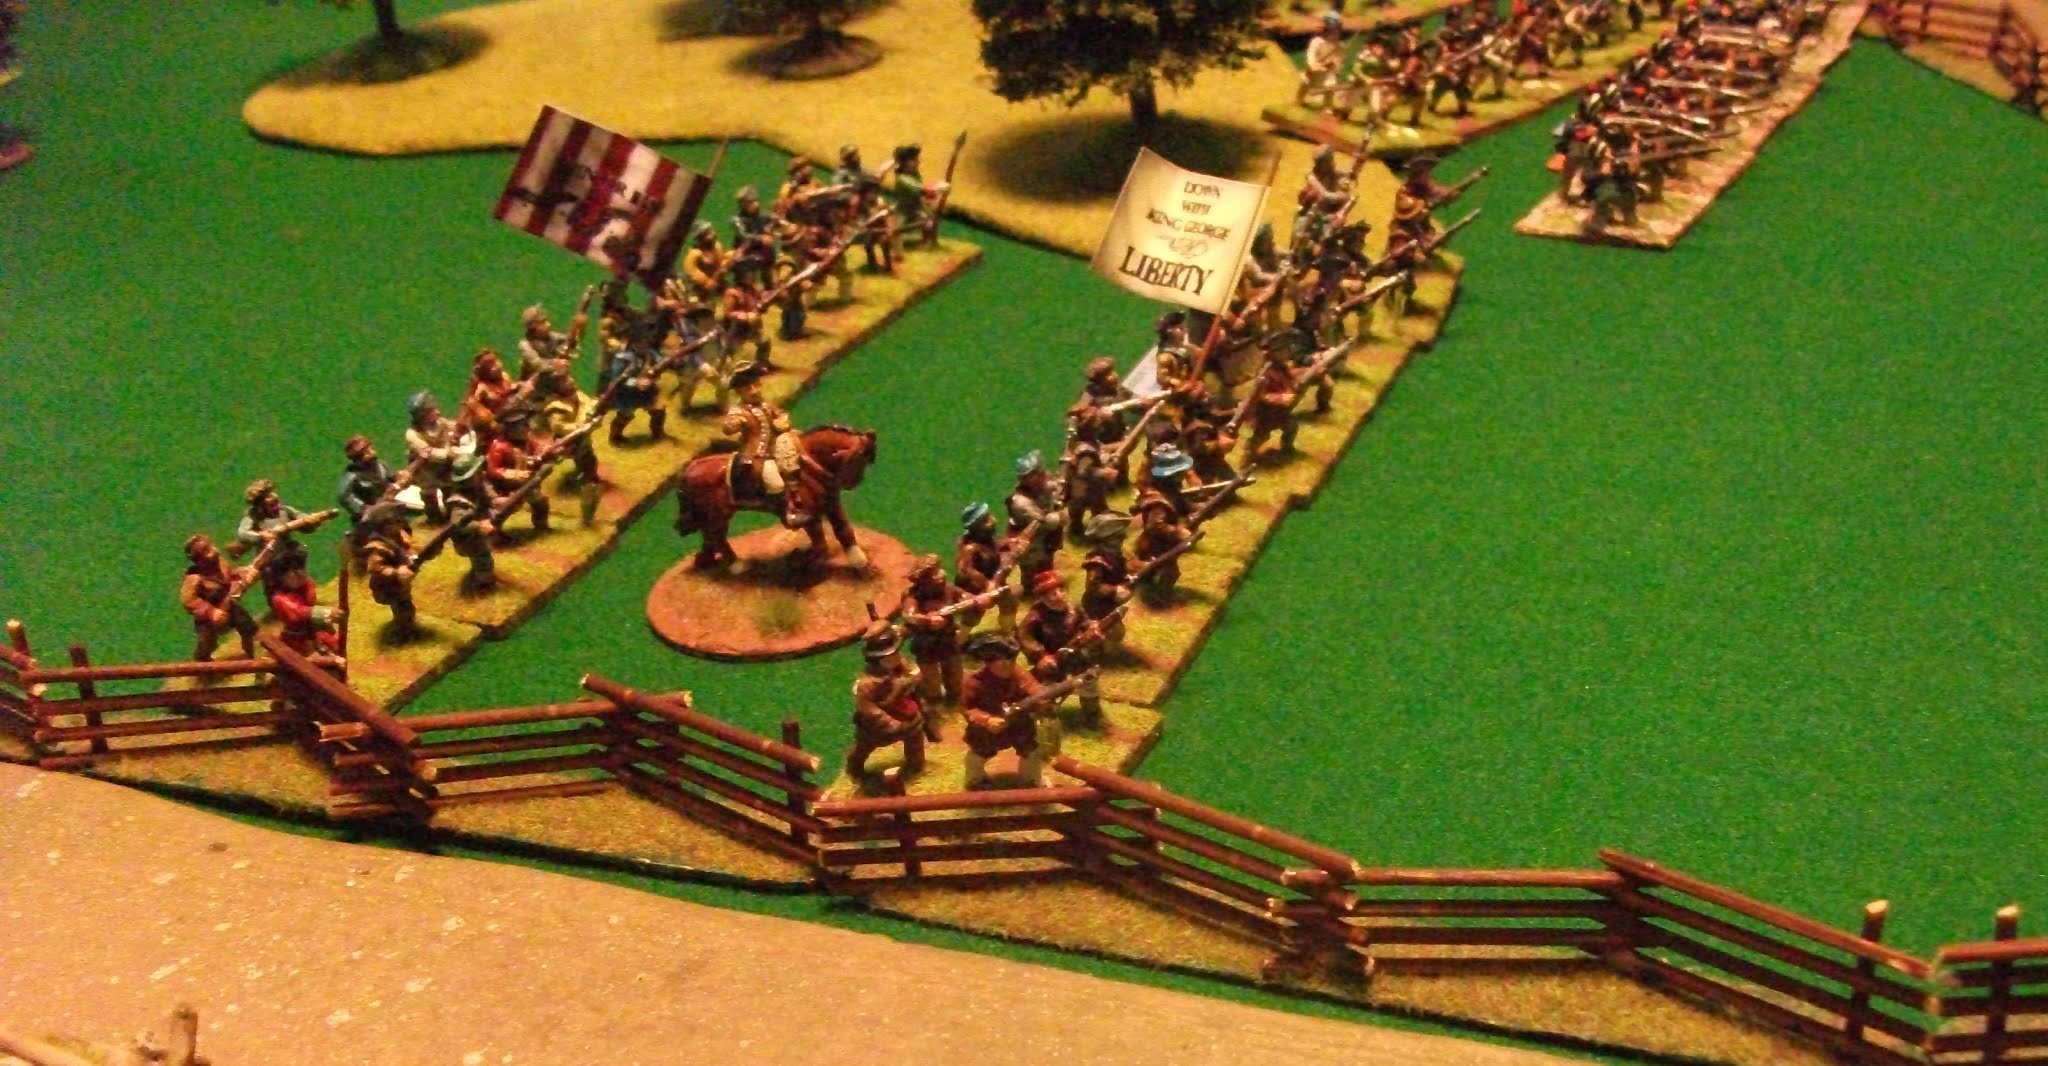
A view of the battlefield, Collins approached on the road on the left, Dawson, the central road.
Von Stalheim's forces were quartered in Fortune. He had the musketeer regiments von Mirbach and von Donop, the fusilier regiment von Lossberg, the grenadier regiment von Rall, two jaeger regiments and a medium gun. Pickets had been posted and remainder of the Hessians were indoors. An early morning mist cloaked the countryside as the brigades of Collins and Dawson advanced, riflemen to the fore. Deadwood's plan was to envelop Fortune and overwhelm the defenders with musketry fire. Dawson was to send his two line units to the right to occupy Grainger's Hill, while the militia and rifles, with the artillery held the line between the woods. Collins was to send his riflemen through the woods towards Salem Chapel on Cook's Hill. The hill was to be occupied and then the four regiments, two line and two militia, would concentrate their fire on Fortune.
There was some delay as the militia deployed, but the attack seemed to be progressing well, with the lead unit of Dawson's brigade nearing Grainger's Hill. Suddenly shots rang out. The Hessian jaeger picket on the hill had spotted the troops approaching. After firing they fell back to join their unit. In Fortune itself the Hessian troops reacted to the alarm. First to their position were the jaeger, quickly lining the fences facing the flank of Dawson's line regiments as they made their way to Grainger's Hill. Just behind them were von Lossberg who deployed to face Dawson's riflemen and militia. With the alarm raised, Dawson hurried his militia units forward and moved the riflemen to the left to tackle the jaeger.
 |
| Deadwood's forces begin their attack |
On the opposite flank, Collins was moving along the road, to avoid the slowing terrain. Ahead, the riflemen had cleared the wood and were advancing on Salem Chapel. Once again shots rang out as the Hessian outposts spotted their approach. Collins ordered one of his line units to move to the left to help the riflemen. Still in column the infantry crossed a fence and advanced towards the chapel. By this time the mist was lifting and unfortunately for the column they were in the field of fire for the Hessian artillery which had deployed between Cook's Hill and Fortune. The first roundshot crashed through the head of the column, causing confusion. Further rounds broke the spirit of the infantry and they routed to the rear. After ordering the remainder of his force to deploy into line, Collins galloped over to try and restore order.
 |
| One of Collins' units routs after being hit by artillery fire |
Dawson's riflemen were now engaging the Hessian jaeger, both sides taking losses, though Dawson's artillery now joined in and the revolutionary forces began to gain the upper hand. For their part, the Hessians were bolstered by the sight of von Mirbach's musketeer regiment moving up on their left to cover their flank. The grenadiers had been conspicuous by the tardiness of their arrival and Von Stalheim sent their commander an abrupt reminder of the need for speed. The fusiliers had by now begun exchanging volleys with one of Dawson's militia units. Their fire was supplemented by that of an 'amusette' which had been set up at the junction of the roads leading into Fortune. It's fire was not very effective, but the fire from the fusiliers was and the militia unit began to waver. Concerned of the detrimental effect an retreat, (or worse) by this unit would have, Deadwood quickly moved forward to try and settle the men. The air thick with musket balls from the Hessian volleys, Deadwood rode up and down the ranks steadying the militia men and convincing them to keep firing.
 |
| Deadwood rallies the militia |
Collins had managed to rally his routing line infantry and now ordered his units to advance. The advance of his riflemen was stalled by the accurate fire of the Hessian jaeger on Cook's Hill, so he ordered a militia unit to move over to support them. As his remaining units advanced towards Fortune the Hessian artillery began to target them, but although casualties were inflicted the fire was not as deadly as it had been earlier. Collins units now also had to contend with flanking fire from von Donop's regiment on Cook's Hill. This fire was not very effective and Collins ordered his men to concentrate their volleys on von Lossberg's fusiliers. Reeling under the fire from the militia and Collin's men, the fusiliers crumbled and fell back to try and rally. On their way they passed the grenadiers von Rall which had at last entered the fray.
 |
| The jaeger and von Mirbach hold the left flank |
 |
| The fusiliers rout |
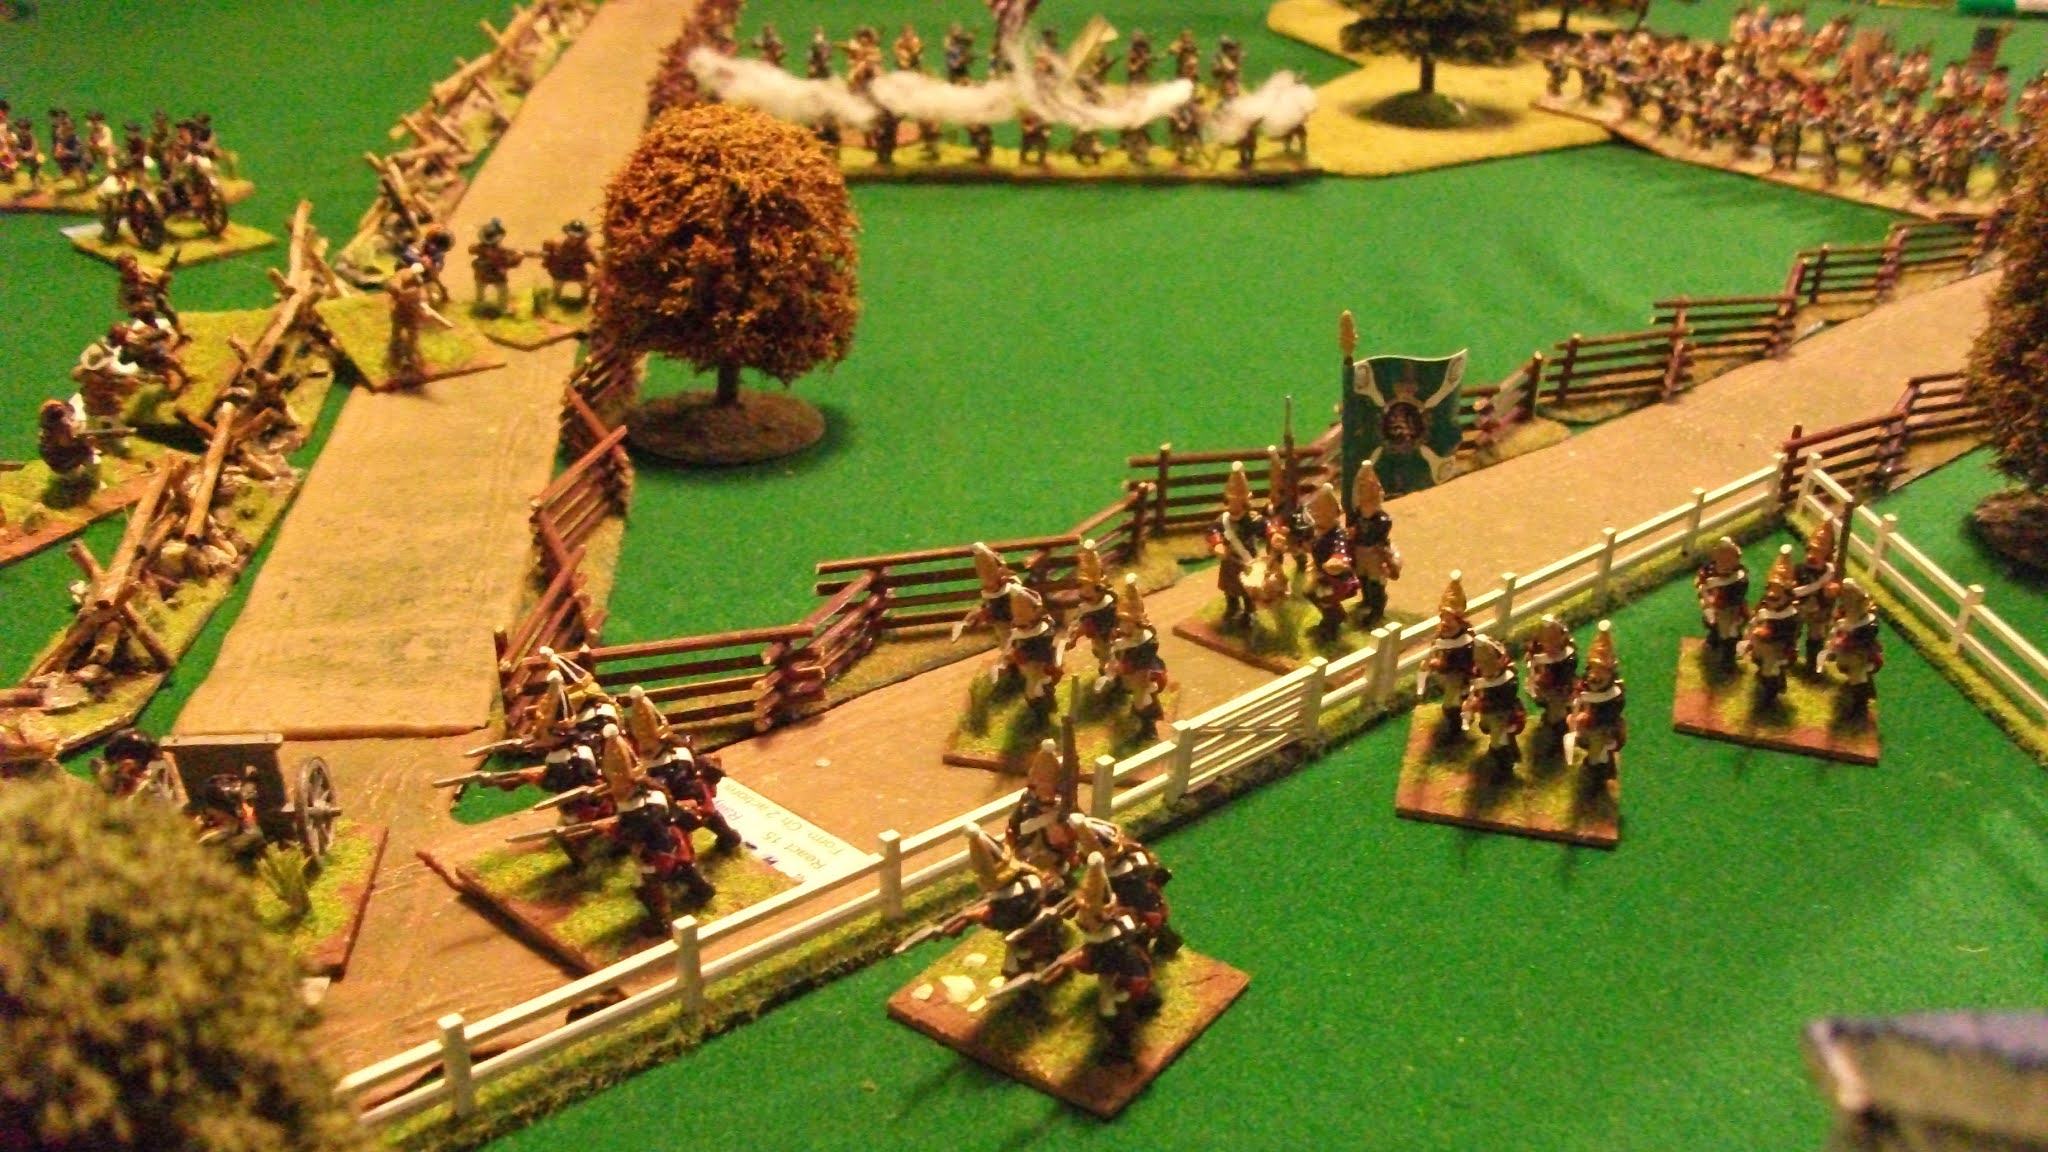
Von Stalheim was fairly confident his right flank was secure, his concerns were for his left. The jaegers were struggling to maintain their position and he could see Dawson's men forming up on Grainger's Hill, ready to push forward. He ordered von Mirbach to advance against the extreme right of the revolutionary line and try and catch it before it was fully deployed. He also ordered the grenadiers to get forward and deploy to hold the position previously held by von Lossberg's fusiliers.
 |
| Von Donop's view of the battlefield from Cook's Hill |
 |
| Von Mirbach advances |
Von Mirbach advanced and then halted, ready to fire on Dawson's infantry as they crested the skyline. Unfortunately for them, their volleys were ineffectual; not so the reply from the advancing revolutionary line infantry. To the right of von Mirbach, the jaeger were unable to withstand the concentrated fire of two units plus the light artillery. The few survivors fell back, having done all they could. This allowed Dawson to order one of his line units to advance and occupy the position previously held by the jaeger.
Deadwood had spotted the advance of the Hessian grenadiers. Determined to snuff out the threat they posed he ordered all units that were able, to concentrate their fire on the Hessians. Assailed by a torrent of fire even the grenadiers wilted. Caught before they could deploy, the unit seemed to melt away. What remained made routed back towards the town.
 |
| The grenadiers rout |
Von Stalheim could see the day was lost. He ordered the forces on Cook's hill to make their way back towards the main crown forces and rode over to lead von Mirbach and the remains of the other units in the same direction. Deadwood didn't order a vigorous pursuit, just an occupation of Fortune and he spared no praise for the militia units which had played such a prominent part in the victory.
Great report! Enjoyed it very much.
ReplyDeleteThank you Mark. It was a good game. The Patriots and Loyalists rules, (with our in-house amendments), bring unpredictability and 'friction' into the games.
ReplyDeleteRegards
David