Sunday 31 March 2019

Battle of Brambleton: part 2

The previous post ended with the game still in the balance.  Von Stalheim's Hessians had proved difficult to drive out of Nelson's Farm, but the brigades of Adams and Cleveland had made some progress on the wings.  All now depended on how quickly the British brigades could get forward and bring their firepower to bear.

The struggle for Church Ridge
Adams, on the rebel right was faced by the grenadiers from Bedford's brigade, who occupied Church Ridge.  The grenadiers had fired on one of Adams' line battalions as it deployed prior to advancing on the ridge.  That volley had no effect, but as the range shortened the fire became more effective and proved too much for the rebels , who broke and had to retreat to the cover of the woods to rally.  Behind them was a unit of militia.  They took the fight to the grenadiers, giving as good as they got, but, when Bedford's riflemen moved onto the militia's flank and began to fire on them, they too fell back into the woods.  Adams' other line battalion had by now been driven back by flanking fire from the Hessians holding Nelson's Farm.  This left Adams' final unit of militia in the front line, doggedly holding its position lining the edge of Green Wood.

Church Ridge, Green Wood with Nelson's Farm beyond
On the opposite flank, Cleveland was slowly getting the upper hand against the Mayerbach Musketeers and had hopes the the militia , which had moved into Palmer's Copse, would fire onto the Hessians' flank and  help to drive them off.  Unknown to Cleveland, Courtney had ordered his Highland battalion into Palmer's Copse to clear it of any enemy forces and then advance to fire on the rebel cavalry.  The militia were totally unaware of the advancing highlanders as they moved to fire on the Mayerbach.  Once at the edge of the woods they formed up and prepared to fire, however, an alert officer in one of Courtney's battalions spotted the rebels and ordered his men to fire.  Caught by surprise the militia fell back in disorder, only to be threatened by the advancing highlanders.  They fell back further, out of the woods, alerting the dragoons about the enemy force advancing towards them.  The commander of the dragoons could see only one option, fall back across the river. As the order was given a volley was fired by the highlanders which sent the hapless militia streaming back over the river.  The dragoons followed in good order.  Cleveland's line battalion, supported by a battalion of militia and the artillery continued their struggle with Mayerbach.  Courtney had advanced his artillery to support the Hessians, but two telling volleys from the rebels drove back Mayerbach.  There was no respite for Cleveland's men as Courtney's British infantry now stepped forward and delivered such a heavy volume of fire that the rebel line melted away, the survivors streaming back over the Colne.

Palmer's Copse, Prospect Ridge and nearer the camera, East Ridge

The highlanders drive off the rebel light dragoons
In the centre Bush had made yet another attempt to capture Nelson's Farm.  Once again his battalions crossed the Colne and advanced to the fence surrounding the farm.  This time, Bush's artillery moved over the bridge to support the infantry and fired on the farm.  The close range salvos proved too much for Lossfeld who fell back from the farm and onto East Ridge.  Pushing forward, Bush's men almost reached the farm, but two close range volleys from the jaeger forced them to retreat.  When Courtney's men fired into the flank of a supporting battalion that too fell back.  Taking the initiative, Von Stalheim ordered the jaeger to move forward to the fence and continue firing on Bush's infantry.  This proved a costly mistake as they came under fire from Bush's artillery and had to retreat to rally.  Nelson's Farm was thus unoccupied, both brigades needing time to recover before renewing their battle.

Bush's aetillery at last dislodge Lossfeld from Nelson's Farm
Adams had now rallied his battered battalions and renewed the advance.  Pausing at the edge of Green Wood, they fired on Bedford's grenadiers, who still occupied Church Ridge.  Their fire forced the grenadiers to retreat and sensing an opportunity the rebel line advanced.  This optimism was swiftly dashed as Bedford's light dragoons charged the leading battalion.  Not having sufficient time to fire a volley, the rebel infantry were soon fighting for their lives.  All order was lost and soon the remnants of the battalion were milling about in Green Wood, safe from the slashing sabres.  Looking about him, the commander of the dragoons could see the rebel line readying for a volley.  With no supports he decided the best course of action would be to fall back over Church Ridge.  By advancing, Adams' men had come in range of Bedford's infantry battalions and artillery.  One by one they were driven back by fire.  In no time, all Adams' infantry were in , or behind, Green Wood with officers struggling to rally their battered units.

The British light dragoons deliver a deadly charge
The battered remnants of Adams' brigade
As the reports came in Deadwood realised that his force was now too weak to capture the supply train.  Most of the units had lost 50% of their strength, a good number 75% or more.  His artillery were low on ammunition and could do little to prevent the Loyalist forces re-occupying Nelson's Farm.  The day was lost.

Courtney's men drive back Bush's last attack on Nelson's Farm
A very enjoyable scenario from Steve.  His rules for crossing the river and activating units worked well.

Tuesday 26 March 2019

Battle of Brambleton; an AWI scenario for Patriots and Loyalists

This week's battle returns to the AWI.  Steve had drawn up a scenario around an attempt by the rebel army to seize a supply column in the town of Brambleton.


The view from behind Brambleton.  Beyond East Ridge lies William Nelson's Farm and the Colne River.  This has two crossings, though infantry and cavalry can cross elsewhere at the cost of becoming disordered and needing to rally before moving off.  Von Stalheim's Hessian brigade, (a grenadier battalion, 2 musketeer battalions and a jaeger battalion), is camped around Nelson's Farm.  The jaeger have picquets at the crossings over the Colne.  Stewart, who commands the Loyalist force is in Brambleton together with the brigades of Bedford, (a grenadier battalion, a line battalion, a unit of rifles, a squadron of light dragoons and a light gun) and Courtney, (3 line battalions, a unit of converged light companies and a light gun).
The Hessian brigade will be alerted once one of the picquets fires at the enemy.  The jaeger battalion will form up at once, the remainder will each need to pass a rally test to form up.  Once a whole unit volley has been fired the British brigades can be activated by the same mechanism as used for the Hessians.

Bush's troops begin their advance
Approaching Brambleton is a rebel force of three brigades led by General Deadwood.  In the centre is the brigade of Brigadier Bush, (2 line battalions, 2 militia battalions, a unit of rifles and a light gun).  On Bush's right is Adam's brigade, which has the same composition as Bush's brigade.  To Bush's left is Cleveland's brigade, (1 line battalion, 2 militia battalions, a unit of rifles, a squadron of dragoons and a light gun).

As the rebels approached the Colne the early morning mist still cloaked the pastures lining the river bank.  At the ford, the Hessian jaeger spotted Cleveland's advance guard and fired a warning shot.  The rebel riflemen replied and then advanced on the ford.  Cleveland's other units moved forward and on the extreme left of the rebel line a unit of militia and the dragoons began to cross the Colne.  There was some delay as they attempted to form up, but once they did, the militia moved into Palmer's Copse on the Hessian right.  At the ford the riflemen moved aside and a column of line infantry charged forward.  As ordered, the Hessians fell back to Nelson's Farm to rejoin their battalion, which was now lining the fence facing the river.  The rebel column deployed into line on the Brambleton side of the river, but before they could advance any further they were hit by a volley from the Mayerbach Musketeer battalion which had formed up very quickly following the first shots at the river.  A second volley proved too much for the rebels and they fell back across the Colne to reform

First clash at the ford
On the rebel right, Adams was making better progress.  He faced no opposition, but he had to ford the river so all his units would need to rally once across.  However, none suffered any major delays and soon the lead elements (his rifles) were pushing through Green Wood, totally unaware that the Hessian grenadiers were camped on the other side near Church Ridge.  In the centre, Bush was moving with caution through the mist.  Leading the way was one of his line battalions, which had orders to push aside any picquets,  advance up the road and  secure Nelson's Farm.  This would enable the bulk of the brigade to move quickly towards Brambleton.  The first task was achieved, with the Hessain jaeger firing a few warning shots and then falling back to their parent unit.  Having secured the bridge, the infantry continued up the road in column, as speed was required.  Before they could deploy they were swept by fire from the farm.  Musketeer battalion Lossfeld was ready to meet them and further volleys persuaded the rebels to fall back.  In their place, a militia battalion also tried to advance, but it too was forced back by fire from the farm.  By now Bush had deployed his riflemen to oppose the jaeger and the rebel fire forced the Hessians to fall back, giving space for Bush's men to cross the Colne. 

Mayerbach and jaeger at Nelson's Farm

Bush's attack on Nelson's Farm

Cleveland's men forming up on the Brambleton bank of the Colne


Mayerbach block Cleveland's advance
 At the ford Cleveland eventually managed to get a battalion across the river and forward far enough to give room for more to cross in column and then deploy in support.  The fire from the rebels, plus the dragoons hovering menacingly by Palmer's Copse, persuaded Mayerbach to fall back a short distance towards East Ridge.  This retrograde movement stopped when the first battalions from Courtney's brigade appeared on East Ridge and a little to the right on Prospect Ridge.

Adam's men ready to advance on Church Ridge
The Hessian grenadiers
Adams men were now emerging from Green Wood and discovered the Hessian grenadiers waiting for them.  First one battalion and then two concentrated their fire on the grenadiers.  They stood and gave a good account of themselves, but when Adams' riflemen worked round their flank and added their fire, it proved too much and the grenadiers fell back, looking for support.  The riflemen from Bedford's brigade were on their way and also the grenadier battalion.  The Hessian officers tried to rally the grenadiers, but when Adams' artillery fired on them they retreated again, seeking sanctuary in Brambleton.  Adams sent his riflemen forward to contain Bedford's riflemen and began to redeploy to advance towards Church Ridge.   He was surprised to see his riflemen retreating over the crest and then saw the British grenadiers advancing on his still manoeuvring troops.

The British grenadiers line the crest of Church Ridge

Bedford prepares to defend Brambleton
Courtney's men on Prospect Ridge
It was at this point that we had to finish for the day.  Adams had made good progress, but was now faced with the grenadiers and riflemen; Bush had got bogged down trying to secure Nelson's Farm and Cleveland was making slow progress.  Things for Deadwood would only become more difficult as more British units moved forward.

Sunday 17 March 2019

The Abu Layyt opperation : a Sudan scenario

After an absence of almost a year we returned to the Sudan for our most recent game.  Following the disaster at Kawa  (link) the Egyptian forces had been rebuilt and thoroughly trained.  The brigadier, having survived the court of inquiry, was determined that in future,under no circumstances, would a purely Egyptian force be committed to an operation.  Therefore when an intelligence report dropped on his desk indicating that Emir Waffoor was again fermenting trouble in the desert tribes he called his officers together.  "We are going to have to do something about this fellow", he began; "Richardson, are your camel chaps ready for action?"  "Keen as mustard sir", replied the commander of the camel corps.  "A spot of action is just what they need".  "Well, they are going to have their chance, I am sending them out on an operation with Thabat's Egyptian cavalry.  Fitzwarren, you are to take overall command and Firth-Newsome, I want you to take the Lancers."

The brigadier then explained that the intelligence report indicated that Emir Waffoor was gathering arms at the isolated oasis of Abu Layyt.  What is more, the emir had called for the local tribal leaders to assemble there as a prelude to an attack.  "Fitzwarren, I want you to approach the oasis from the west, out of the desert; destroy the arms, capture the ringleaders and then make your way to the Nile at Sayff where the steamers will pick you up to bring your force back to camp.  The finer details I will leave to you.  Good luck and good hunting!"

The Imperial troops approach Sayff
A week later, young lieutenant Hartley wiped his brow and looked once again westwards through his binoculars.  "Yes sir" he said to Firth-Newsome, "It's definitely the smoke from the steamers.  I can also just about make out the vessels and the buildings of Sayff".  Acknowledging the report, Firth- Newsome turned and rode over to Fitzwarren.  "Hartley reports that the steamers are in sight sir, shall I order the advance".  "Yes", replied Fitzwarren, "the sooner this operation is over the better"  All the senior officers were aware that not only had the oasis been almost unoccupied, with few if any arms stored there; but an ominous dust cloud had been dogging their steps since they had turned east towards the Nile and it was getting closer.

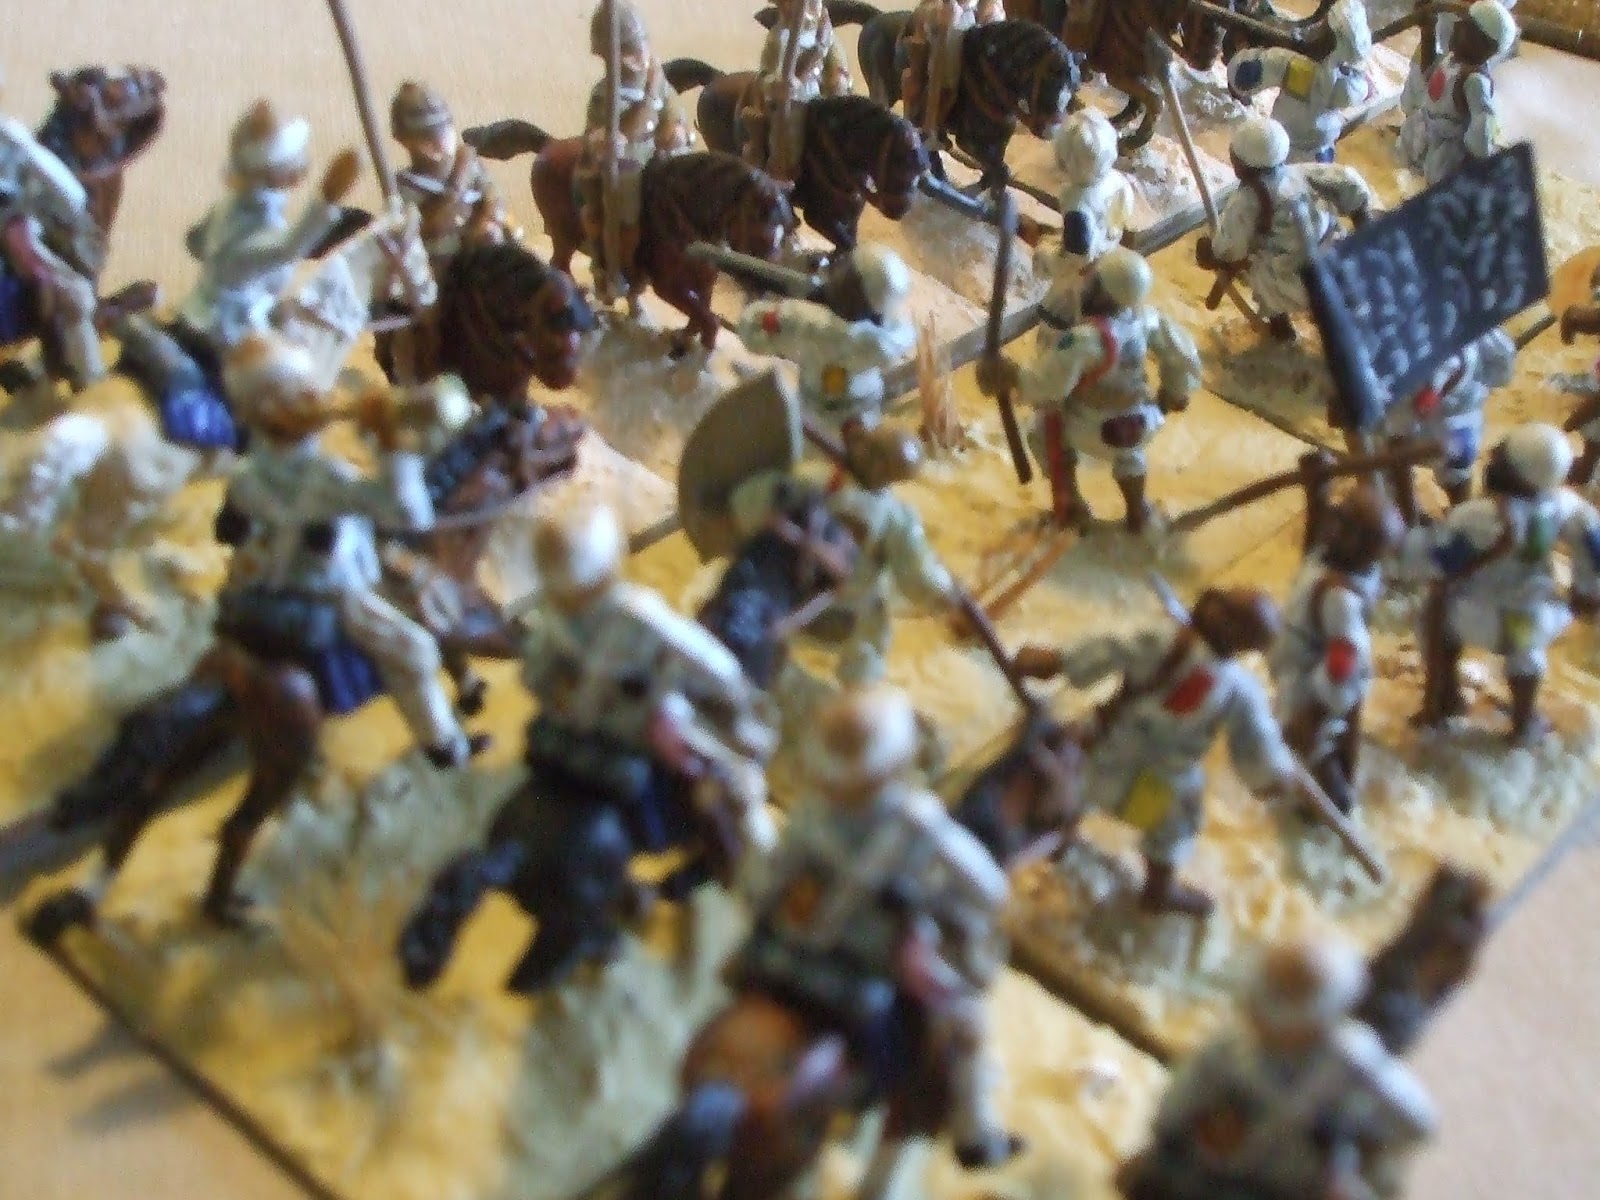
The Imperial force advanced with Thabat's cavalry on the left, Richardson in the centre and Firth-Newsome on the right.  For a while all was quiet, their only companions, heat, dust and the glaring sun.  Suddenly there was a cry of warning, a cry swiftly cut short.  Seeking the source of the cry, Thabat saw a wave of dervish warriors break cover.  He quickly ordered his leading unit to oppose this threat and give time for his mounted infantry to dismount and form a firing line.  All his calculations were destroyed as a second wave of dervish warriors appeared on his left and charged the leading cavalry.  Caught by surprise the Egyptian cavalry had time only to face this new threat before the warriors were upon them.  The Egyptians managed to hold the first rush but at great cost and as their formation fragmented more and more succumbed  to the warrior blades.  In no time it was over and the battered survivors fell back behind one of their fellow units.

The trap is sprung

The Dervish charge

The Dervish triumph
 Thabat's troubles were not over.  He had ordered his second-in-command, Tawfil Pasha to take a second Egyptian cavalry unit and support the one which was in such desperate straits.  No sooner had this advanced than it  too had been charged by the Dervish and it was now fighting for its life.  As Thabat watched the second unit also succumbed to sword and spear, so in no time at all, half the Egyptian force had been destroyed.  However, the Dervish had suffered heavy casualties and were now vulnerable.  Thabat launched another attack and this destroyed the remaining Dervish warriors.

On the Imperial right Firth-Newsome was also having problems.  Here also a trap had been sprung, but his leading unit of lancers had managed to defeat their attackers, though at considerable cost.  As he pushed a second unit forward, they had come under fire from Dervish artillery.  What he needed was infantry and artillery support and he was gratified that Fitzwarren had moved over to Richardson ordering him to seize the small hill to their front of the Camel Corps and bring the enemy artillery under fire.

At Sayff, Lieutenant Beatty, on the Assad, surveyed the scene with growing concern.  The desert force seemed to be getting bogged down and the Dervish were out of range of his machine guns.  Even though the area around Sayff was quiet he had a feeling that Dervish forces were quite near.  He glanced across at the other steamer,  the Khedive, hoping young Walton kept his nerve.  Both steamers had a small company of blue jackets with them, but far too few to hold the village should it be attacked.  Just then a sailor approached with a message from the chief engineer of the Assad, could the Lieutenant come to the engine room?  Leaving instructions that he was to be told of any change in the situation, Beatty went below.  He was deep in discussion with the engineer about coal supplies and the urgent need for an overhaul of the engines when he was summoned back to the bridge.  Walton had disembarked his blue jackets.  The naval infantry were marching into the town square, intent on holding the houses closest to the the approaching Imperial troops.  At their head was Walton, deep in discussion with Armitage, the commander of the infantry.  Beatty was about to dispatch a runner to order the blue jackets back to the Khedive, when a large body of Dervish broke cover to the south of Sayff and charged towards the town.  Alerted by a blast from the Khedive's siren and waving from the sailors on board  Walton ordered one body of blue jackets to seize houses on the southern side of the town whilst he retained a reserve to cover the jetty at which the Khedive was moored.

Armitage's men defend the town whilst Walton covers the jetty
There was just enough time for Armitage's command to fire a volley before the Dervish attack struck.  Hacking and slashing the Dervish attempted to force their way into the houses; the outnumbered blue jackets fought back, determined to hold on.  In the end there were just too many Dervishes and one by one the blue jackets were cut down.  Walton was unable to help as his small command had been charged by more Dervish units as they flowed down the streets.  With their backs to the river the blue jackets fought to the last, Walton in their midst.  His last order was for the Khedive to cast off and take station in mid channel.    With the attack coming from the south Beatty had not been able to support  Walton's men.  The blue jackets had been between his machine guns and the Dervish.  All he could do was watch, grimly determined to exact a heavy toll on the enemy when he could.

Out in the desert Fitzwarren knew he needed to reinforce the embattled Egyptians.  He sent one of Richardson's units to the left , hoping their rifle fire would weaken any further attacks and also sent over the field gun.  It was none too soon.  A further wave of attackers surged forward.  The gunners worked their guns with a will but although the enemy charge slowed it was not stopped.  Talbot, the gunnery commander sensed the fire was slackening; the ammunition was running low.  "Where's the second limber", he demanded.  "It cracked a wheel in the manoeuvre sir" was the reply.  "It should be here in 10 minutes".  "10 minutes may be too damn late" Talbot growled, "do the best you can, and send Featherstone over to those infantry and request their best support".

The Lancers destroy a unit of Dervishes
Emboldened by the slackening artillery fire the Dervish charged the Egyptians again.  One unit hit the cavalry, the other the infantry.  To his dismay, Thabat saw his cavalry seem to dissolve when hit by the Dervish.  A few small groups attempted to stand, but the majority, having seen the fate of their comrades galloped for the rear.  The infantry stood their ground, giving as good as they got and gradually gained the upper hand, driving off their assailants.  However, their respite was short-lived as a fresh wave of attackers approached.  A feeble close range volley did not stop this new wave of Dervishes and the infantry were overwhelmed.  Thabat was one of the fallen.  He had galloped over to encourage his men and had been drawn into the swirling melee.  Being on horseback he was an obvious target and drew the attention of numerous attackers, eventually falling to multiple stab wounds.

Looking to his left, Fitzwarren could see that nothing more could be done for the Egyptians, he needed to ensure that the British artillery and infantry escaped the carnage.  He sent an aide with orders to withdraw and join Richardson's command.  Another aide galloped off to Richardson with orders to push on quickly to Sayff.  Firth-Newsome would have to cover the right flank with his cavalry.  Richardson had managed to reduce the fire from the Dervish artillery and he prepared to advance.  Firth-Newsome ordered the remains of the leading lancer unit to push on and sent a second regiment in support, holding one back in reserve.  As the British cavalry crested a low rise they found a further body of Dervish infantry waiting for them.  Bugles braying the lancers charged and forced their way into the native ranks, resorting to swords where their lances became too unwieldy.   To cover Richardson's advance, Firth-Newsome led the reserve regiment of cavalry forward against the Dervish artillery.  This was silenced and its supporting infantry driven back.

The Lancers attacks again
In Sayff, the Dervish milled about hunting down the few remaining blue jackets.  On board Assad, Beatty ordered his men to bring the natives under fire.  The gatling swept the square free of Dervish and the blue jackets picked off those who sought refuge in the houses.  Manoeuvring up and down stream the Assad enabled the crew to bring all the town under fire and the Dervish paid a heavy price for their attack.  Fitzwarren's command suffered one final major loss on it's advance.  The machine gun team accompanying Richardson was ambushed as it passed some broken ground. 

The machine gun crew are ambushed
With the Dervishes in Sayff much reduced in numbers by Beatty's fire, Fitzwarren's command was able to fight it's way to the landing stages and the remnants of the expedition boarded the steamers for the voyage back to base.