Showing posts with label Jacobite. Show all posts

Sunday, 8 December 2019

RECON 2019 report

A nice way to end the wargaming year.  This show always has a good selection of traders and there were seemed to be more games on offer this year.  We managed to run through our fictional Clifton 1475 scenario four times; with Strickland winning each one.

Lowther on the attack, but things soon begin to unravel
Next to us was a 2mm scale Napoleonic game using the Blucher rules, run by the Chesterfield group


Nearby was another 2mm game, by James Mitchell, this time featuring Culloden and using a gridded map


Warlord Games had a large trade presence, but also ran participation games of their rule sets, the "Black Seas" one caught my eye


Upstairs was another naval game using the Blood and Plunder rules, run by the Ribble Warriors.


Also near the bring and buy stall was a  Terry Pratchett themed game by Grantham Witch Racing


and a Battletech game by Bradford Battletech Battalion


One trade stand that caught my eye was that for Irongate Scenery.  Their 3D printed scenery is very impressive


Many thanks to Bob, Dave, Lynne, Steve and Will for help with the game.  Also to John, who joined us to try out the rules and stayed for a second game!

More photos can be found on Will's blog and a video of the games on you tube

Wednesday, 26 August 2015

Midlands meander and East Anglia

We have just returned from a visit to family in East Anglia.  On our trip south we called in at Newstead Abbey, one time home of Lord Byron.  In the library there was a display case with helmets worn in the Greek Wars of Independence in the 1820's.


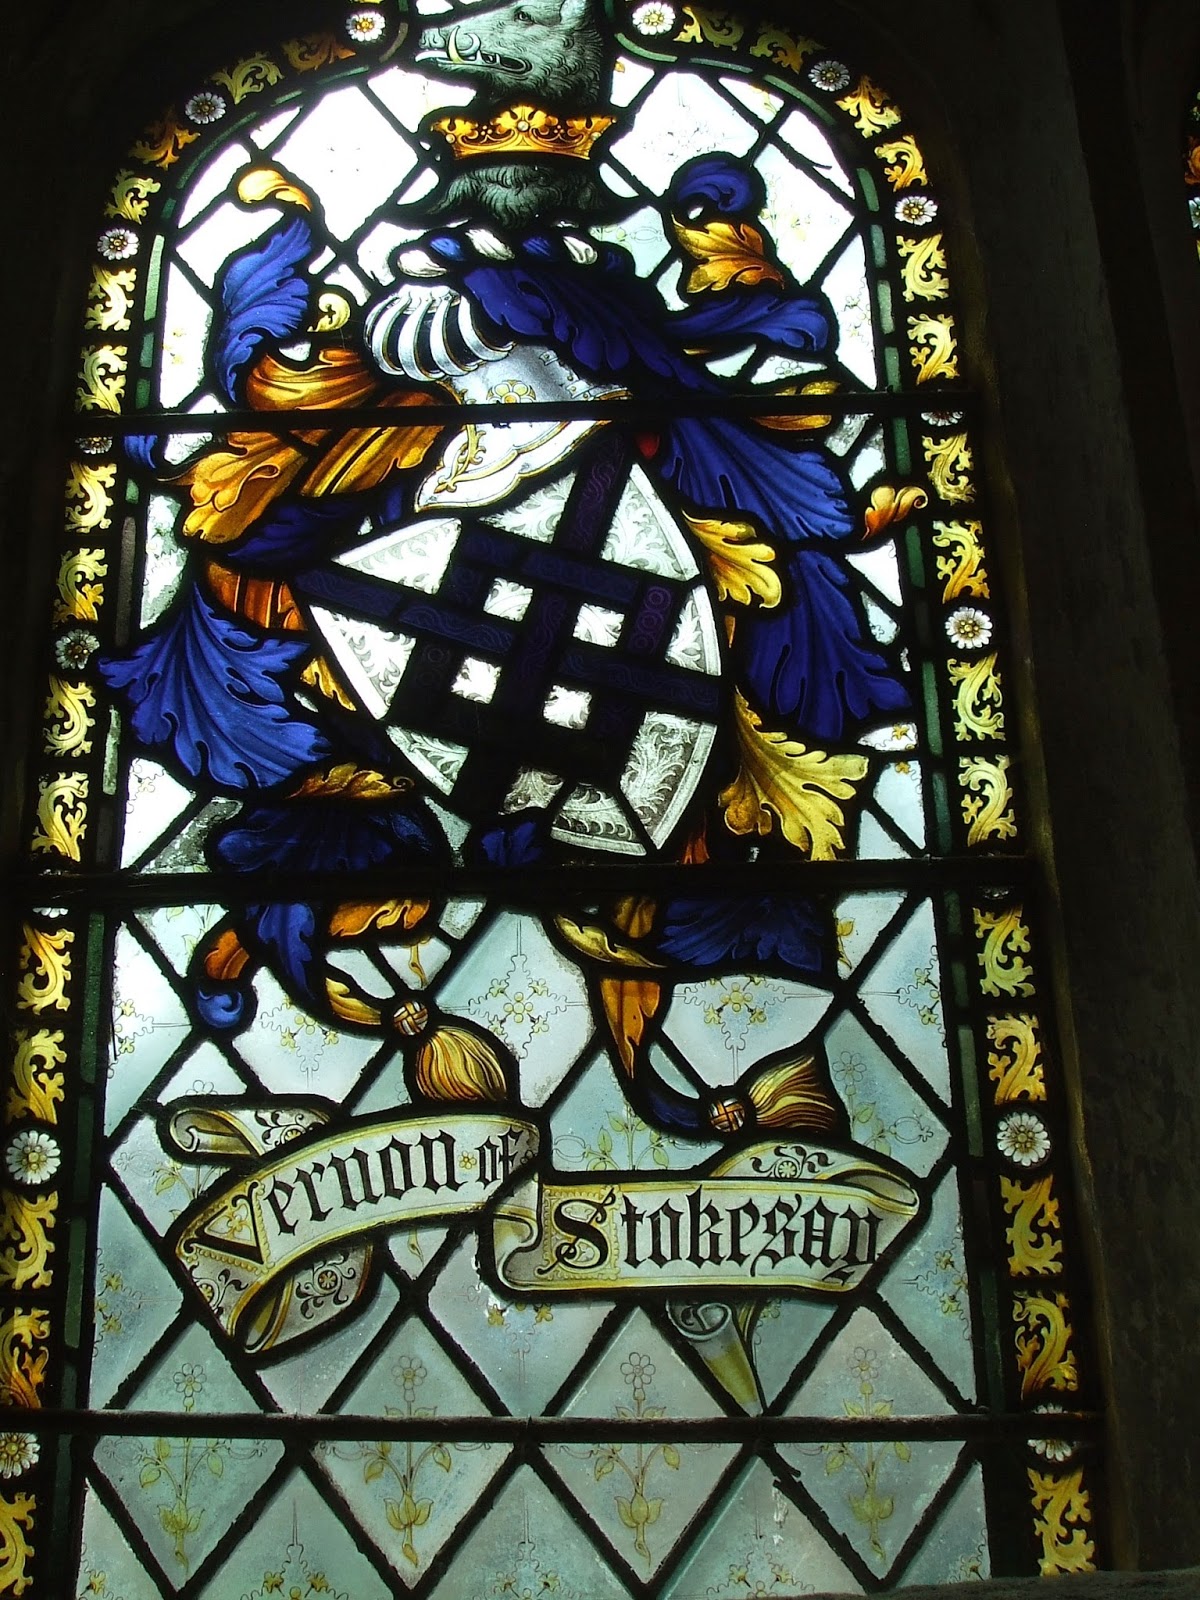
Byron had to sell Newstead to meet his debts and the purchaser, Thomas Wildman spent large sums refurbishing the house in the Gothic style.  One element of this was the installation of stained glass windows in the Great Hall.  These commemorated the military achievements of the Wildman family.


In Norfolk we did a few walks linked to the Weaver's Way.  One round North Walsham passed the possible site of a battle from the Peasants' Revolt of 1381.  Nearby was this cross, unfortunately without an accompanying plaque.


Later in the week we visited Castle Acre.  The remains of the castle demonstrate the archetypal 'motte and bailey' castle.  With free access it is well worth a visit if you are in the area.  The village church also has some impressive medieval paintings.

Information board

Ditch protecting the bailey

Remains of the gatehouse
On the way back from holiday we called in at Kedleston Hall.  The main reason was to see the neo-classical house, but the attached church provided a wealth of heraldry.


This is a copy of a banner carried by the Curzon retinue in the Hundred Years War

Tucked away in a corridor with a collection of game trophies was this object from the 18th century (or possibly earlier?)


The Hall is owned by the National Trust.

Monday, 15 September 2014

Lines of Castenay

The scenario this week is set in the War of the Grand Alliance.  Those old adversaries, the Comte de Salle Forde and Graf Von Grommitt once more crossed swords in the continuing wars of Louis  XIV.  To forestall any incursion by the Alliance forces into newly acquired French territory, orders had been issued by Versailles to construct defence lines, one such was in the neighbourhood of the village of Castenay.  A low ridge between two areas of boggy ground seemed to offer the perfect blocking position and a local contractor, (monsigneur Charles Balle-Foure) had been engaged by the emigre engineer Alexander Beattie to supervise the works. Two local militia battalions had been drafted in from a nearby fortress to do the required digging, but  when news that the Alliance army was on its way was received, the militia quickly decided that their duty lay in garrisoning the fortress and it was left for the Comte de Salle Forde to hold the ridge.  He had eight regiments of infantry, four squadrons of cavalry and a light gun.  The militia had managed to start work on two redoubts on the ridge and these provided cover for the ends of the Comte's front line of 5 battalions.  The only open ground was on the left and here the Comte stationed the Chevalier Aubusson with two sqaudrons of cavalry.  It would have made sense if the remaining cavalry had also been on the left, but the Marquis de St Evremonde insisted, as the senior cavalry commander, he should be on the right.  With friends at court, the Marquis could ignore the Comte and chose to do so on this occasion.

Initial deployment of forces, French on the left

Von Grommitt had 10 battalions of infantry and 5 squadrons of cavalry plus a medium gun.   He too opted for the classic deployment of infantry in the centre with cavalry on each wing and decided to advance against the whole French line, keeping his grenadiers in reserve, ready to exploit any gaps.

Von Grommitt advances

 As the Alliance forces advanced the marshy area in the centre, opposite the gap in the ridge caused problems as the grenadiers had to try and manoeuvre around it.  Von Grommitt had to leave matters up to the battalion commanders as he was fully employed getting the Hessian infantry into position.  To further complicate matters, the French chose this moment to attack with their left wing cavalry.  the Chevalier Aubusson led his squadrons (Aubusson and Vaillac), forward, hoping to attack the flank of the infantry line.  He found that instead he was opposed by the Austrian cuirassier brigade (squadrons from the Jung Hannover and Herbestein regiments).

Aubusson attacks the Austrian cuirassiers
 These horsemen did not attempt to charge, but calmly waited for the French to get close enough to fire at them with their pistols.  The pistol discharge was delayed until the last moment and emptied several saddles.  Amongst the casualties was the gallant Chevalier, who made it a point of honour to be the first to reach the enemy line.   Aubusson were repulsed, but Vaillac pushed on and the second impact was sufficient to drive the Jung Hannover squadron back.  Both sides now took time to reform, the French hampered by the loss of their commander.  Seeing the disruption on his left, the Comte galloped over and took personal command of his cavalry.  Inspired by his presence, the French charged again and drove the Austrian cuirassiers from the field.  However, events on the ridge had now reached a critical stage and the Comte had to quickly regain his former post behind the front line.

The Austrian infantry near the ridge

On the Alliance left the Austrian brigade had reached the ridge and started to move forward into a gap created by the retreat of the Zurlaben infantry battalion which had had to fall back due to casualties from artillery fire. As the Metternich battalion neared the crest they were attacked by the Marquis' cavalry which he had led forward.  The Spanish horse charged forward but were stopped in their tracks by a deadly volley from the Austrians.  As the remnants of the unit fell back, they left the field clear for the Marquis' second unit, the Cuirassier du Roi.  This also charged Metternich and undeterred by the volley closed on the infantry.  Sheltered by their pikes, the Austrians held their ground and again the French had to fall back. The Dutch battalion in the Austrian brigade had by this time driven Solre back from their works and was attempting to form up on the ridge.

The Spanish horse charge forward
 Meanwhile on the French left, the Comte had taken control of the defence of the ridge.  Directing his artillery to fire in support of the Bavarians he was able to stop Erbprinz from closing.  Wartensleben was also struggling to get the better of a fire fight with  Toulouse.  Von Grommitt was fully occupied trying to cover the rear of his attack from the French cavalry.  Fortunately, lacking a commander now the Comte had returned to the ridge, they took their time reorganising and this allowed the Alliance cavalry from the left to cross the battlefield to come the the aid of their infantry. Outnumbered, the French fell back behind their lines.

In the centre, the leading battalion of Alliance grenadiers had attacked Languedoc, who were holding the part-built lines.  These gave the French some advantage, but when the second grenadier battalion moved up the French gave way and fell back on their reserves.

As the light began to fade the Alliance had a foothold on the ridge on their left flank and in the centre, but were facing the bulk of the French reserves plus the Marquis' cavalry.  On the Alliance right, the Hessian brigade had taken heavy casualties trying to take the ridge and Von Grommitt decided he should withdraw.  The Comte could hardly believe his luck, he too had been on the point of ordering a withdrawal and the sight of his enemy falling back allowed him to order his troops to return to their positions on the ridge.

The closing position

 We used the Ga Pa rules for this scenario and they worked much better with the linear deployment.  The rules allow for galloping and trotting charges and we decided to make the French cavalry 'gallopers', although they were disordered by their charge. This represents their philosophy of the "charge en forageurs",  where the emphasis was on speed rather than cohesion.    The Alliance cavalry were trotting cavalry, who relied more on breaking up the enemy charge with pistol fire.  This gave interesting cavalry melees, but pike-armed infantry seemed to have little difficulty seeing off cavalry charges.  Next time perhaps we'll set the scenario a little later when pikes had been phased out.

Tuesday, 22 May 2012

Aughrim 2

Last week the game was left with the point of decision being on the Jacobite right, where St Ruth was attempting to halt an advance by the Dutch and Danish infantry and cavalry.  The second evening began with Sarsfield leading forward his last unit of cavalry in a desperate attempt to buy time for reinforcements to arrive.  Sarsfield prevailed in the ensuing melee and rather recklessly pursued the defeated Dutch horse.  This resulted in the disordered Jacobites being caught by fresh cavalry and pursuit turned into rout as the remnants of Sarsfield's men tumbled from the field. 

Undaunted by this reverse, the cavalry commander turned to the cavalry reserve released by St Ruth and led that forward.  Again he suffered defeat, and had to turn to the final reserve which had been moved from the left flank.  Meanwhile the fire fight continued between the grenadiers defending the right flank and the guards battalions attacking them.  Heavy losses were suffered by both sides and soon only a few companies of powder-stained infantry remained with the colours.  The restricted front made it difficult for the Williamites to reinforce or extend the line, unlike the Jacobites , who benefited from the arrival of battalions from Lord Bellew's and the Grand Prior's regiments, who moved up on the right of the grenadiers.  An attempt by Ginkel to extend the line to the right, by moving Von Bulow's regiment forward was met by volleys from the 1st battalion of the Irish Guards who had been given the 'honour' of defending this 'knuckle' in the defence line.

Further along the line, the Jacobites continued to delay the advance by the English and Hugenot infantry and the left of the Jacobite line seemed secure from any advance.  To St Ruth the threat still lay on his right and here events were to take a dramatic turn for the worse.

The repulse of the Jacobite cavalry had allowed the Williamite cavalry to advance and deploy on a wider front.  This gave the Jurl regiment the freedom to deploy facing the flank of the Jacobite infantry line.  With their attention occupied by the infantry to their front, the men of Lord Bellew's regiment did not see the cavalry bearing down on them until it was too late to reform to meet the threat.  Already reduced in numbers by their fire fight with the Danish guards the Jacobite infantry did not stand, but turned and routed back up the hill towards the centre of St Ruth's position.  Sensing an opportunity, the colonel of the Jurl regiment urged on his men towards the flank of the next infantry unit.  This unit, the Grand Prior's regiment although fresh to action refused to stand when they saw colleagues routing past them.  Eventually the cavalry reined in at a fence blocking their path, in a few minutes they had destroyed the right flank of the Jacobite position.  The grenadiers, having stoutly stood their ground against heavy odds were demoralised by the sight of their supports routing away and also routed.  The 1st Battalion of the Guards were also forced into retreat by the flood of routers.

St Ruth hurriedly stripped yet more units from the 'quiet' sectors to cobble together a new line behind which he hoped to rally the fleeing units.  The second battalion of the Guards was ordered forward to fill the gap left by the first.  Stout work was done by the artillery, virtually the only unit on the Jacobite right to stand their ground.  They worked like demons firing as fast as they could at the advancing infantry.  However, they stood too long and as the infantry came in range their volleys quickly began to inflict casualties.  The rate of fire began to fall and soon there were too few to man the guns and the pitifully few survivors fell back.

Sarsfield had one last throw of the dice and led forward is final reserve.  This met the last uncommitted Williamite cavalry in a fierce melee which involved both brigade commanders.  Eventually the Jacobites prevailed, but as the cavalry regrouped they found the body of Sarsfield amongst a group of dead enemy horsemen.  The Williamite cavalry were destroyed, but the Jacobite cavalry were too few in number to operate as a viable threat to the Williamite infantry, so they formed up and slowly gave ground in front of a cautious enemy advance.

Elsewhere the English and Hugenots had taken advantage of the thinning of the Jacobite lines to move forward and in some places had reached the main defence line.  Uncertainty about events on the flanks caused some wavering in the infantry units and anxious glances over the shoulder were not eased by increasingly strident commands to 'look to your front'  The grenadiers attached to the Hugenot brigade had attacked the second battalion of the Irish Guards as they attempted to hold the 'knuckle' and in a fierce melee forced the Irishmen to give ground.  As these elite troops grudgingly fell back St Ruth realised that the day was lost and the best strategy was to preserve as much of the army as possible for the next battle.

Taking advantage of the gathering gloom and the weariness of the Williamite forces the Jacobites began to  retreat down the road towards Galway.

Monday, 14 May 2012

Aughrim

We first fought this battle well over 10 years ago and I distinctly remember what a difficult job it was for the Williamites to make any headway against what was a fairly strong defensive position.  On this occasion the dice decided I took the part of St Ruth rather than Ginkel.  When I surveyed the position from the opposite side I began to appreciate that although strong, the position did have some weaknesses, particularly on the right flank.
On the left centre, in front of the main position were placed two units of rapparees ((belonging to Hugh O'Donnel and Michael Hogan).  Their task was to hinder the advance of the attack by the English foot.


The battle started with a desultory artillery exchange, with the soft ground absorbing most of the shot.  The whole Williamite force moved forward, with the English foot and to their left the Huguenots, struggling forward across the boggy ground and the marshy stream.  The ground conditions slowed them down considerably and disordered their ranks.  The English foot then came in musket range of the Hugh O'Donnel's men.  The Irishmen's volley added to the confusion and the officers struggled to maintain order.  Another volley was fired by the Irish and to this was added fire from artillery on the ridge.  With battalions stacking up behind the 8th (Beaumont's) were ordered to clear the way. The colonel requested more time, but behind him the men of Kirke's were in no mood to stand under fire and pushed the leading battalion aside.
To their left, a second column was being led by Trelawney's (the 4th Foot) was also crossing the stream.  They were not under artillery fire and although receiving a volley from Hogan's rapparees they continued to advance, reformed and then fired a volley of their own.


 This inflicted heavy casualties on the Irishmen, who not waiting for the command, turned and ran for the security of the main defensive position.  O'Donnel's men were waiting to deliver more pain on Kirke's as they crossed the stream, but, to their left a battery of guns had moved forward and soon found the range.  As his men were killed and wounded about him, O'Donnel decided that discretion dictated he withdraw before the fury of the English reached him.
The Huguenot's were also struggling to cross the stream.  They too were under artillery fire and the lead unit of grenadiers suffered heavy casualties.  One unit strayed into a marsh and whilst trying to regain some semblance of order suffered the attention of the Jacobite gunners.
On the Jacobite left some dragoons had probed forward to cover an advance of the Williamite cavalry.  They discovered a ruined castle garrisoned by infantry and the narrow causeways covered by light artillery.  Beyond the stream lay cavalry ready to attack any units disordered by crossing the obstacles.  Ginkel, seeing the strength of the position, began to move his cavalry towards his centre.
St Ruth was content with events to his left and front, but his right was causing him some concern.  A solid phalanx of Dutch and Danish foot was approaching and in their way was a solitary unit of grenadiers.  To the right of the Dutch and Danes were cavalry and they too were looking for a crossing over the stream.


The artillery attached to the grenadiers was finding it difficult to find the range, the soft ground was absorbing shot and not allowing 'bounce through'.  As the lead units of the allied advance splashed through the stream they came within musket range and the grenadiers took to their task.  Leading the attack were the Dutch Guards and in spite of heavy casualties they crossed the stream, halted and then fired a volley which killed most of the gunners in the supporting artillery battery.  Those who survived took to their heels and left the field.  To the left of the Dutch Guards were the Danish Guards.  As they crossed the stream they were charged by the lead squadron of Sarsfield's cavalry.  This was a rash decision by Sarsfield, perhaps he thought the Danes were unformed by the stream, or the speed of the attack would reduce the effectiveness of any defensive volley.  The result was carnage.  Reserving their fire, the Danes waited until the cavalry were almost on them and then fired a volley which destroyed the front rank of horsemen and quite a few in the second.  Although leading the charge, Sarsfield managed to survive and fell back with the pitiful remnant of his command.
His involvement in the charge was to have a second serious consequence.  The colonel of the Jacobite  cavalry guarding the ford on the extreme right, saw the Sehested Cuirassier begin to cross.  Being a man of rigorous discipline he awaited the order from his commander to attack.  For his part Sarsfield expected the colonel to act on his initiative.  The result was that the cuirassier crossed the stream and reformed without interference.  Not only that, whilst the Jacobite colonel dithered, the Allied cavalry charged and caught him at the halt.  The resulting melee was a forgone conclusion.  With the advantage of weight and momentum the allied cavalry were unstoppable and totally dispersed the Jacobite cavalry.


 Taking advantage of the ground gained by the Sehested Cuirassier more allied cavalry crossed the stream.  A second Jacobite cavalry unit charged forward and did manage to stem the tide for a short time, but was eventually overwhelmed by superior numbers.  Desperately Sarsfield gathered what cavalry remained to lead a counter-charge.

Behind him St Ruth was attempting to bolster the line.  Three units of foot were taken from the reserve and moved to the right.  In addition he led his reserve cavalry, plus a unit from the left towards the area of danger.

That was the position at close of play.  Will Ginkel's left hook win the day for the Williamites, or will St Ruth save the day with his cavalry reserve?

Tuesday, 7 February 2012

Back to Ireland

We had a further installment in the on-going Irish campaign this week. The scenario came from "Scenarios for all ages" by Grant and Asquith and concerned the attempt by the Jacobites and Williamites to each seize a vital bridge. Each force is split into two brigades of similar composition. One brigade from each side advanced directly along the road towards the bridge, whilst the other entered from their respective left flanks. The Williamites were slightly disadvantaged by their flanking force being delayed by up to five moves.
I commanded the Jacobite force and decided to ford the river and concentrate on the first Williamite force.


Meanwhile the brigades on the road both advanced their cavalry at full speed to the bridge. The Jacobite horse halted short of the bridge whilst their opponents continued across. The Williamites were hampered by the narrowness of their formation and were pushed back after the initial clash. Now the fight took place on the bridge with both sides hampered by the lack of space to wield their weapons and manoeuvre. The melee swayed back and forth with neither side able to gain an advantage. Eventually both units had to fall back exhausted with no one controlling the bridge.

Both sides moved infantry up to the line of the river and a musketry duel began. The Williamites had been quicker to get into position and thus got their volley in first. As the fire fight continued the Williamites began to get the uppper hand and lacking support the Jacobites fell back.

By now the second Williamite brigade had appeared and was advancing on the right flank of the Jacobite force on the road. The second Jacobite force were now across the river and had begun its advance towards the Williamite side of the bridge. However, the line of march was hampered by terrain and a large manor house. This had been garrisoned by a Williamite battalion which opened fire on the Jacobite infantry. One of the Jacobite units halted to try and suppress the fire, but as it's casualties mounted, the officers were unable to hold them in place and they broke and ran back to the ford.

.

Ahead, the cavalry vanguard were charged by the Williamite horse. Although they had the advantage of the ground the Jacobites were completely routed by their opponents and the victorious Williamites swept on towards the enemy infantry. Surprised, the infantry struggled into formation and for a time held off the cavalry, but eventually, the horsemen broke into the infantry formation and a rout resulted.

Across the river, the Williamites were closing in on the bridge, using a copse to cover the advance. They were aided by a second cavalry advance. This was unopposed because the Jacobite cavalry had moved to the opposite flank to oppose yet more Williamite cavalry which were threatening the line of retreat.


My infantry tried to hold off the cavalry, but were unsuccessful and disregarding the urgent orders of the brigadier broke and ran. Another push by cavalry against my light artillery failed because, against the odds, they lost formation in the river. However, the final nail in the Jacobite coffin was the successful attack by the final Wlliamite cavalry which swept away the Jacobite cavalry covering the line of retreat. Now the 'road' brigade had no cavalry and was outnumbered by the enemy infantry. The 'flank' brigade had lost half of its infantry and half its cavalry. The remaining cavalry had the opportunity to charge the unsupported enemy infantry, but failed the test to charge and was thus stranded in musketry range and at risk of losing a significant proportion of its strength. Thus what units could, retreated off the field and the victorious Williamites gained control of the bridge.

Our after action discussion highlighted the faulty decision to cross the river, particularly into constricted terrain which favoured the defence. Perhaps, it would have been better to concentrate all forces at the bridge. Food for thought should the same sort of situation crop up.

Sunday, 13 March 2011

Follow up to the Boyne

First, many thanks for the positive comments on the last post, they are much appreciated. In answer to Alan's question re the figures for Banja Luka, the makers are many and various!. The Solacks who led the sortie were Redoubt figures, the majority of the remainder of the Turkish force comprising Azabs and Janissaries, were Dixon figures. The Austrians come from a variety of manufacturers, the garrison overrun by the sortie were Minifigs, but the collection has been built up over time, so no one manufacturer dominates. The buildings again are from various sources, kits,(both plastic and wood) and cast items. Some items have been acquired from Bring and Buys at shows.

This week we returned to the Emerald Isle in a scenario based on the retreat of the Jacobite forces to the west of Ireland after the Battle of the Boyne. The Williamite advance guard, comprising Danish foot and horse has been given the task of securing a bridgehead over a river to enable the main body to advance. The Jacobites for their part have left a rearguard to delay any advance as much as possible.


Here is a general view of the Jacobite position on an island between two arms of the River Gall. The rivers are unfordable and two the bridges over the eastern arm of the river are defended by infantry with artillery and cavalry support. In the far distance is the village of Ballymurphy, behind which is a third bridge which crosses the western arm of the river.

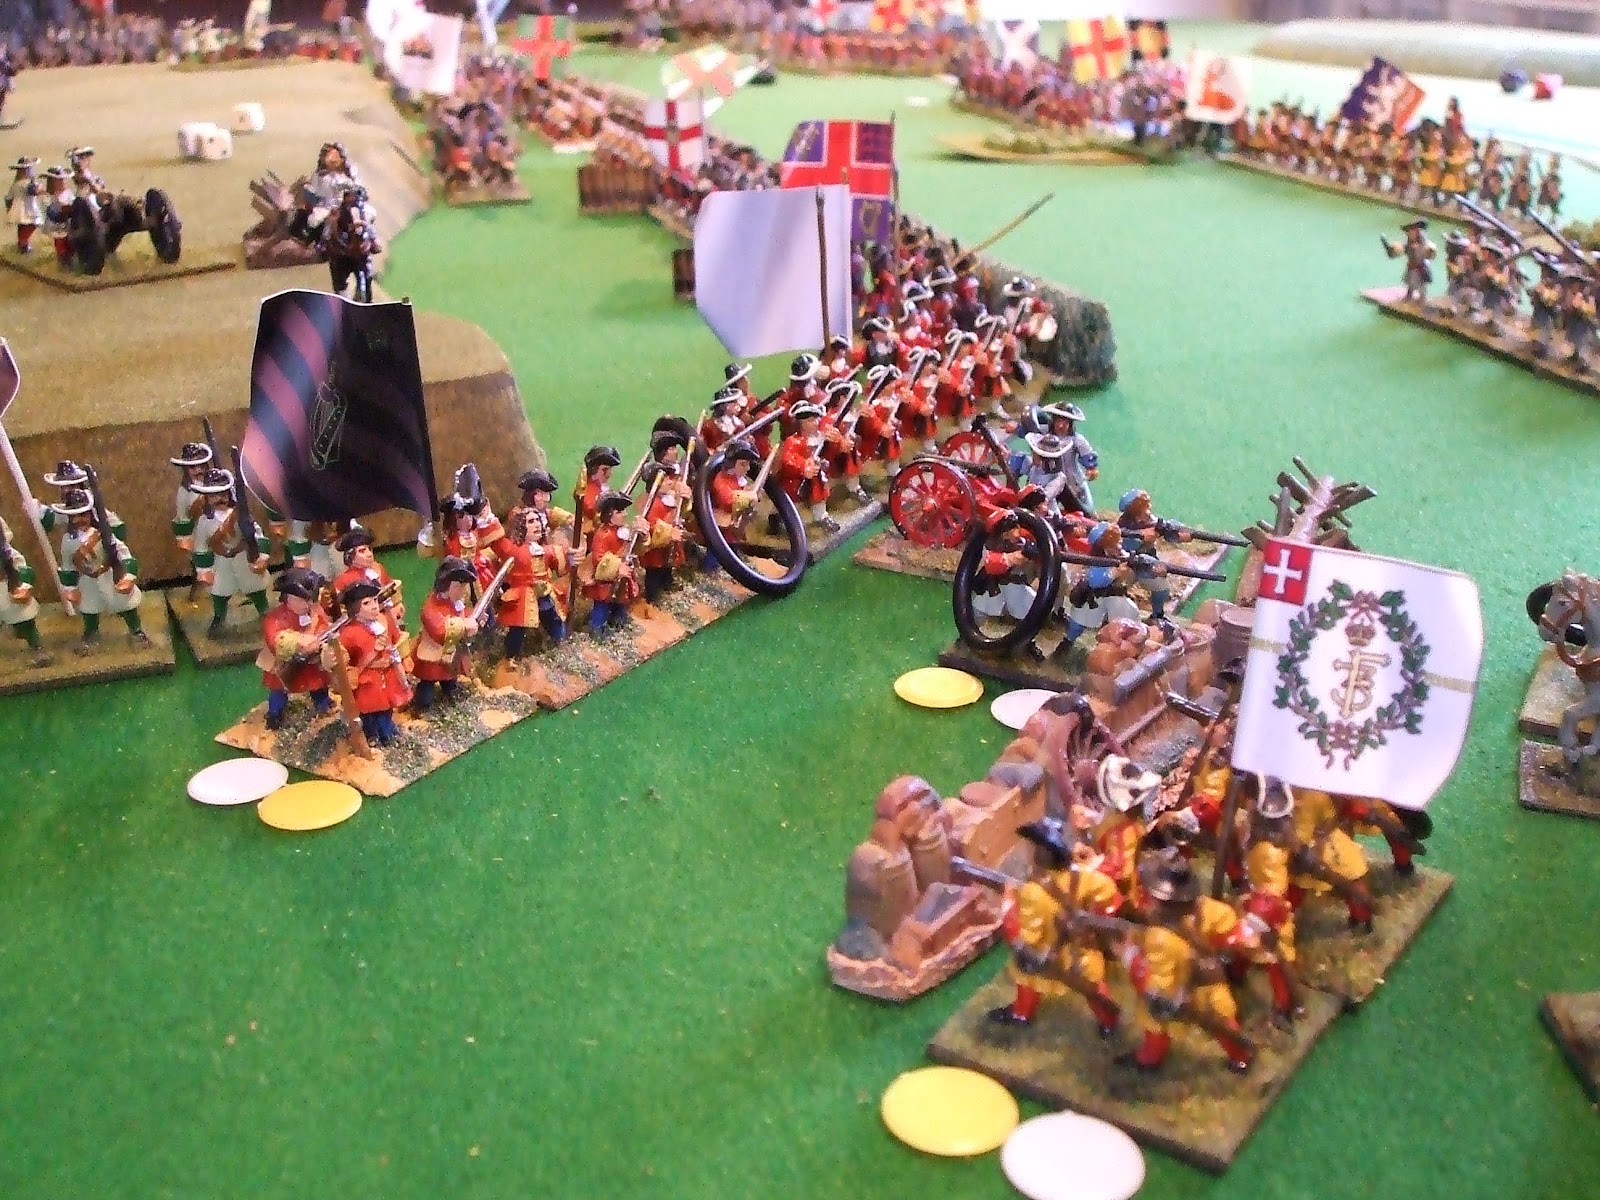
It had been impressed on the Danish commander (me), that securing the crossing was vital and that speed was essential. Therefore, having defeated the Jacobites once already and thinking that their morale may be shaky, a rush was made on the bridges before the artillery arrived. This decision fell neatly within the category known as "tactical error" or in lay parlance "big mistake". The leading battalions came under accurate artillery fire and when they crossed the bridge were stopped in their tracks by telling volleys from the defenders.

Time for a rethink. I moved battalions forward to engage in a fire fight with the defenders, but again before my artillery was in position. Losses began to rise and then my artillery deployed...and found that the infantry masked their fire on the defenders! Anyway that problem was solved as my infantry, down to half strength, retreated.


It was at this point that I received a message from one of my scouts that there was a ford, over on the far right flank, so I despatched the bulk of my cavalry to the ford.

A battle of attrition now began between the artillery on both sides, they were the key to the battle. I lost two light guns, but was able to reduce the effect of the Jacobite artillery by two thirds. Whilst this was going on, the movement of my cavalry had been observed by the Jacobite general and he began to move forces to counter this new threat. He also pulled back his infantry slightly to protect them from my artillery. Encouraged, I made another attempt to cross the bridges. On my right the Danish Guard battalion successfully crossed. On my left I tried to cross quickly with my cavalry, an attempt which ended in bloody failure as they were cut down by volleys from the defenders of the village of Ballymurphy. A second infantry attack across the bridge stalled as the attackers morale failed when they suffered casualties from more volleys. By now help was at hand as my artillery began to fire on the village. This 'persuaded' the defenders to retire, leaving the way open to cross. This retirement was helped by the fires which started in the village. The defenders claimed it was caused by the artillery, the Williamites argued that the defenders set the fires to protect themselves from a vigorous pursuit. The truth will never be known, but the locals returned to find blackened ruins the next day.


On the far bank of the River Gall the two cavalry forces came together. Luck was with the Danes and regiment Juel overcame their opponents regiments Galway and Tyrconnel in close fought melees. The Jacobite commander now realsed that there was a danger that the Danish cavalry could block the bridge and bottle up his infantry between the two arms of the Gall. He quickly moved two battalions into a position covering the bridge confident they would prevail against the Danish cavalry as they had the infantry. Undaunted, Juel moved forward, an unsteady volley failed to stop them and they closed to combat. The rear ranks of Jacobite infantry looked over their shoulders to see Ballymurphy in flames, their own cavalry heading down the road to the west and decided that discretion was the better part of valour. This quickly communicated itself to the rest of the battalion and soon they were all running, pursued by the Danish cavalry.


The victory was the his, but as the Danish commander looked at what remained of his force, he wondered if it was worth it. True his cavalry was virtually unscathed, but his infantry had suffered heavy casulaties. Of his six battalions, only one was ready for action, two had suffered 25% casulaties and the remaining three between them could barely muster the strength of one batallion.

Friday, 2 July 2010

Boyne part 2

The Battle of the Boyne reached its conclusion this week and a hard fought affair it was. William persisted with the attacks across the river at Oldbridge and the Danes stirred themselves and started crossing downstream. They struggled with the same problem as the Dutch and Anglo-Scots upstream, a restricted front, advancing into musketry range whilst still disordered and cavalry threatening their flanks.

As had happened earlier with the Dutch, the forlorn of grenadiers suffered heavy casualties and their supports struggled to establish themselves on the opposite bank. However, the Jacobites did not have things all their own way. Supporting Danish infantry and artillery were inflicting casualties and the volume of musketry from the Irish units began to diminish. To buy time to reorganise the Jacobite cavalry were ordered to attack the grenadiers and guards. A fierce melee followed with the guards just hanging on, although they were almost finished as a fighting force.


On the opposite flank the French and Jacobite dragoons, together with the two Guards battalions positioned themselves to stop the Northern Irish and Huguenots who had crossed the Boyne at Rosnaree. Taking advantage of some broken ground they reduced the attacking frontage of their opponents, taking awaytheir advantage in numbers. Flanking attacks were tried by the Williamites, but they were hampered by terrain and the holding force in the centre suffred heavy casualties, two units being forced to retreat. Two dragoon regiments advanced by the river and forced the 2nd battalion of the King's Guards to turn to face them. Fearing a breakthrough James also deployed a unit from the centre, reducing his force in this vital sector. Just when decisive action was needed the Williamite dragoons failed to charge, giving the Jacobites time to redeploy.

Meanwhile the slaughter continued at Oldbridge. The Williamite artillery had at last found the range and the Jacobite infantry supporting those units manning the barricades began to suffer heavy casulaties. Another wave of infantry, supported by cavalry crossed the Boyne. The Dutch infantry on the left suffered casulaties from the enemy musketry and were then charged by the Horse. They broke, as others had before them and a vicious cavalry melee ensued at the ford. The Dutch horse eventually prevailed, but suffered severely when they pursued their opponents within range of the defenders of Oldbridge. On the right of the ford, the Scots Guards, plus the rallied remnants of the Dutch Guards pushed forwards towards the defences. Although suffering heavy casualties they forced the defenders back. James took counsel from his advisors. Reports from the flanks indicated that they were at the limits of their endurance and enemy pressure was increasing. In the centre only two fresh battalions remained, the cavalry was spent and fresh enemy troops were approaching the ford. If they fell back now they might save the army, any delay and a rout may result. The French brigade in reserve held open the road to Dublin for the moment. James realised only one possible course of action could be taken and he ordered the retreat.
For the Williamites this was a blessed relief. Casulaties had been heavy, units were disorganised by the terrain and the bulk of the cavalry, which could have hindered the Jacobite retreat were still on the northern bank of the Boyne.

As before, more photos available at www.flickr.com/photos/wargameamateur