It has been some time since Lord Melchett and Sir Victor crossed swords, so I dusted off my ECW figures and set up a scenario for our weekly game. Catlow Moor is an area of upland between the Kelham and Catlow valleys. Mostly rough moorland with bogs and pools, a few farmers try and scratch a living on its fringes. By chance both commanders have decided to try and outflank the opposition by cutting across this moor, Lord Melchett had reached Earnshaw's Farm last night and requisitioned the best (ie only bedroom) relegating Seth Earnshaw and his family to the barn.
As a misty dawn broke, the Royalist force roused itself, preparing to continue its march. However, scouts reported that an enemy force was approaching and so Lord Melchett ordered his force to deploy; the cavalry, two brigades, each of 3 regiments and commanded by Colonel Richard Foster and Hesketh Fleetwood, were on the firmer ground near Black Pool.on the Royalist left. The infantry in two brigades in the vicinity of Earnshaw's Farm. Colonel William Saville commanded two regiments behind the low ridge, (called rather optimistically Wolf Heights). To his left Sir James Fotheringay deployed the three regiments of his brigade to occupy an enclosure and link to the cavalry brigades.
Sir Victor's men had deployed in the same way as Lord Melchett's. On the Parliamentarian right were the cavalry; one brigade commanded by Colonel James Livesey, the other by Sir Walter Foote. In the centre on the low ridge called Low Fell, Colonel Ezeekial Cooper deployed his three regiments. On the left Sir Richard Clayton's three regiments were struggling through the boggy ground of Fleet Moss. Both sides have only limited artillery, (one light gun each) and the same objective, drive back the enemy and then continue the advance.
 |
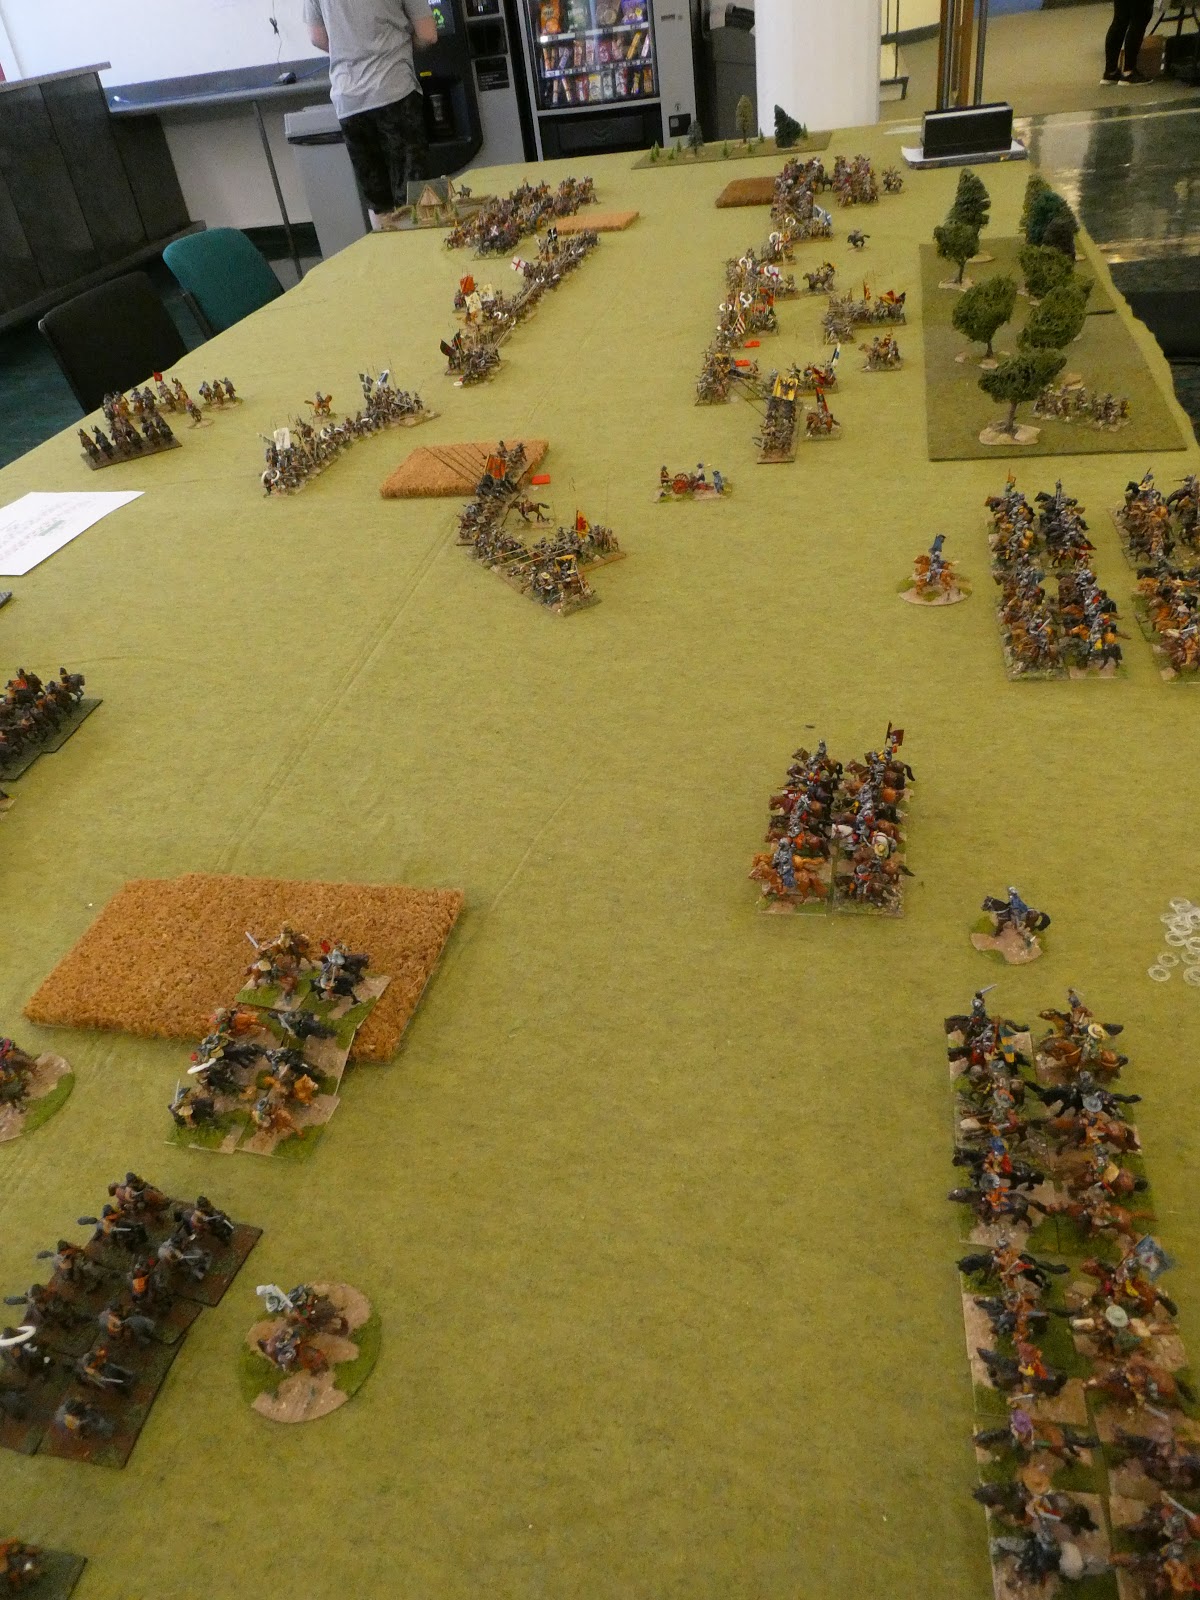
| The battlefield from behind the parliamentary force. |
[There is a fault with the photograph above, I hadn't noticed that Wolf Heights had been moved, (no one had owned up yet). It should be by the farm, not in the centre of the table.]
A dice roll allocated the parliamentary command to Steve and seeing he had a slight superiority in foot he decided to attack towards Earnshaw's Farm whilst occupying the more numerous Royalist cavalry. For my part as Lord Melchett, I decided to use my superiority in cavalry to drive off the Parliamentarian horse and then turn against the infantry.
 |
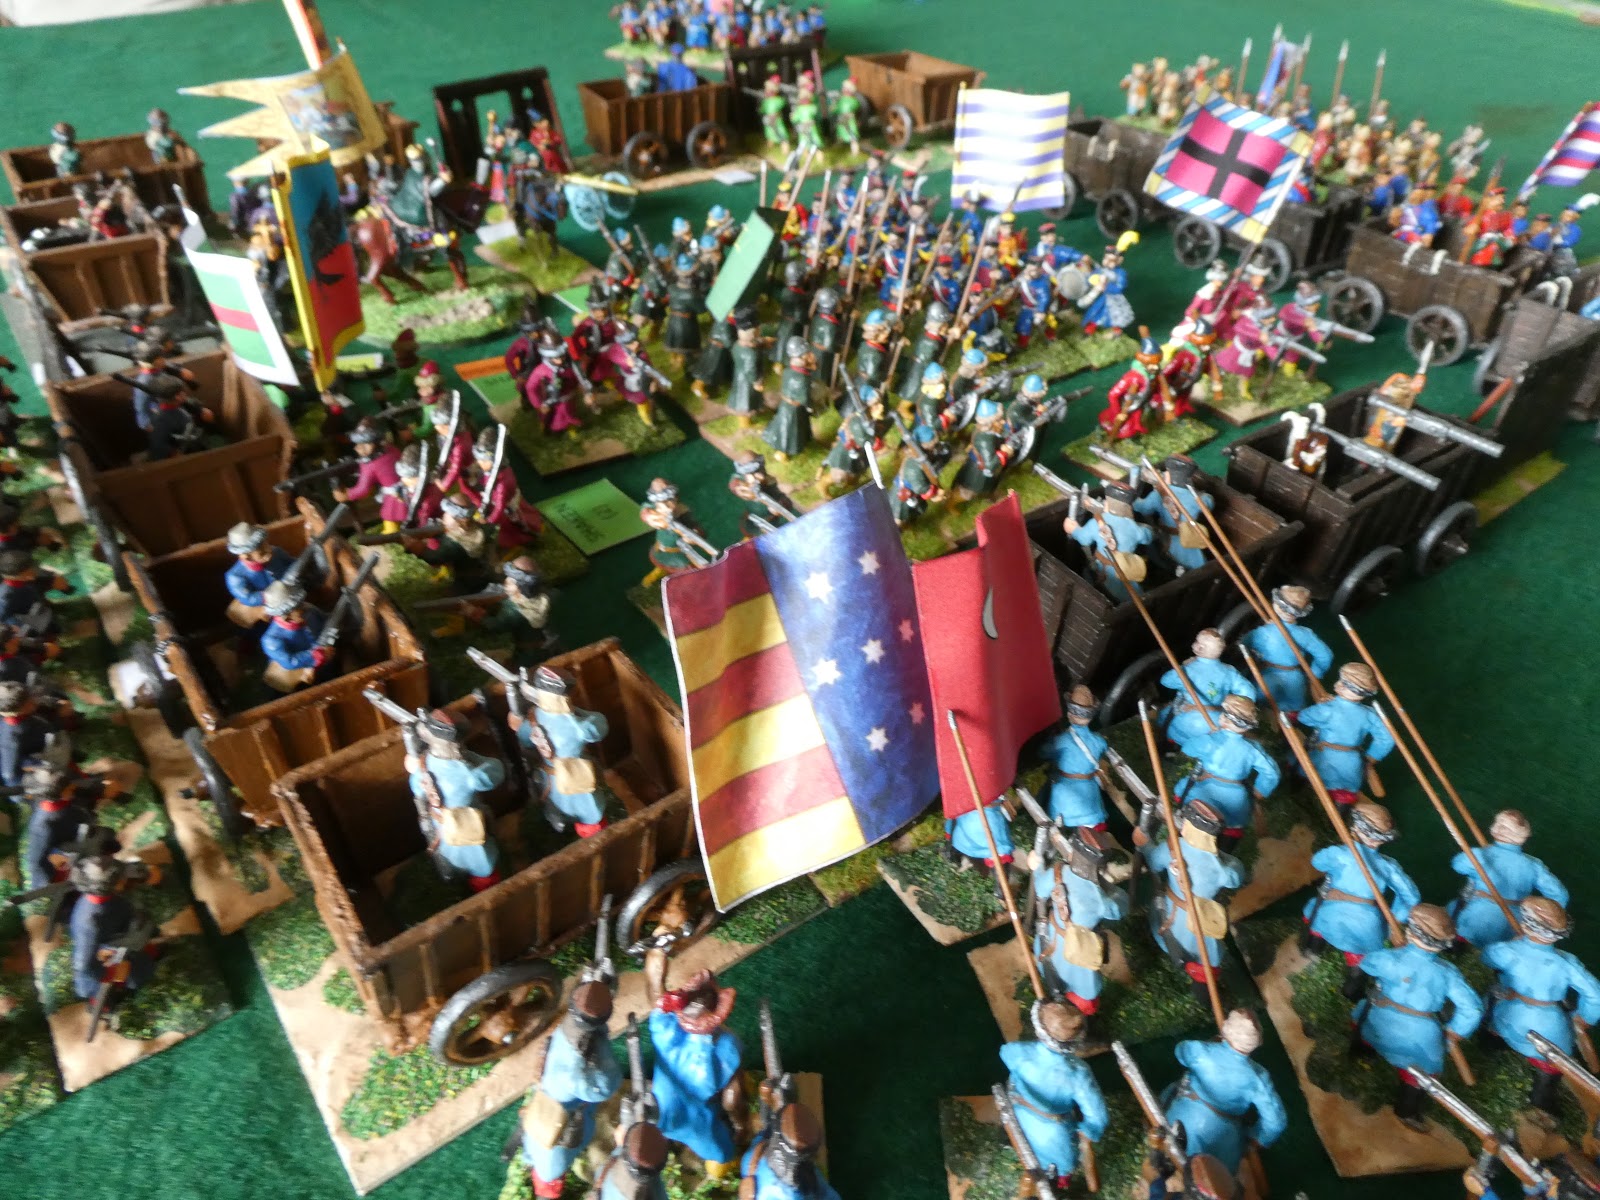
| Earnshaw's Farm |
 |
| Clayton's brigade and Fleet Moss, with Cooper's brigade beyond |
Both Fleetwood and Foster struggled to get their men moving forward, which would have allowed the Parliamentary cavalry to take the narrow gap near Black Pool, nullifying the Royalist superiority in cavalry. However, both Livesey and Foote also struggled to get their men moving. This general inertia was not present in Cooper's command as the Parliamentary foot stepped forward with a will. To the left, Clayton was also moving, but one unit got disordered by the boggy ground of the Fleet Moss. Saville's men seemed to be still half asleep and by the time they reached the crest of Wolf Heights, Sir Richard's men were in musketry range and greeted them with a volley. In the centre, Fotheringay's and Cooper's men were also exchanging volleys. Cooper's own regiment got in a telling volley against the Royalist light artillery, forcing them to fall back.
 |
| Cooper's Brigade advance |
On the Royalist left the cavalry eventually came to blows. Fleetwood's leading regiment, Gillibrand's clashed with Nutter's and although the Royalists prevailed, they had shaken by their losses and thus could not follow up. Fortunately for them, Nutter's withdrawal had disordered their supports, Livesey's own regiment and this allowed the Royalists to fall back to recover. Foster and Foote also engaged in melee, but after a long and inconclusive struggle both sides fell back to reorganise.
 |
| The melee between Fleetwood and Livesey |
With the cavalry fight inconclusive, the initiative lay with Sir Victor. Cooper's men seemed to be gaining the advantage against Fotheringay. Gerard's in the enclosure, were losing the fire fight with Talbots and Rodney's redcoats, although larger than Cooper's own regiment were similarly being out shot. On Wolf Heights, Saville's leading regiment, Assheton's was facing the fire of two of Clayton's regiments and without waiting for their supporting regiment, Taylor's, charged their nearest foe, Gell's. Disregarding a rather ineffectual closing volley Assheton's charged home, trusting to their greater number of pikemen. However, Gell's stood their ground and their greater numbers told on the flanks, forcing the Royalists to fall back up the slope and take shelter behind Taylor's who had just arrived.
 |
| The struggle begins for Wolf Heights |
In the centre Rodney's charged Cooper's regiment and routed them, disordering their supports. Sir Victor galloped over to try and rally the fleeing regiment. He managed to stop their flight, but the unit had become so disordered that it was a long time before it could take any further part in the battle. For his part Fotheringay ordered Rodney's to follow up their victory. As the regiment surged forward they took a withering volley from the rapidly recovering Tiplady's regiment who had witnessed Cooper's rout. This stopped them in their tracks and a further volley forced them to fall back to recover.
Colonel Foster was also suffering a setback. Gillibrand's regiment was still recovering from the earlier melee when it was hit by one of Foote's fresh regiments. Caught at the halt, the regiment was swept from the field and the Parliamentary horse was only stopped by a gallant charge by Molyneux's regiment. Fleetwood also suffered a setback when Clifton's was also routed by the recovered Livesey's. Both brigade commanders mad strenuous efforts to rally their remaining regiments and take the fight to the foe.
 |
| Gell's regiment routs |
Clayton had managed to get his third regiment, White's, reorganised after the crossing of Fleet Moss and it reached the lower slopes of Wolf Heights just in time, as Taylor's regiment had charged Gell's regiment and routed them. It took a steady volley from White's to stop Taylor's from exploiting this opportunity. Lord Melchett ordered Gerard's to advance from the enclosure and sent orders to Saville to press forward with Assheton's to support Taylor. Fotheringay was to maintain the pressure on Cooper's men and when a solid line was formed a general advance would be made.
 |
| The cavalry melee resumes |
Fleetwood and Foster had by now managed to restore order in their remaining regiments and they too began to advance. Livesey and Foote tried to offer resistance, but their regiments had all suffered losses in the earlier melees and they began to give ground. A newly formed regiment, the Kelhamshire Horse, which was part of Foote's command broke under the pressure, fleeing the field. Royalist numbers now began to tell. Slowly the Parliamentary troopers were forced back, being driven away from the infantry and towards the slopes leading down into the Catlow valley.
Sensing that if he maintained his position, his infantry would be in danger from Royalist cavalry, Sir Victor ordered Cooper and Clayton to make a slow ordered withdrawal. Lord Melchett saw a victory within his grasp and sent orders to Fotheringay and Saville for an all out attack. However, his commanders could not comply. Their regiments were on the brink of exhaustion and almost out of ammunition. Riders were sent to Fleetwood and Foster with orders to turn some of their men against the Parliamentary foot. By the time the couriers arrived, the cavalry melee had degenerated into a running fight down into the valley and it would take hours for the Royalist cavalry to form up. Fuming, Lord Melchett turned his horse and left the moor, seeking the delights of the Swan Inn in Twiston, ordering his staff to make arrangements for an advance on the morrow.