Showing posts with label Sudan. Show all posts

Monday, 16 September 2024

Summer 2024

It has been some time since I posted on the blog.  Some games have been taking place, but I just haven't got around to reporting them.  Being summer other commitments come to the fore and so this is by way of a postcard from my travels.

At the Riverside Museum in Glasgow I came across this display featuring the Glasgow built ships which ran the Union blockade to trade with the Confederate states,


The last picture was a trip down memory lane.  Way back in my youth a company which produced bubblegum decided to boost sales by including rather graphic picture cards depicting the ACW.  In addition the packs included facsimiles of Confederate currency.  Now I have never liked bubblegum, but like all my classmates I collected the cards and the money.  The latter was used in games of pontoon, fortunately not leading to a life of gambling.

I have posted about the Riverside Museum before, and included photos of ship models, but here are two more


On another day, further west we visited Tarbert on Loch Fyne.  Of interest to me here were the remains of the castle.


It was quite a climb, but the view over the harbour was worth it


Earlier ion the summer we went to Cornwall and while there we visited St Michael's Mount.  In the museum there were several artefacts collected by the family.

Flag captured at the battle of El Teb


A shield from the same source

Thursday, 26 October 2023

"Recover those stores" : a Sudan scenario using Black Powder rules

 For our latest game Steve set up this scenario where a force of Egyptian troops (3 brigades of foot and 1 of cavalry) were given the task of recovering a cache of arms and stores which Emir Khat had 'liberated' from several defeated Imperial forces.  Information received suggested that the arms and stores were located in a village deep in enemy territory.  The Dervish had a small force protecting the village, but reinforcements could be expected.  The time and point of entry of each element of the reinforcements was the subject of a dice roll and so was unpredictable.

After a hard march the Egyptians were nearing the village.  After several battles in which the Imperial troops had been surprised by hidden enemy troops catching their extended lines, the Egyptian commander decided to hold one infantry brigade back as a reserve, to meet contingencies.  His cavalry were to carry out a sweep around the enemy left to check for concealed enemy units.  The remaining infantry brigades were to advance to two hills and use their firepower to reduce the enemy numbers before a general assault was launched.

The Egyptian cavalry move off to the right

The cavalry brigade set off to the right and for the first two turns met no problems.  On the next turn, as they crested a low hill the were met by the sight of a mass of Dervish infantry moving towards them.  As the cavalry commander looked around the landscape he saw a second mass of enemy infantry to his left.  There was no way he could tackle such numbers, his job was to get back and report the weight of numbers heading towards the village.  He ordered his rear unit to turn around and head back, to be followed by his other two units in quick succession.    Unfortunately, his rear unit did not receive, or misunderstood his order and remained where they were.  To buy time he ordered his leading unit to attack the Dervish troops in front of the brigade.  Gallant though they were, they could not make any headway against the mass of enemy troops and as they struggled, the second regiment of cavalry was charged in the flank by a unit of Hadendoa from the second group of Dervish.

The Hadendoa strike

By now, the rearmost unit of Egyptian cavalry, the Bashi Bazouks had turned to retire towards the centre.  However, they saw that a unit of Dervish was swinging round on their left hoping to prevent any escape for the cavalry.  They charged them and manage to keep the way back open, at least for the moment.  

Behind them all order was breaking down.  The leading unit, unable to hold the mass of enemy infantry routed after the brigade commander was killed.  Then the unit hit in flank did the same.  At least the efforts of the Bashi Bazouks had left open an avenue of escape but the victorious Hadendoa now charged into the back of the Bashis sealing their fate.


The rout of the Egyptian cavalry brigade

As the mayhem was unfolding on the Egyptian right, the leading infantry brigades continued forward.  The left hand brigade established itself on their hill, put out a flank guard, deployed the artillery and then deployed two infantry units forward to fire at the defenders of the village.  In the centre, the second brigade was almost in position, ready to cover the village and the compound.

The infantry brigades move into position

Perhaps encouraged by the rather ineffective fire from the nearest house one unit of infantry charged forward and tried to force their way in.  They met stern resistance and had to fall back to lick their wounds.

Egyptian infantry attack the village

In the centre the second Egyptian brigade had reached its position.  As the leading unit crested the ridge they were charged by enemy cavalry.  Their fellow units were still in column so it was vital that they hold their ground.  This they did, driving off their attackers.  

The second brigade comes under attack from cavalry...

Other units of cavalry swept around the hill heading for the remaining Egyptian formations.  This gave the rest of the centre brigade to form up facing outwards and the left hand unit was just in time to receive a charge from one of the Dervish units in the village

and infantry

On the left, the situation was deteriorating. The unit which had attacked the village had fallen back to regroup, but took further casualties from enemy rifle and artillery fire.  This caused their nerve to break and they routed. To their left, their supporting unit had run low on ammunition and as their rate of fire declined an emboldened enemy attacked them.  Perhaps shaken by their lack of ammunition the Egyptian infantry faltered as the enemy charged.  They could not hold their ground and had to fall back.  This meant that the supply mule sent forward to resupply them fell into enemy hands.  The brigade commander moved forward to steady the wavering unit and the Sudanese, who had been covering the flank, took up position behind them offering support.  It was to be in vain.  The enemy charged again, totally routing the Egyptians and killing the brigade commander in the process.


Surging forward, the Dervish then took on the Sudanese.  These proved to be made of tougher stuff and not only held their ground but forced the Dervish to retreat.  At the same time a unit of cavalry was charging the brigade artillery.  Fortunately, the artillery fire was enough to stall the charge and save the brigade.

The left hand brigade under severe pressure

As all this was happening the final act in the drama that was engulfing the Egyptian cavalry was played out.  Attempting to restore some order, the Egyptian C in C galloped over and rallied one unit of cavalry.  With no other commanders available, the other units continued their rout and left the battle.  The rallied unit was still reforming when it was hit by the pursuing Hadendoa infantry.  Carnage ensued with many of the cavalry and the C in C falling beneath the swords and spears of the enemy.  Only a few cavalry remained to follow their comrades who had left the battle.

The end of the Egyptian cavalry

Behind the Egyptian cavalry, the commander of the reserve brigade had formed up his men in a firing line to drive back the approaching enemy.  The Hadendoa charged the unit on the right of the line, which refused to stand and fell back in disorder.  Fortunately, the other units held and prepared to fire.  However, something was amiss with either the ammunition or the supply held by each soldier because the two battalions and the artillery all fired and found that not only had they had inflicted no casualties, but they had all gone low on ammunition as well.  The brigade still had its supply mule, but it would be a nervous time before all were resupplied.


At this point we had to end play as we had run out of time.  Victory was given to the Dervish, because the Egyptians did not really have the strength to push forward and capture the village.  Added to that the C in C and two brigade commanders were dead, and, two more supply mules had been captured to further boost the supplies available to Emir Khat.


A most enjoyable game.  Thanks to Bob for handling the Dervish so well and to Steve for devising the scenario.

Tuesday, 23 May 2023

Isle of Wight part 2: Carisbrooke Castle

 Carisbrooke Castle occupies an excellent defensive position on a hilltop close to the town of Newport on the Isle of Wight.  The first Norman castle was built within the perimeter of an earlier Saxon fortress.  By 1100 a motte and bailey castle had been built, dominating the hilltop.  Over the next 4 centuries the castle defences were strengthened to counter new threats.  A second wall, protected by artillery bastions was built in the late Tudor period as the threat from artillery increased.   In the 17th century the castle rose to prominence as the 'jail' for Charles I after his capture.

The approach to the gateway via a bridge over the moat

 
In the late medieval period small cannon started to be used

  The Tudor period saw a significant increase in the deployment of artillery within castles.  Of course when you have artillery you need powder and shot.                 


 Steps to the powder store


The keep dominates the curtain wall


Entrance passage at the top of the steep flight of steps up the motte


Space was very restricted within the shell keep


Model in the museum showing the late medieval layout of the castle


View from the walls of one of the bastions added in the late Tudor period


The ditch with the stone faced bastion towering above


Quite a daunting prospect, the outer curtain wall, a ditch, a steep climb and then the castle wall
   

Within the castle is a museum with many interesting exhibits.  Below is a mail coat brought back to the Isle of Wight from the Sudan campaign in the late 19th century.


A military exhibit from an action a decade earlier can be seen at Osborne House where there is an artillery piece brought back from the Battle of Tel-el-Kebir  by her son, Prince Arthur, Duke of Connaught, who had commanded the Guards Brigade at the battle.


Saturday, 15 April 2023

A Rescue Mission; a Sudan scenario using the Black Powder rules

There had been some brigand activity 'up country' and the area commander had received orders from 'on high' that it would be politic for the Egyptian troops to be given the task of sorting things out.  With some misgivings the general had followed orders and sent an Egyptian force to subdue the rebels.  It had come as no surprise to him when a message came through that the Egyptians had been forced to form  a defensive zariba and required aid to rescue them.   Accordingly a force of 3 units of foot, three units of cavalry and 2 machine guns and a field gun  was sent under Brigadier Rowlandson, an experienced officer who had spent several years in northern India.


Overview of the terrain, The Egyptians in their zariba on the right and the Imperial troops on the left 

Rowlandson ordered Major Makepeace, the infantry commander to keep his troops under close control and advance in a 'box' formation, ready to repel attacks from any direction.  The front of this 'box' was to be covered by the cavalry under Major Dempsey; who was also to scout out the flanks to warn of any approaching Dervish troops.  The Imperial troops advanced at a steady pace until word came from the Royal Hertfordshire Lancers on the right flank that enemy camelry and cavalry were approaching
 
The enemy approach

Perhaps wary of being outflanked, the Lancers remained in position rather than attacking the enemy; the Dervish did not hesitate and moved forward quickly; catching the Lancers at the halt.  

The Lancers attacked

Even outnumbered 2:1 the Lancers managed to hold against the first impetus, and fought the more numerous camel mounted Dervish troops to a standstill, forcing them to fall back.  However, before the Lancers could recover they were hit by a fresh unit of Dervish horsemen.  This proved too much for the Lancers  their morale cracked and they routed, pursued by the victorious Dervish


Although costly this action had severely damaged two units of camel-mounted Dervish troops and also pulled away one unit of Dervish cavalry who pursued the Lancers.

Major Dempsey had advanced his unit of Hussars towards the Egyptian zariba but having observed the loss of the Lancers he ordered them to cover the right flank of the infantry.  With the mass of cavalry to his right, Makepeace had halted the infantry and ordered them to face outwards, stationing his artillery at the corners.  Rowlandson had taken the unit of Light Dragoond forward and established contact with the Egyptian commander and suggested he move his troops towards the Imperial infantry and then the two commands could retrace their steps to camp.  Meanwhile the Dervish cavalry had focused its attentions on the Imperial infantry and artillery.

The machine gun stops a Dervish cavalry charge

An attack on a machine gun had been repelled, but as the gun tried to gain the security of the infantry lines it was caught and overrun, the gunners dying defending their gun.  An attack by the recovered camel troops was defeated by the Hussars, aided by some accurate artillery fire from the Egyptian artillery.

Another attack repelled


The infantry were also coming under attack.  The Banffshire Highlanders poured a withering fire into an attack by Dervish cavalry, almost expending all their ammunition.  Urgent calls were made for re-supply before more attacks were launched by the Dervish.    The success of the Hussars was short-lived as they were attacked by a fresh unit of Dervish cavalry and swept away, Dempsey galloping over to try and rally them.  The successful Dervish cavalry then attacked the Borsetshires who, encouraged by the returning Rowlandson held their ground and then received reinforcements from a surprising quarter as the Royal Artillery crew left their gun and charged over to help.  Soon the cavalry had to fall back and the Imperial troops busied themselves in preparation for the next attack.

The Hussars are driven off

The Dervish cavalry had sustained heavy casualties in its attacks and as it fell back to re-organise the Egyptian forces continued their advance.

Now a new threat emerged as hordes of Dervish infantry moved towards the left flank of the Imperial troops.
The Dervish infantry appear

The Egyptian commander moved his cavalry to assist Dempsey's Light Dragoons in trying to hold the Dervish infantry back.  He also used his artillery and infantry to fire into the cavalry forming up to recommence their attacks.

The Egyptian infantry play their part

The Highlanders came under attack again as did the Royal Kelhamshire's to their right.  Both managed to hold their ground, although the Highlanders once again ran low on ammunition, truly not a great day for the Imperial commissariat.  The right flank of the Royal Kelhamshires looked vulnerable and Dempsey ordered the Light Dragoons to charge into the mass of Dervish infantry massing to attack.

More pressure on the Highlanders


Pressure on the Imperial left
The flank was stabilised, but two unit of hadendoa had slipped round the cavalry and they charged the remaining machine gun.  The gunners fought valiantly, but in the end fell beneath the spears and swords of their opponents.  Any further progress of the hadendoa was checked by the presence of the Egyptian cavalry.  
Another gun overrun

With the two commands now combined, the Dervish commander decided to call off the attack.  The Imperial troops had been weakened and lost two guns, a loss which would be keenly felt.  For his part Rowlandson could point to the successful 'rescue' of the Egyptian force, but he felt that in the minds of the officers back at base the question of who had been rescued him or the Egyptians would be debated.  Certainly, the Egyptian commander felt that his troops had performed well and made a significant contribution to the success of the mission.


Tuesday, 26 July 2022

The Governor's Residence: a Black Powder scenario

Once again Steve kindly organised the traditional "Sunday after Phalanx" game for the visiting Gentlemen Pensioners.  Attendance was lower than previous years perhaps due to continuing concerns over Covid and the aggravating factor of the drastically increased cost of fuel.  This year the game was scaled back to Steve's usual 6 x 8 table and was set in the Sudan.

News had come through to Imperial headquarters that the governor's residence near Kagbar was under siege by Amir Khat .  Such an affront to British prestige could not be ignored and consequently a large force was assembled to restore proper order.  Two brigades of British infantry, (Brigadiers Ross and Wakefield), with a brigade of mounted infantry, (Goodrich)  and one of cavalry (Nowell-Lees); were accompanied by two brigades of Egyptians (one each of infantry and cavalry, (Brigadiers Al-Hussein and Badawi respectively).  The whole force was under the command of General Wilberforce Forbes-Robertson.

When the Imperial force came close to Kagbar, they found that there was a force of Dervishes on the ridge close to the residence.  They had artillery and this was shelling the residence, attempting to break down the walls or gate.  Forbes-Robertson ordered Nowell-Lees and Goodrich to advance directly towards the ridge, but to beware of being ambushed by other Dervish forces.  The Egyptians were to move towards the village of Kagbar itself, whilst Ross and Wakefield would screen the settlement of Fareig which lay in front of them and with the majority of their troops protect the flank of the cavalry and mounted infantry. 

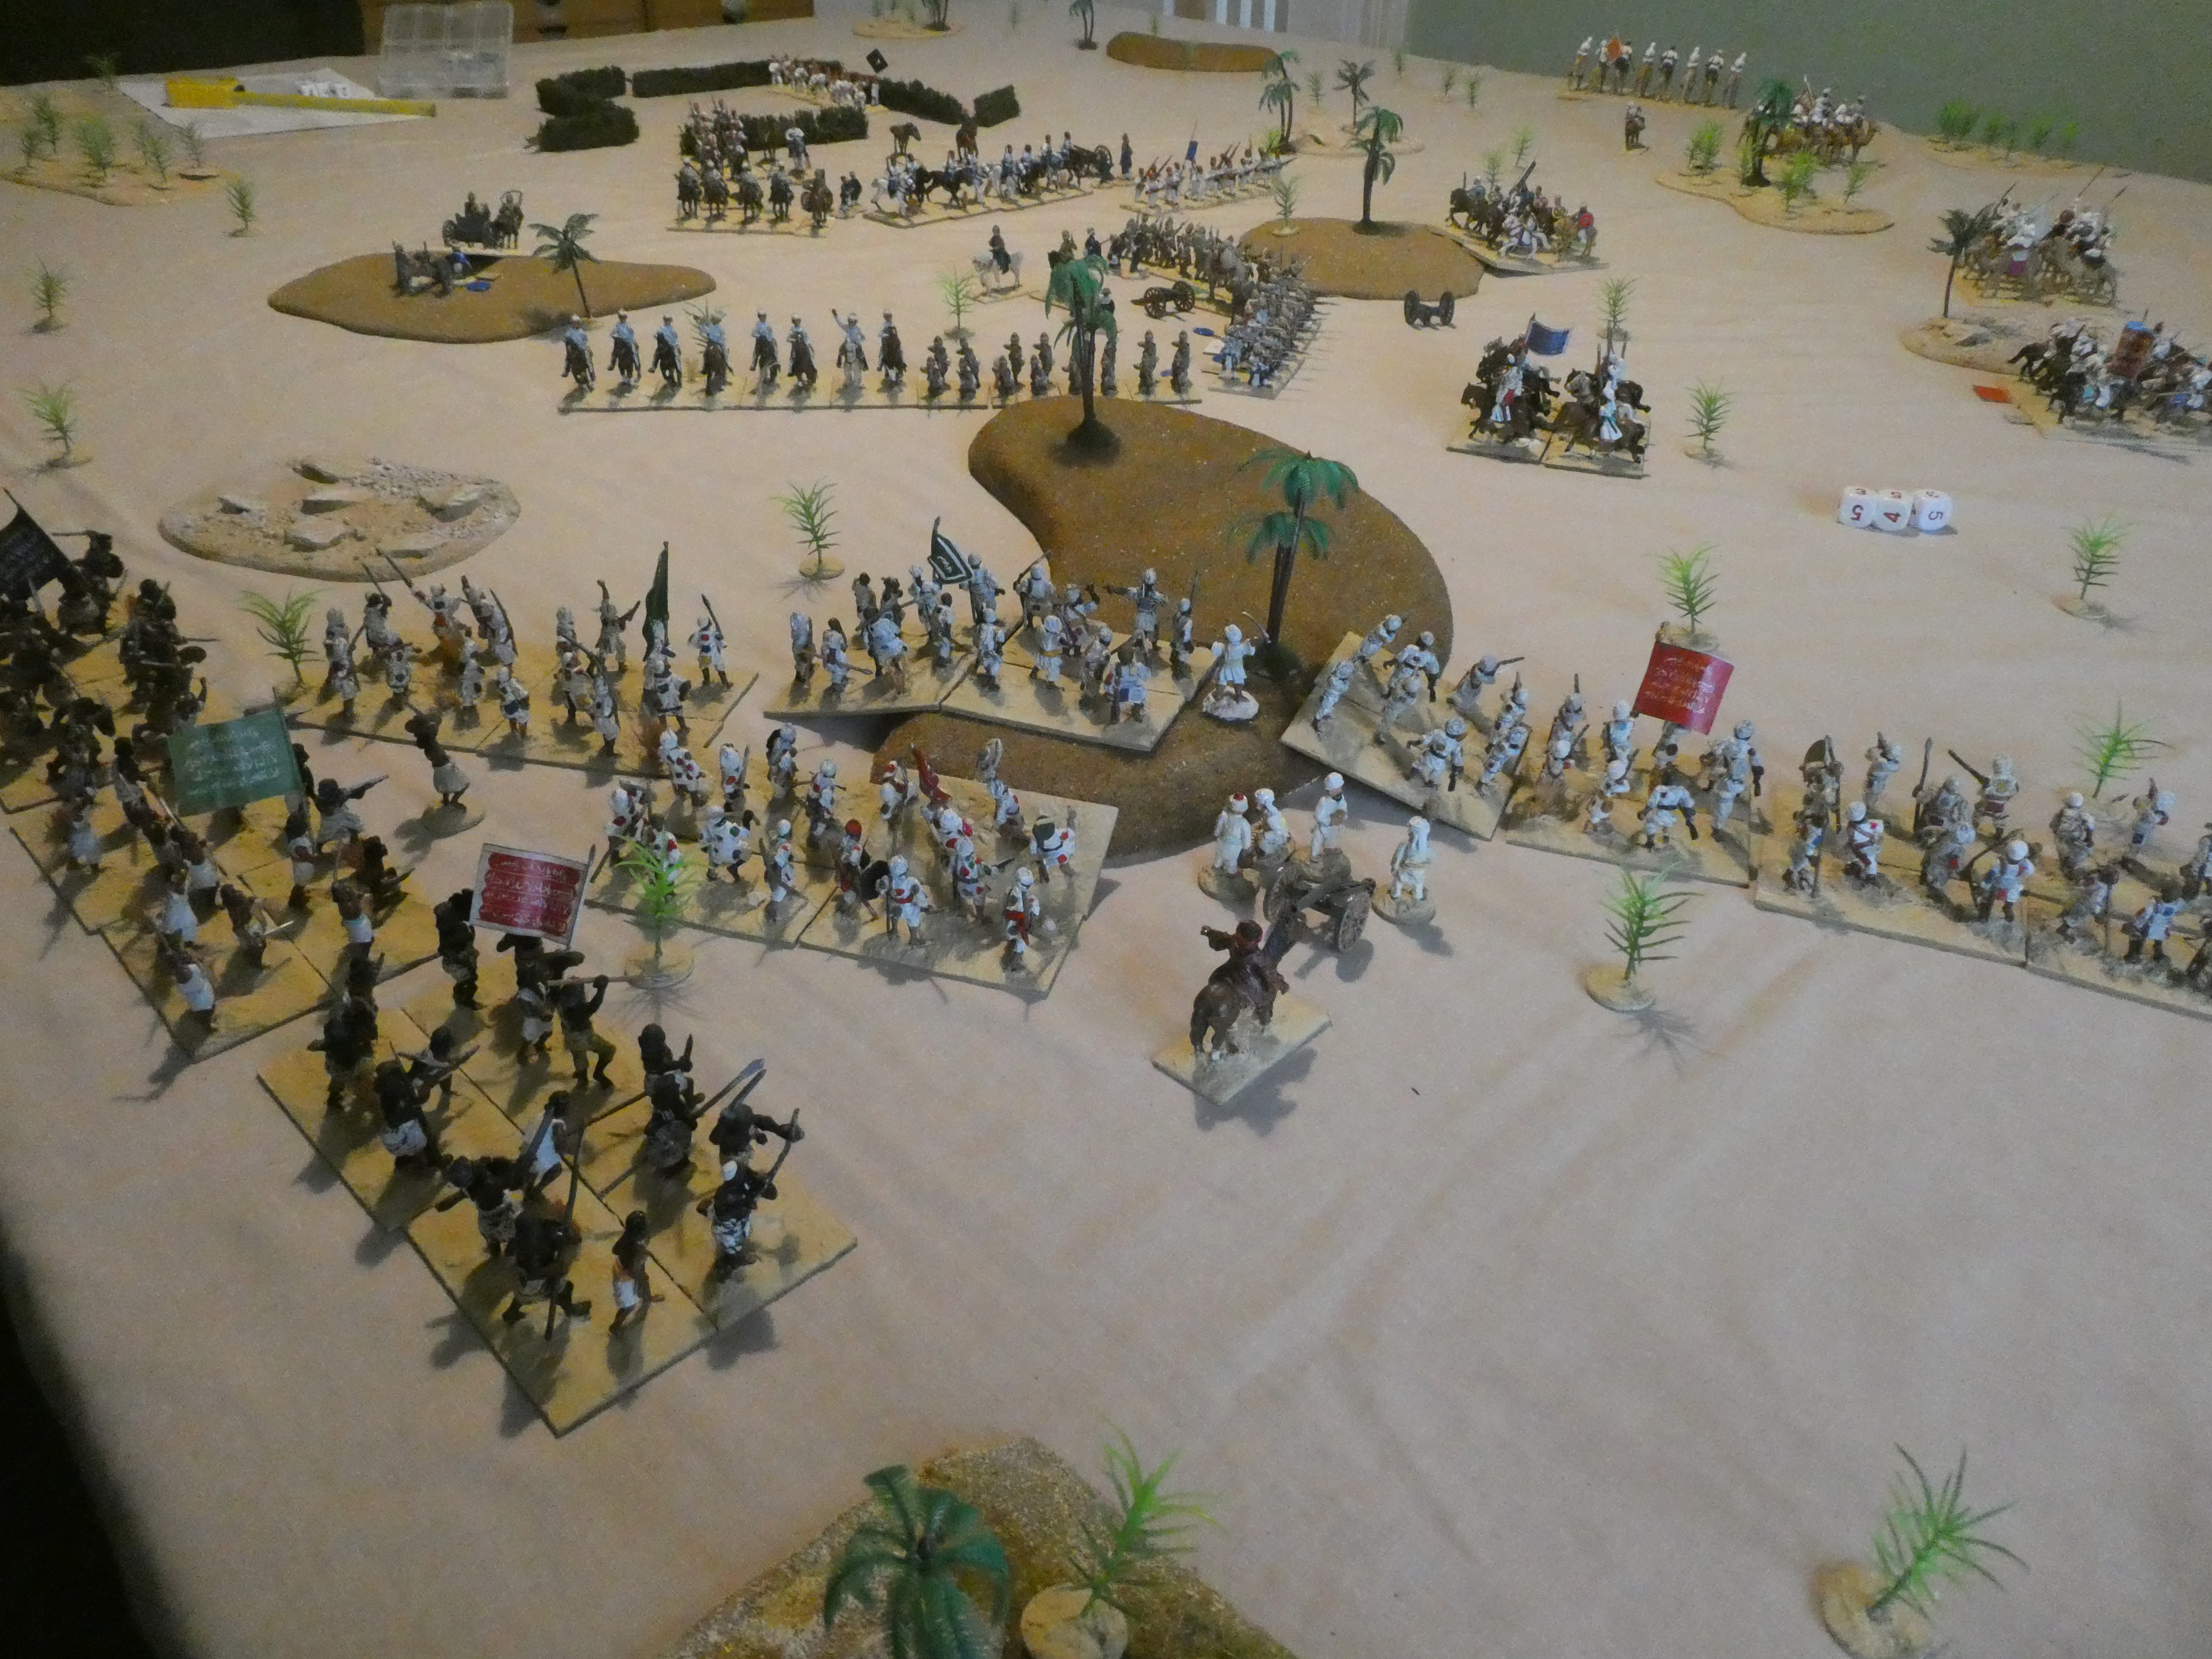
The Dervish force threatening the Governor's residence


The Imperial forces begin their advance


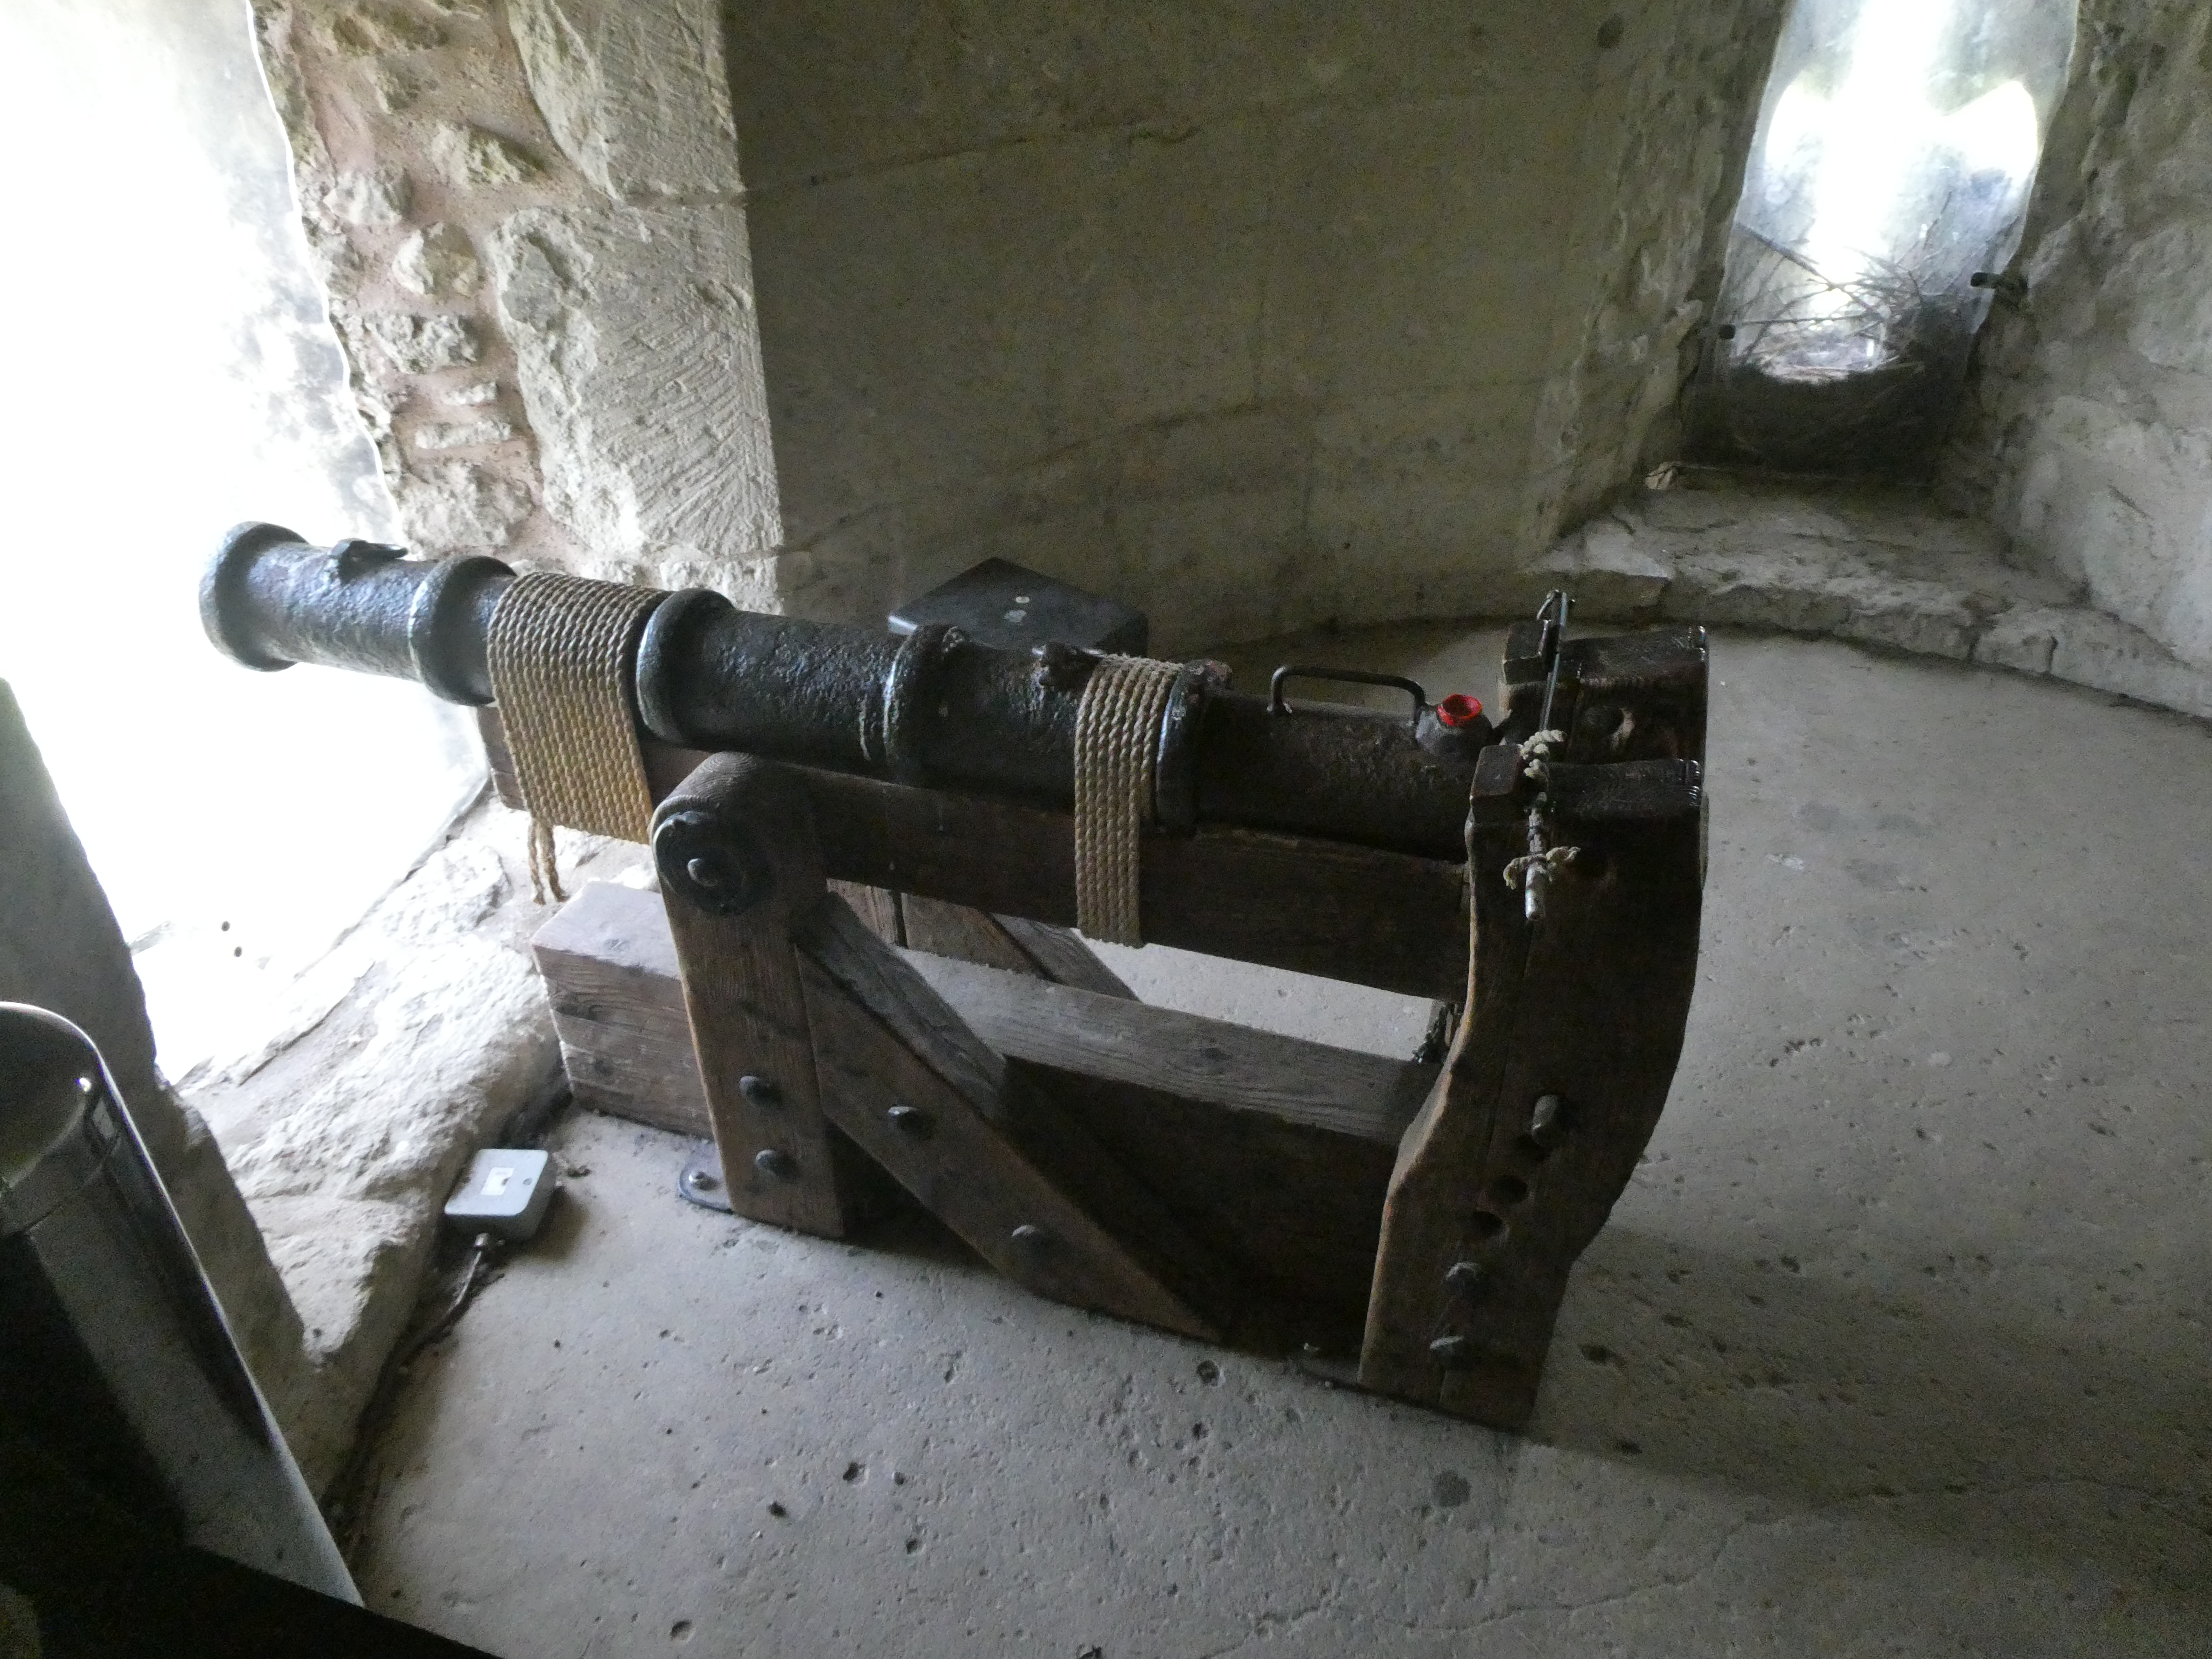
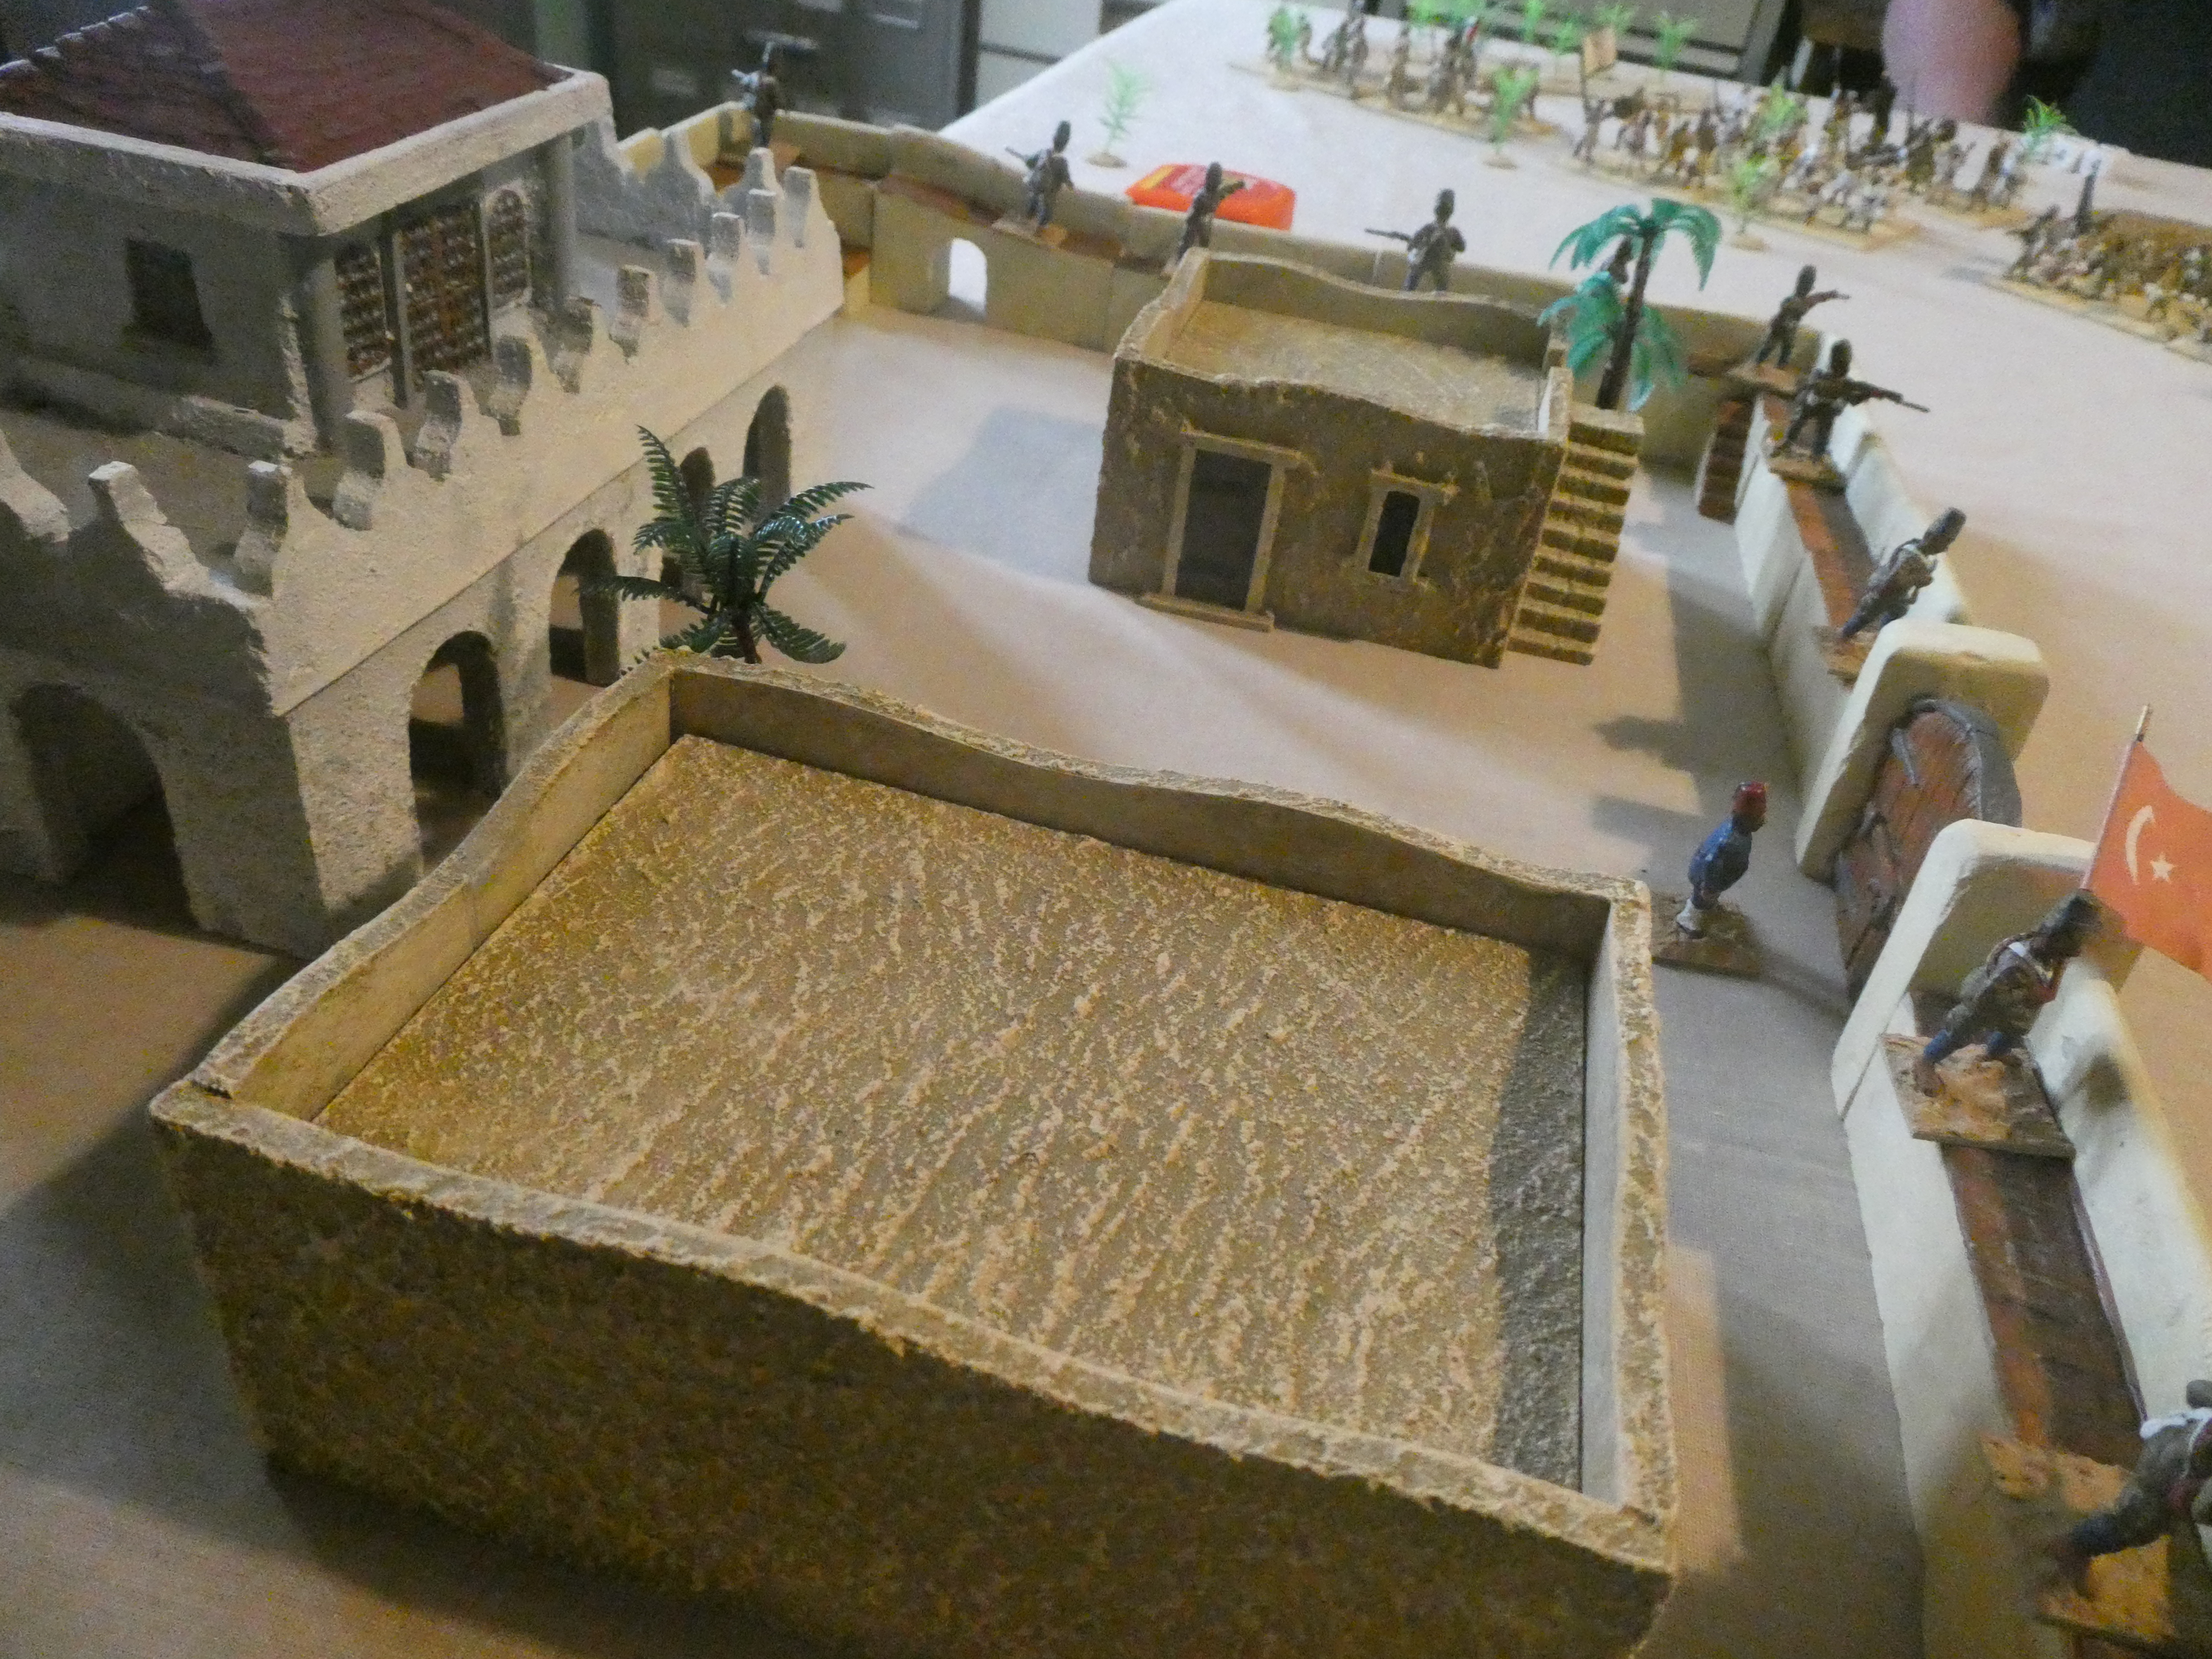
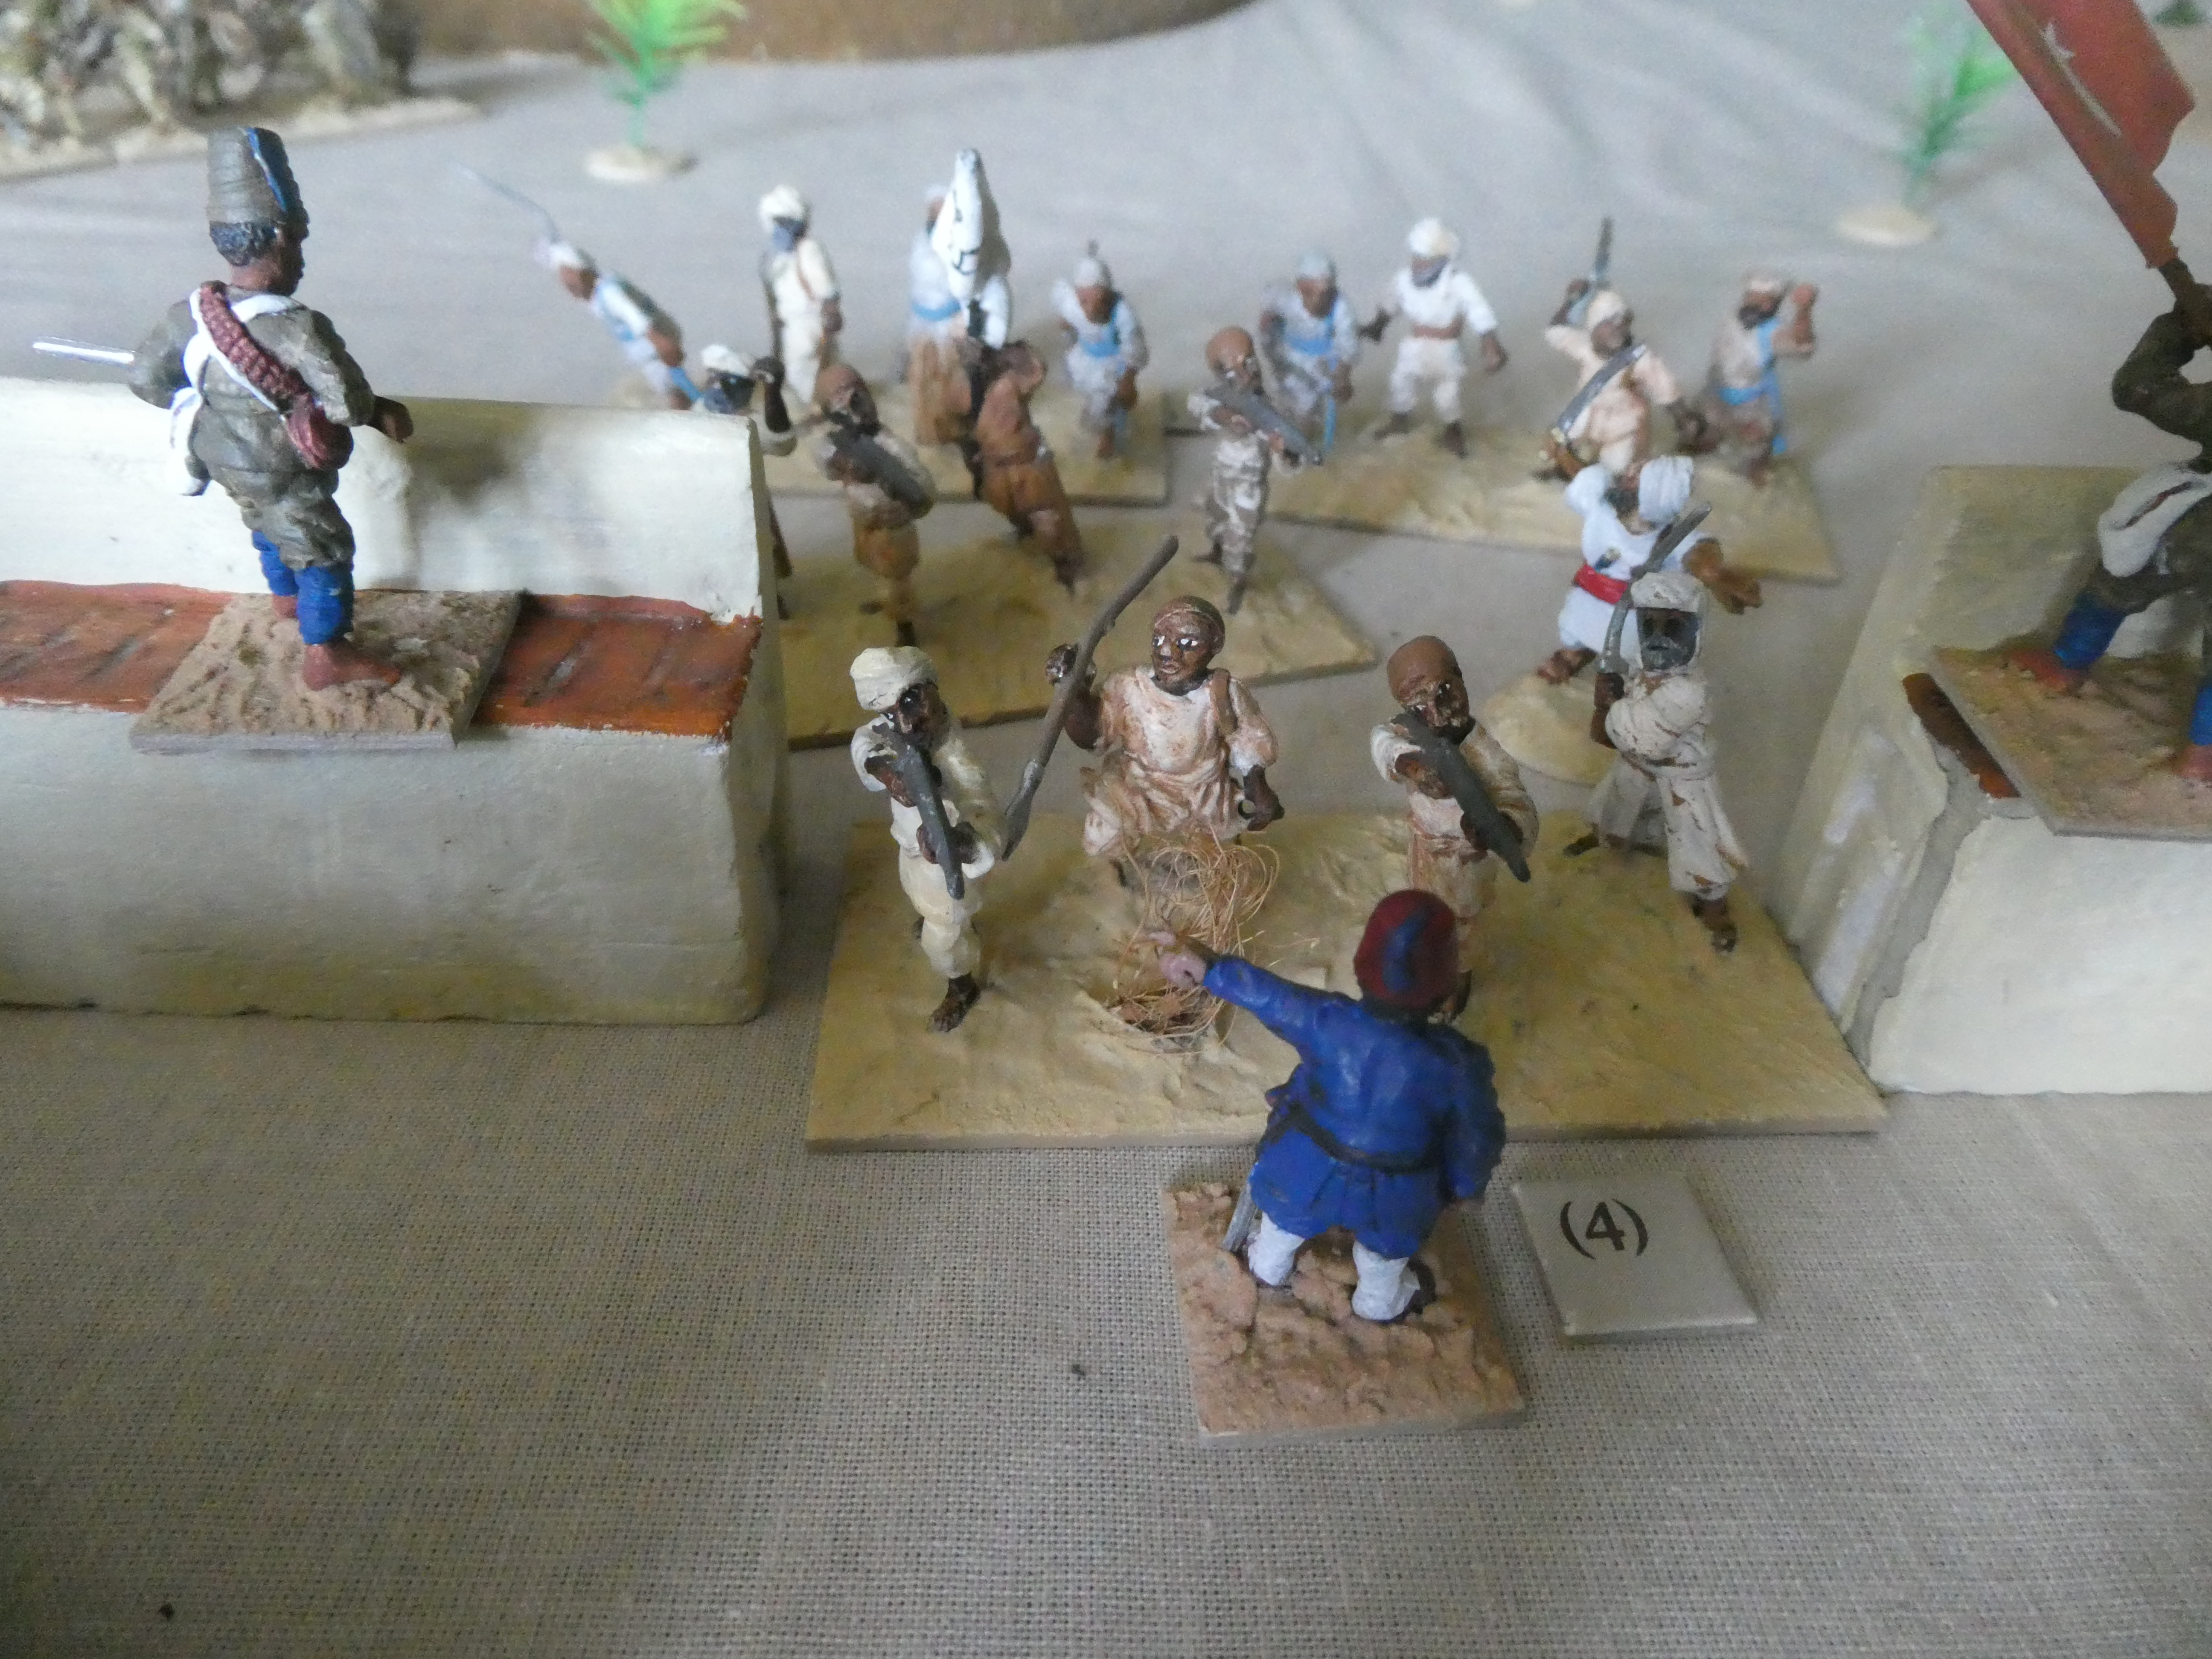
The residence's defenders

The advance began but almost immediately, Goodrich's men came under fire from Fareig.  Although the task of dealing with Fareig had been delegated to Ross, Goodrich sent one of his units to silence the riflemen.  This move hampered Ross's advance and also forced Wakefield to move to his right to avoid the deployed mounted infantry and their attendant camels.  No sooner had the firing started than two units of Dervish infantry rose from concealment and moved towards Ross's men


The Egyptian brigade moves forward

The Dervish move out of cover to attack the Imperial left flank

The cavalry and mounted infantry advance in the centre

On the right, the Egyptians were also moving forward, lead by Badawi's cavalry.  Suddenly from behind some dunes and scrub bodies of Dervish cavalry appeared, moving swiftly towards them.   The leading unit of Egyptian cavalry turned to face their assailants, but as they did so a unit of Dervish infantry charged out of the village of Kagbar and into their flank.  Reeling from this attack the Egyptian cavalry were then charged by the Dervish cavalry and routed.

The Egyptian cavalry are ambushed

On the left the battle for Fareig continued and Ross deployed his battalions to meet the Dervish attack. The West Borsetshires were charged as they struggled through the scrub and  were driven back in spite of the best efforts of their officers to hold them in position.


One of Ross's infantry battalions is driven back in disorder

Nowell-Lees had continued to advance and was contemplating bringing forward Goodrich's command to establish a solid base from which to assault the ridge.  He had ordered his units to halt to await the mounted infantry, but the order had not got through to the Lancers who were the lead unit.  Their commander thought he saw a chance to capture the Dervish artillery and drive off the infantry on the ridge.  With trumpets sounding the Lancers swept forward onto the ridge.  They dealt with their opponents quickly, but then command and control seemed to evaporate and the cavalrymen dallied, rather than driving home their advantage.  
 
The Lancers sweep onto the ridge

On the right the Egyptian position was perilous.  Even more enemy mounted units were appearing and they were joined by infantry from Kagbar.  To give time for Al-Hussein to deploy the infantry, Badawi ordered the Bashi-Bazouks to charge.  The Egyptian cavalry tried their utmost, but in the end they were overwhelmed by sheer weight of numbers.  All now depended on the fighting qualities of Al-Hussein's infantry.
The Egyptian forces come under heavy pressure 

Although he had been ordered to support Nowell-Lees, Goodrich had been forced to dismount his men and form a firing line to try and hold back waves of Dervish infantry which had attacked from the direction of Kagbar and also the dunes behind Fareig.  Forbes-Robertson ordered Wakefield to move his men forward to support Goodrich, though half the command was involved in trying to suppress the riflemen in Fareig.  Fortunately, the artillery was now shelling the village and the enthusiasm of the defenders was wavering.  Even so, an attack on Fareig, by one of Goodrich's units was driven back with heavy loss
Goodrich's men come under attack
In the centre, another of the mounted infantry units was struggling to hold off an attack by two units of Dervish warriors.  To their left, a unit of Dervish and broken through and was only stopped by Wakefield deploying two battalions to prevent the Dervish from swinging round to reinforce the defence of Fareig.  

Further forward, Nowell-Lees ordered the Hussars to charge yet more Dervish infantry that could be seen massing in and around Kagbar.  The Hussars lost a lot of men to rifle fire as the advanced and were unable to prevail against the masses of tribesmen, necessitating a retreat.


The failed charge on Kagbar
At Fareig, Ross was at last making headway.  The artillery had unsettled the defenders and an infantry assault finally drove off the Dervish infantry.  Captain Barnes RN had led his 'Blue Jackets' forward with his usual steadfastness and they had successfully driven off several determined attacks by the Dervish warriors.  The Naval infantry advanced past Fareig, supported by other units of Ross's command only to be met by another of wave of attacks.


Steadfast in defence, the naval infantry

Meanwhile, the unit nearest to the beleaguered residence, Nowell-Lees' lancers, far from pushing forward to offer some hope to the garrison, now found themselves in a precarious position as Dervish infantry began to encircle them.  Nowell-Lees had cantered forward to assess whether he should reinforce their position on the ridge, but he now found himself having to fight for his life as tribesmen surged around him.  Desperate, he ordered the retreat be sounded, but there was no way out and the lancers and their commander perished.

The lancers are doomed


Amir Khat's plan was succeeding.  His lieutenants were attacking in successive waves, pinning back the Imperial troops and preventing them from reaching the residence.   


Ross's men face yet more attacks

Goodrich and Wakefield struggle to hold the centre

Much as Forbes-Robertson urged his subordinates to get their men forward, little could be done in the face of the incessant attacks.  Ignoring their casualties, the Dervish warriors threw themselves at the lines of British infantry and in the distance, the Dervish artillery could be heard battering away at the residence.

Finally the gates of the residence were split asunder and this was the cue for Dervish infantry to surge forward, eager to secure the victory.  The defenders did what they could, but it was a doomed enterprise against such overwhelming numbers.  When the building had been ransacked it was put to the torch and as the smoke of the fires rose into the sky Amir Khat ordered his men to begin to disengage.  Forbes-Robertson was left in control of the battlefield, but he had failed in his mission, his sole remaining duty was to tend to the wounded and bury the dead.


The end - the residence falls

A most enjoyable game.  The Dervish command played their cards well.  They stalled the Imperial advance at every opportunity and kept plugging away with their artillery, eventually smashing the gate.  Once that happened the fall of the residence was inevitable.  The governor did manage to escape, though his staff and garrison were put to the sword.  It is said he never spoke of the event in later life and his memoirs (in several volumes) are strangely silent on the matter.  Forbes-Robertson was recalled and offered promotion; to a desk, where he spent the remainder of his career.