Sunday, 17 April 2016

My first Salute

I have been told several times over the years, "everyone should go to Salute at least once".  Well this year the stars aligned and (with Steve's computer skills and ability to spot a bargain on the train ticket site), it came to pass.  A very early start enabled us to catch the 5.55 train and three hours later we was in the Excel venue.  On the way Steve and I experienced one of those "I don't believe it" moments.  TfL (Transport for London) had closed the Circle Line on the London Underground, meaning we had to make a detour via the Northern and Jubilee lines.  As we completed our trek through the connecting corridors at Waterloo a train was standing at the Jubilee line platform and an open carriage door was facing us.  We jumped on and before we bagged the last couple of seats the doors had closed and we were off.  It was then that I noticed who I was at next to, Phil Olley who I had known for a good number of years!  Not only had we caught the same carriage on the same train, bur it was his first Salute too.  Talk about coincidences!  The journey flew by as we chatted and fortunately we also managed to chat during the day at the show.

Steve and I were helping out on the Lance & Longbow stand, but both of us managed to find time to look around the games on offer.  My particular favourites, (in no particular order), were
Bill Gaskin's Seven Years War display game


The town was stunning with masses of detail, but it formed only part of an extensive display.  The figures also provided plenty of opportunities for inspiration.


Next this was a Peninsular War demonstration game by Ian Smith, using 40mm figures.  Again stunning to look at.

French artillery fire on the Spanish infantry

British infantry preparing for enemy cavalry 

Major Sharpe attempting to hold back the French cavalry
A third large scale game was that put on by the Crewe and Nantwich Club, "The Bloody siege of Bristol".  It had the town, port and earthworks.  The game was so extensive I couldn't get an overall shot, so here is a selection of views.


There were a lot of games on a smaller scale, first Mansfield Wargames Club with Gorodetschna from the 1812 campaign, a particular interest of mine.  They were demonstrating a new set of rules which they are developing and they were very friendly and happy to chat about the mechanisms they are using.


Loughton Strike Force had a participation game based on the Russo-Finnish war 1940.


 From Scandanavia, Dalauppror with Foteviken 1134


Essex Gamestar had a demonstration game based on the Tet Offensive which had masses of detail


The Lance & Longbow Society game was Hastings and was put on by Rob Broom


Gripping Beast had a medieval game based on the struggles between the Teutonic Knights and Rus


Well, what were my thoughts on Salute?  First, it is huge, far larger than any other show I have attended.  There were lots of games on view and in spite of making a 'hit list' before I travelled, there were several I didn't get around to seeing.  What I did see gave me plenty of inspiration for future projects.  There were plenty of traders and I should imagine that almost anything a wargamer wanted would be available somewhere.  The organisation seemed very efficient  and there was plenty of room for the crowds who attended.

On the down side the venue is very hard on the feet and noisy, but given the location that is inevitable.  Would I go again? well, not every year, but I like to think I will attend again at some stage.  Many thanks to Dave, Lynne, Rollo, John, Neil and Steve for their company on the day.


Wednesday, 13 April 2016

Bucklebury, An ECW scenario for Pike and Shotte

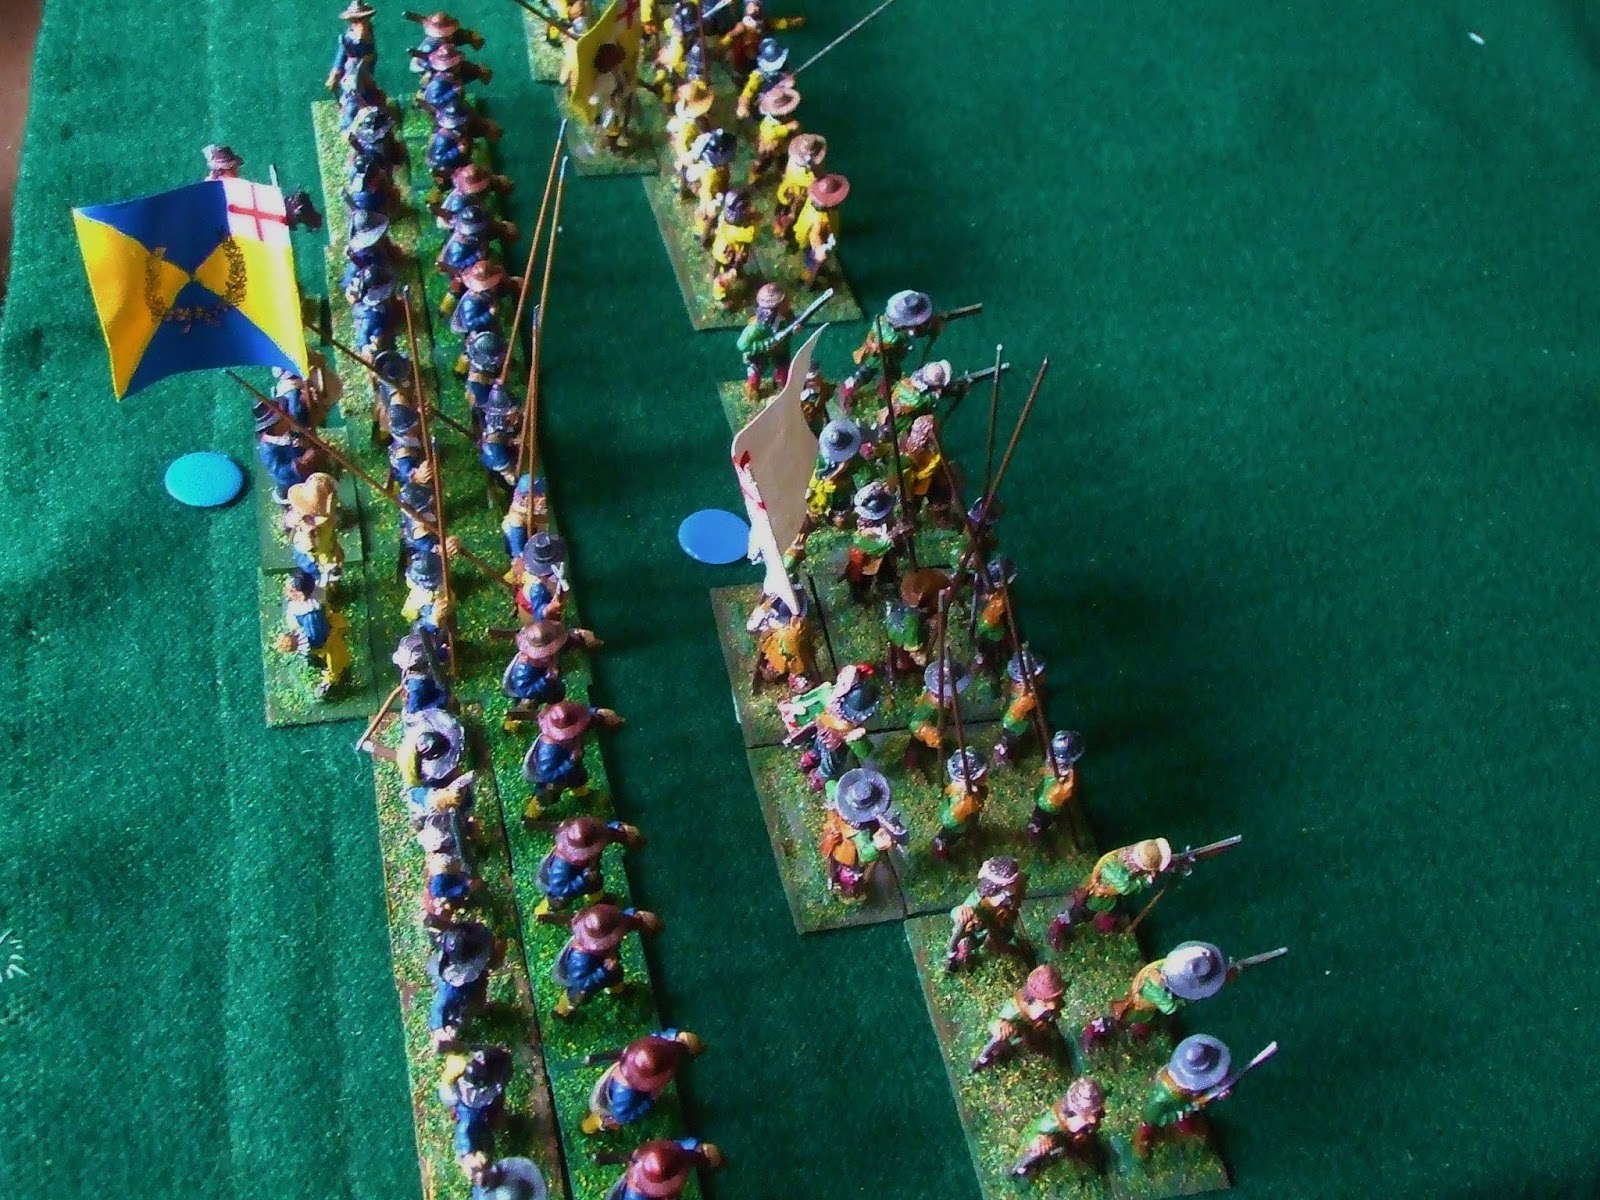
We are back in Kelhamshire this week, with the ongoing campaigns of Sir Victor Meldrew and Lord Melchett.  Sir Victor had arrived in Bucklebury expecting to find the convoy of artillery and provisions ready to leave.  Instead he found wagons, guns, supplies but no draught horses.  Even worse, his scouts reported that a Royalist force under his old foe Lord Melchett was heading towards him.  Colonel Marsden, who commanded one of Sir Victor's cavalry brigades was given very specific orders.  "Find some draught horses, I don't care how you do it, but get a dozen horses back here by noon at the latest!!"As Marsden left, Sir Victor had 3 regiments of foot, plus a unit of commanded shot under Sir Nathanial Starkie, Rigby's Dragoons and Colonel Emmot's two regiments of horse, Shuttleworth's and Livesey's.  The yellow and green regiments were deployed on the outskirts of Bucklebury, Colonel Carter's regiment was held in reserve in the village centre.  Lloyd's commanded shot took up positions in the buildings whilst Rigby's were deployed in Norton Wood.  Emmot was ordered to station his regiments on Gorse Hill where they could get a clear view of the Royalist forces.  With his dispositions made, all Sir Victor could do now was to await the return of Marsden with the draught horses.

Sir Victor in Bucklebury
For his part Lord Melchett was confident of success.  He had five units of foot in two brigades, Molyneux's ( 2 regiments) and Gillibrand (3 regiments), with three units of horse under Duxbury. Two of the cavalry regiments were small, but it gave the Royalists a little more flexibility.  Gillibrand on the right was to advance straight towards Bucklebury pinning the defenders in place, whilst Molyneux on the left was to advance past Norton Wood and then attack the defenders in the flank. For their part, Duxbury's cavalry were to drive off the Parliamentarian horse before supporting the infantry.  Lord Melchett was already anticipating the prospect of a hearty meal at the inn in Bucklebury.

Gillibrand prepares to advance
The Royalist advance was led by Duxbury's cavalry who cantered forward towards Gorse Hill. Shuttleworth's, Emmot's leading regiment hesitated and seeing this indecision Duxbury's front line charged up the gentle slope of the hill.  As they closed on the Parliamentarians they received a feeble volley of pistol fire which they ignored.  Tyldsley's and the Kelhamshire Horse crashed into Shuttleworth's and in no time the latter were driven back in disorder.  Fortunately, Livesey's in the second line retained their formation and when Tylsley's swept forward in pursuit they were sharply repulsed.  (The Kelhamshire Horse had not pursued as they were shaken by their losses).  Seizing the advantage, Livesey's charged and overwhelmed the Kelhamshire Horse who routed.  Livesey's now attacked Tyldsley's and also drove them back.  Not a good day for the vaunted Royalist cavalry.

The Kelhamshire Horse are driven back by Livesey's
On the flanks, the Royalist foot had been advancing towards Bucklebury.  Molyneux, on the left, was being cautious; his largest unit, Newsome's, was newly raised and he didn't want their first experience of battle to be one which would shatter their morale.  Typically, it was this unit which came under fire first.  Rigby's dragoons began sniping at them from the woods.  However, their commander Colonel Josiah Newsome responded  in just the right way; realigning the ranks and then advancing steadily towards the dragoons with levelled pikes.  Rigby was too experienced a soldier to take on such odds. With a final flurry of shots his men withdrew into the woods and then made their way back to their mounts before pulling back to cover the flank of the Green regiment outside Bucklebury.  On the right, Gillibrand pushed forward towards the cornfield which was held by the Yellow regiment.  Assheton and Broughton were in the lead with Gerard in reserve.  After an exchange of volleys the two Royalist regiments charged and ignoring the final volley from the Parliamentary foot closed for a melee.  Even with the advantage of the ground the Yellow regiment could not maintain its position and it had to fall back to the outskirts of Bucklebury.  As the victorious Royalists crossed into the field they became disordered and this gave their opponents just enough time to reorganise their lines.

Assheton drives off the Yellow regiment
In the centre the cavalry melee continued.  The victorious Livesey's were charged by Clayton's regiment and driven back.  As the victorious cavalry followed up they ran into Shuttleworth's who despite being caught at the halt  managed to maintain their position, forcing the Royalists to fall back. Again both sides now paused to regroup.  When Duxbury resumed the attack he had support from Gerard's regiment and also Tyldsley's returned after being rallied by Lord Melchett.  Emmot decided that the odds were now stacked against him and he decided to pull back.  His intention was to support the open right flank of the Royalist position, but Shuttleworth misunderstood his orders and fell back towards the other flank where he got in the way of Carter's regiment which Sir Victor had ordered forward to support the Yellow regiment.

Shuttleworth's get in the way
Sir Victor's mood was not improved when Gerard's regiment took full advantage of the confusion within the Royalist force to advance right up to the village and attack the houses held by Lloyd's commanded shot.  The outnumbered Royalists did their best, putting up a stout resistance, but eventually they were driven back into the village centre and the disorganised mob flowed past the wagons and down the road towards Kelham.  On the Parliamentary right, the Green regiment had been attacked by Taylor's regiment with Newsome's in support.  The defenders had greater firepower, but when it came to combat, the greater numbers of pike on the Royalist side prevailed and the Green regiment retreated.  Sir Victor hurried to rally them, desperate to try and hold the village. He could not afford to give any more ground or the guns and wagons would be lost.  Where the **** was Marsden!

High water mark of the Royalist advance
As if in answer, a trumpet call rang out.  Turning, Sir Victor saw the welcome sight of the leading troopers of Marsden's command coming down the road.  Behind them was a group of draught horses and then a second regiment of cavalry.  The arrival of these reinforcements put new heart into the forces of Parliament.  The Yellow regiment together with Lloyd's held off attacks from Gerard, Broughton and Assheton.  In a final throw of the dice, Lord Melchett ordered Tyldsley's to charge Lloyd's regiment, hoping that the horsemen would break through and at least drive off the replacement draught horses.  However, Lloyd's men stood their ground and repulsed the attack.  With the Green regiment reformed and cavalry massing on his flank Molyneux felt he had to pull back.  It had been a close run thing, but Sir Victor had saved the guns and supplies.  |Lord Melchett could only ponder what might have been.

Marsden oversees the departure of the supplies and artillery
A close run game, made a good deal closer, (too close for me as Parliamentary commander) by Marsden's tardy return.  My cause was helped by the Royalists suffering several 'disorder' results due to crossing obstacles which slowed their pursuit of my defeated troops.  One innovation was to vary the shooting and melee factors for the infantry regiments in line with their size and also the pike/musket ratio.  It seemed to work quite well and we will try it again soon.


Tuesday, 5 April 2016

Battle in the Straits - a Russo-Japanese naval game

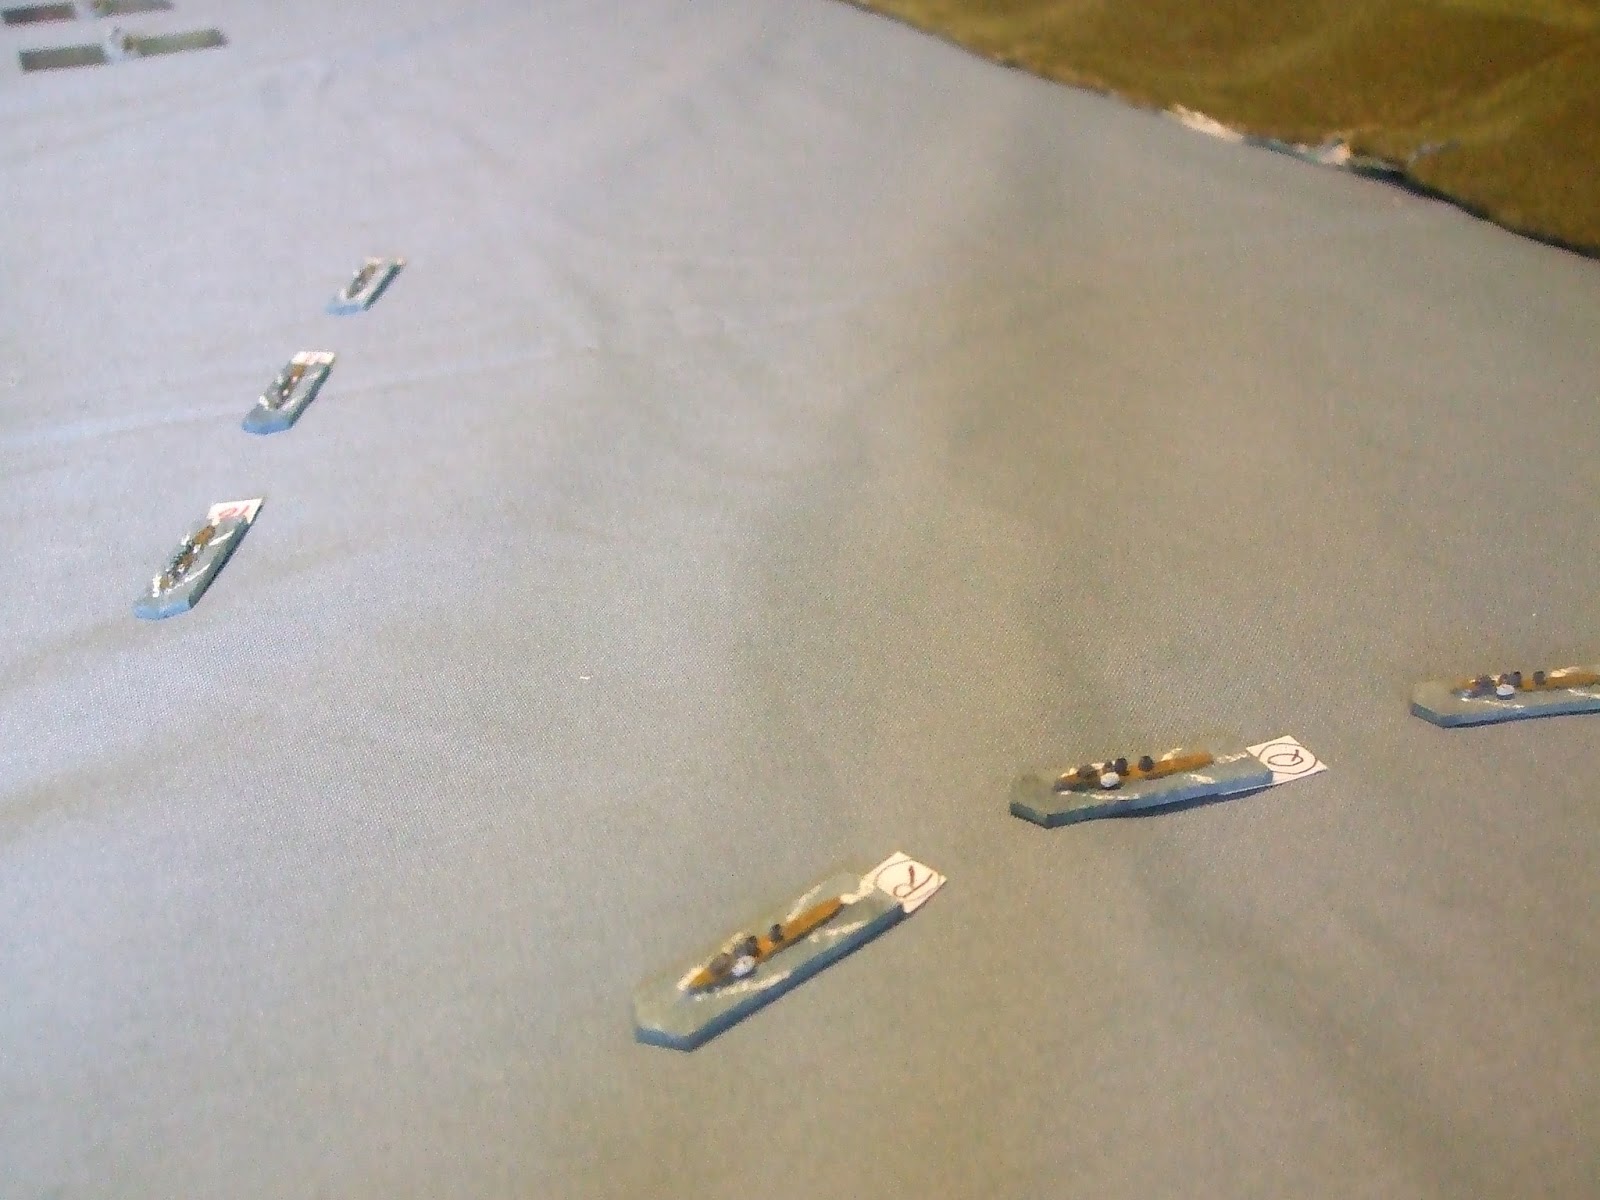
It has been quite some time since Steve and I had a naval game, so as a change from Lion Rampaant and Pike and Shotte we dusted off the models and went east.  As can be seen from the photograph, a small island divides the Qundao straits.  In the distance the channel leads up to Port Arthur and a Russian naval squadron can be seen steaming towards the open sea.  The Japanese are trying to lay mines in the channels to avoid any disruption to their trade routes by the Russian fleet.  If they can mine both channels it is a Japanese success, one channel a draw, no channels a Russian success.  The dice decreed that I should command the Japanese fleet, 2 battleships, 2 cruisers, a minelayer and three destroyers.  Opposing me was a similar sized Russian fleet.


My plan was to try and mine the eastern (righthand channel) first and then try to mine the other one. I therefore sent the the two cruisers towards the western channel at a leisurely pace, hoping to draw part of the Russian force in that direction.  Once the enemy were committed to the western channel, the cruisers were to increase speed and move towards the eastern channel to support operations there.

The Japanese squadron heads towards the straits
At first things seemed to be going to plan; the cruisers moved to the west and the destroyers moved forward to protect the large ships from the enemy destroyers  I placed the minelayer at the rear of the column out of harms way and steamed north towards the eastern channel.  Even better, the Russians split their force, sending two ships towards the western channel, what could possibly go wrong?  I was soon to find out.

The two destroyer flotillas quickly closed the range and opened fire on each other, the Japanese got slightly the worse of the exchanges and I foolishly decided to pull my destroyers back to preserve their torpedo capability (if a destroyer suffers too much damage it cannot launch torpedoes).  This opened the door for Steve, who promptly pressed home an attack on my leading battleship, the Mikasa.  The Borodino had already engaged the Mikasa at long range and a 'lucky' shot had knocked out the gunnery control, reducing the effectiveness of the  Japanese ship's  salvoes.   Now, with every gun that could bear the Mikasa was trying to sink the attacking destroyers.  One was driven off, badly disabled, but the other managed to fire a torpedo and this hit its target causing substantial damage.


The torpedo attack on the Mikasa
Undaunted, I ploughed on hoping that I could at least seriously damage the Russian battleships.  One, the Navarin exchanged broadsides with the Mikasa and the Fuji and was fast approaching the minelayer, so that was ordered to make full steam away from danger.  My destroyers, after sinking their opposite numbers attempted to come to her aid, but they were too late.  One of the Russian cruisers in the western channel, the Bogatyr, opened fire at long range.  The shell hit, causing a small fire.  As the crew laboured to douse this, a salvo arrived from the Navarin.  The minelayer staggered under the impact of the heavy shells and when a second salvo hit the ship disappeared in a massive explosion.

The destroyer flotillas engage
With all hope of a successful outcome gone, I turned my remaining ships for home. The Mikasa and Fuji had pounded the Borodino but had not achieved a decisive result, other than starting a fire.  In return the Mikasa had had its fore turret knocked out and the Fuji had lost its gunnery control. My cruisers had managed to inflict some damage on the Russians, one of their cruisers being on the verge of foundering, but the price was heavy, the Akashi being sunk.  So with two ships lost and my flagship requiring a lengthy refit it was hardly an auspicious day for the IJN.


Monday, 21 March 2016

Sheffield Triples 2016

Another week another show.  Saturday saw Steve, John and I head over the Pennines to Sheffield for this year's Triples.  We were putting on the Deepdale game for the Lance & Longbow Society and were delighted to find that we could park just outside the venue rather than across the road in the overflow car park.

Everything was set up by 9.30 so I wandered around a few of the other games

2nd Quatre Bras by Chesterfield Old Boys

General view of the table

The Prussians advance

Massed French cavalry
A big game with masses of 25mm troops, plenty to inspire the gamer.

Next to us were the Brompton Bankers with their Romans v British game using the Eagles Rampant rules.

Roman cavalry

The British await the attack
The Grimsby group put on a naval game, the 4 Days Battle from the Second Dutch War.  A large collection of 1/1200 models showed the action at a scale of 1 model for each participating ship.


The Glory Boys put on Rolica in 6mm


The detail on the figures belied the small scale

We managed to run through our game twice, with victory going to the Earl's forces on each occasion. However, in the second game, the rebels did manage to kill the sheriff, who was leading the Earl's men.  He was killed, along with his entire unit of knights when they rode into a 'storm of arrows' from two units of rebel archers.  Throughout the day visitors stopped to look at the game and ask questions about the scenario, rules and figures.  Some joined in, taking one of the commands.  For us this was the main aim of the day, promoting the hobby and the medieval period in particular.

Overall, the event seemed a good bit quieter and there were gaps where traders had not turned up. Even some of the games tables were empty, though they may have been used on the Sunday. Something is not right. The organisers will need to reassess how they put on the show, or it could fail, which would be a pity as I have been going to it for 15 years.

Thursday, 17 March 2016

WMMS visit

This last weekend I made my first visit to the WMMS organised by the Alumwell Wargames Society. It was quite a trek, but well worth it.  The hall is large and the aisles are wide enough to allow groups of friends to stand and chat without causing the log jams you often encounter at other shows.  I was very impressed by the quality and range of the games on offer.  This was matched by the gamers who were putting on the games who were very enthusiastic and approachable.  Here are some photos of a selection of the games.  More can be found here on Will's blog.


Derby's Grand Alliance game using the Beneath the Lily Banners rules.


The Wyrley Retinue's Renaissance period game


The Shrewsbury group's Seven Years War game


From the Society of Ancients there was this trip down memory lane with figures from 'The Wargame' celebrating 50 years of Tony Bath's vision of the Ancient Wargame.

Wednesday, 9 March 2016

Battle of Schottenheim, August 1813. A Shako scenario.

I came across a report on the battle of Schottenheim on the Napoleonic Warfare blog .  This covers imaginary campaigns in Europe using 6mm figures.  Large units are used and the photos give a great sense of masses of men on the move.

The outline of the scenario is that Marshal Ney is attempting to prevent Marshal Blucher from attacking an isolated force besieging an important town.  He is moving from west to east across the map via the bridge over the Graunwasser near Neukirk before passing through Schottenheim.  Not expecting any problems he halted his forces near Neukirk last night.  Yorck (7 battalions) and Kleist (8 battalions) are east of the river, whilst Roder (5 regiments of cavalry) and Alvensleben (4 battalions of grenadiers) are on the west bank.  Hardegg's Austrians (7 battalions) arrive at dawn to join the advance; but dawn also reveals that Ney has marched through the night and the leading elements of his force, the infantry divisions of Stockmayer (8 battalions), Fontanelli (8 battalions) and Maison (10 battalions) are now abreast of the Schottenheim road, barring Blucher's progress.  Never one to shirk a challenge, Blucher orders his men forward, Yorck, Kleist and Hardegg are to pin Ney's men in position whilst Roder and Alvensleben advance north and then cross the Graunwasser by a second bridge and fall on the flank of their opponents.


Marshal Ney is not one to hold back either.  Unknown to Blucher Ney has Legrand's division (6 battalions) and Chastel's cavalry (4 under-strength cavalry regiments) marching towards the battlefield from the north.  Therefore Ney plans to advance and attack the enemy to the east of the Graunwasser, using his reinforcements to counter any threat from the Prussians to the west of the river.

The Graunwasser can be crossed only at the bridges, the Russberg is a gentle hill, giving a defensive bonus to stationary troops holding the summit, but does not impede movement.  All woods are impassable to cavalry and disorder formed troops.  The objective for both sides is destruction of the enemy.  A roll of the dice decided that Steve would take the part of Marshal Ney, whilst I played Blucher.

For the first couple of moves each force advanced, well actually a batch of lost orders meant that the Prussians west of the Graunwasser were delayed, something which would prove significant later on. Once they were in range the artillery deployed and began to fire.  At the longer ranges casualties were fairly light, the main effect being to disrupt ('stagger' in Shako speak) units.  One exception to this were the gunners in Stockmayer's division which quickly found the range of the Austrians and the 3rd battalion of the Chasteler regiment, which was in the lead, suffered quite significant casualties.  As Stockmayer had sent one of his skirmisher units into the woods to flank the Austrian advance, Hardegg responded by directing 2nd battalion Weidenfeld to push them back and as 'insurance' ordered the 3rd battalion Weidenfeld to support them.  Although the objective was achieved it did divert resources away from the main 'push'.

Kleist advances towards the Russberg
Yorck's brigade, next to the river was making good progress.  With the 1st battalion Pomeranian regiment in the lead the Prussians disdaining to stop to fire a volley, charged home against the 2nd battalion of the 9th legere.  The Frenchmen's weak volley did little to slow the charge and no sooner had the Prussians closed than the remnants of the French battalion were streaming towards the rear. Behind the 9th legere were the first battalion of the 10th ligne.  Their volley was also ineffective, but that of the Prussians was not, felling a good percentage of the front rank of their opponents.  On the order the 1st battalion charged forward through the smoke of their volley, falling on the disordered ranks of the Frenchmen.  In a one-sided fight the French against lost heavily, the 1/10th being destroyed as a fighting force.

Stockmayer moves forward
To the right of the Pomeranians the 4 battalions of Reserve Infantry and Landwehr could only strand their ground.  The volleys from the 1st battalion of the 4th Reserve Infantry stopped the 1st battalion of the 9th legere when they attempted a charge and then a fire fight developed with both sides taking casualties.

In the centre, Fontanelli's Italians ignored the defensive position on the Russberg, continued their advance towards Kleist's  Prussians. Once within range, a musketry duel began with the honours going to the Prussians.  No decisive result was achieved, but attempts to charge home to break the deadlock all foundered in the face of closing volleys.

The struggle at the foot of the Russberg
Ney was becoming concerned about the progress Yorck was making and was mightily pleased to see the leading units of Legrand's division approaching from the north.  These were immediately ordered forward to bolster the line.  Across the river, Roder and Alvensleben had at last got their troops moving and with the cavalry in the lead were bearing down on the northern bridge across the Graunwasser.  Ney sent an aide off with further orders for Legrand instructing him to retrace his steps and secure the bridge.  In addition, the marashal personally directed the colonel of the 2nd ligne to place one of his battalions in square blocking the exit from the bridge.  Satisfied that his right was now secure Ney waited impatiently for Chastel's cavalry to arrive.

Roder had placed his light cavalry to the fore of his advance with the Frei Korps leading the way.  As they neared the bridge they came in canister range of Legrand's artillery.  The first squadron was swept away by the first salvo.  As the Prussians tried to restore order a second salvo drove them back in disarray.  Seeing this, the other cavalry moved further west to avoid unnecessary casualties. Alvesleben with the grenadiers and artillery was still too far away to support the horsemen, but Roder decided to attack anyway.  His landwehr cavalry formed up and charged across the bridge.  Assailed by volleys from the French infantry and fire from skirmishers the ranks were thinned considerably, but the horsemen continued.  However, they could make no impression against the steady bayonets of the 2nd ligne.  In spite of their courage the Prussians were defeated, the battered remnants struggling across the bridge littered with their dead and dying comrades.

The Landwehr cavalry attempt to force the bridge
With his flanking manoeuvre thrwarted, Blucher could only press on with the frontal attack.  His only crumb of comfort being that Maison had been deprived of Legrand's troops.  Although Yorck had been successful, Maison had managed to lengthen his line and he was now threatening to move onto the flank of Kleist's attack against Fontanelli.  Indeed, the Italian's were in need of some help. Slowly but surely the Prussians were edging forward.  The leading Italian units, the 1st line and the 1st light were both beginning to break up under the increasing pressure.

On Ney's left Stockmayer was making some progress against Hardegg.  The Baden Gross Herzog regiment was leading the way, charging the 1st battalion of the Weidenfeld regiment.  A telling volley from the Austrians stopped the Badeners in their tracks, but they more than held their own in the ensuing fire fight.  The Badeners' advance had cleared the way for the Wurttemburg Prinz Paul regiment to enter the battle.  They charged the flank of the Lindenau regiment which had been trading volleys with the Baden Leib regiment.  Caught by surprise the Austrians were broken and fled to the rear.

Chastel's cavalry at last appeared and Ney took personal command, leading them forward in support of Maison's infantry.  It was not a moment too soon.  Yorck had advanced the 2nd battalion of the Pomeranian regiment to the flank of the remaining battalions on the 10th ligne.  Their volleys disordered the French just before the 1st battalion charged them from the front.  The 2nd battalion of the 10th was shattered and had to fall back to reform.  Now only two raw battalions of conscripts could stop a Prussian breakthrough.  However, the Prussians had presented a flank to the newly arrived French cavalry.  Seizing the moment Ney drew his sword and ordered a charge.  With the Westphalian Hussars leading the way, the cavalry surged forward.  With the smoke and confusion the Prussians were taken completely by surprise.  Their attempt to form square was unsuccessful and they were cut to pieces.

Chastel's charge
Sweeping on the hussars also overran  Yorck's artillery and behind them came the cuirassier and dragoons.  This proved to be the decisive move.  Blucher's cavalry was trapped on the far side of the river, as were his reserves.  Yorck's brigade was cut in two and Kleist faced the danger of being surrounded.  The day belonged to the French, victory was theirs and the Prussians had suffered a heavy defeat.


Friday, 4 March 2016

Preparation for Triples 2016

Steve and I will be at Triples with a revised version of the Deepdale game which we played at the Phalanx show in 2013.  This time we will be using the Lion Rampant rules and reverting the to 'correct' unit sizes of 12 or 6 figures.  During the playtesting we found that the crucial element was the timing of the arrival of the various forces.  Historically, the Yorkshire contingent under Vavasour were driven from the field before the main body of the Earl of Lancaster's forces arrived.  To have any chance the rebels need to achieve this and also avoid heavy casualties, especially amongst their better units.

The Earl's forces.  Some of the figures have been drafted from the Teutonic army, so new flags are being made.
Archery plays far less of a role than it did in the Hundred Years War and the Wars of the Roses, so the Earl's better trained forces definitely have the edge.  In our trials the rebels were defeated each time, but after the first game, Banister (the rebel leader) was more circumspect.  His initial effort (under my command), resulted in his early demise at the hands of Vavasour's forces; so when the Earl's main force under Neville appeared the remaining rebels were simply overwhelmed.  In the second game he remained in reserve, only committed when Neville's own unit approached.
Strickland, a wing commander for the Earl's forces is cut down by Banister's men

We will try out the game again before Triples and hopefully we can manage to create a 'one hour' participation game as we did for the Phalanx show last year.