Sunday, 17 March 2019

The Abu Layyt opperation : a Sudan scenario

After an absence of almost a year we returned to the Sudan for our most recent game.  Following the disaster at Kawa  (link) the Egyptian forces had been rebuilt and thoroughly trained.  The brigadier, having survived the court of inquiry, was determined that in future,under no circumstances, would a purely Egyptian force be committed to an operation.  Therefore when an intelligence report dropped on his desk indicating that Emir Waffoor was again fermenting trouble in the desert tribes he called his officers together.  "We are going to have to do something about this fellow", he began; "Richardson, are your camel chaps ready for action?"  "Keen as mustard sir", replied the commander of the camel corps.  "A spot of action is just what they need".  "Well, they are going to have their chance, I am sending them out on an operation with Thabat's Egyptian cavalry.  Fitzwarren, you are to take overall command and Firth-Newsome, I want you to take the Lancers."

The brigadier then explained that the intelligence report indicated that Emir Waffoor was gathering arms at the isolated oasis of Abu Layyt.  What is more, the emir had called for the local tribal leaders to assemble there as a prelude to an attack.  "Fitzwarren, I want you to approach the oasis from the west, out of the desert; destroy the arms, capture the ringleaders and then make your way to the Nile at Sayff where the steamers will pick you up to bring your force back to camp.  The finer details I will leave to you.  Good luck and good hunting!"

The Imperial troops approach Sayff
A week later, young lieutenant Hartley wiped his brow and looked once again westwards through his binoculars.  "Yes sir" he said to Firth-Newsome, "It's definitely the smoke from the steamers.  I can also just about make out the vessels and the buildings of Sayff".  Acknowledging the report, Firth- Newsome turned and rode over to Fitzwarren.  "Hartley reports that the steamers are in sight sir, shall I order the advance".  "Yes", replied Fitzwarren, "the sooner this operation is over the better"  All the senior officers were aware that not only had the oasis been almost unoccupied, with few if any arms stored there; but an ominous dust cloud had been dogging their steps since they had turned east towards the Nile and it was getting closer.

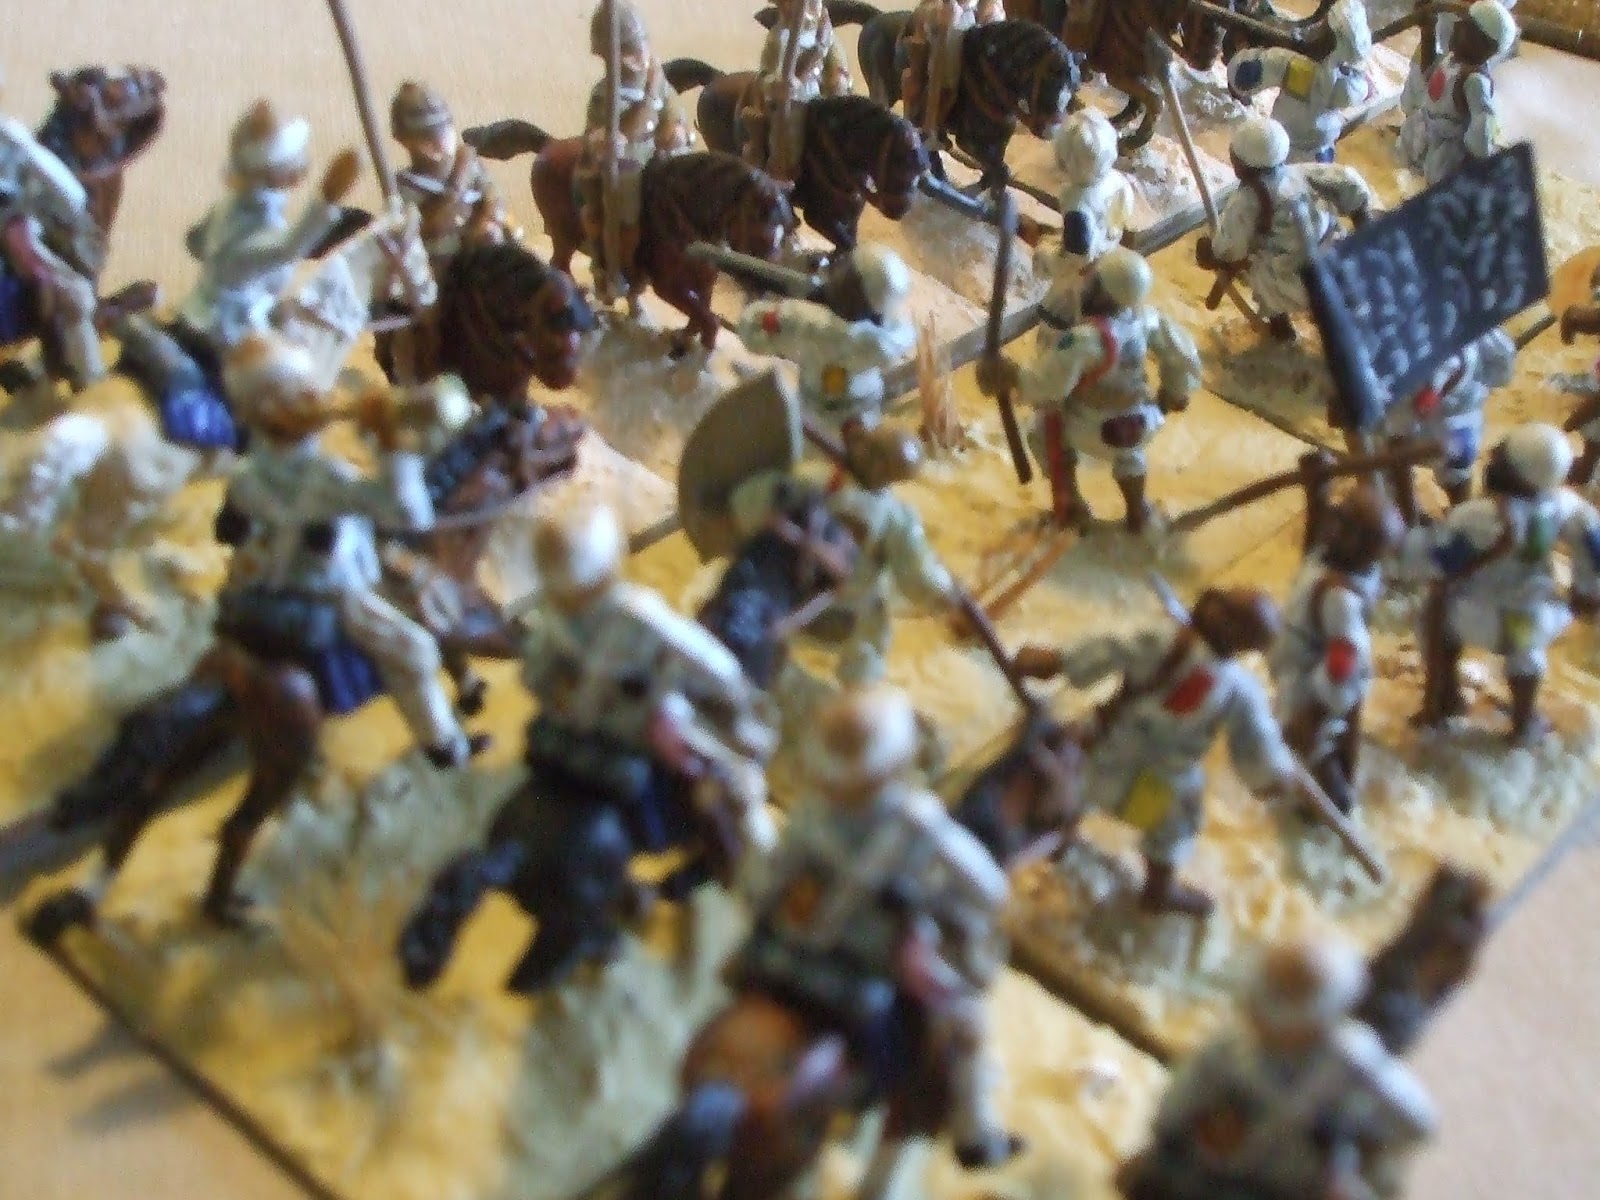
The Imperial force advanced with Thabat's cavalry on the left, Richardson in the centre and Firth-Newsome on the right.  For a while all was quiet, their only companions, heat, dust and the glaring sun.  Suddenly there was a cry of warning, a cry swiftly cut short.  Seeking the source of the cry, Thabat saw a wave of dervish warriors break cover.  He quickly ordered his leading unit to oppose this threat and give time for his mounted infantry to dismount and form a firing line.  All his calculations were destroyed as a second wave of dervish warriors appeared on his left and charged the leading cavalry.  Caught by surprise the Egyptian cavalry had time only to face this new threat before the warriors were upon them.  The Egyptians managed to hold the first rush but at great cost and as their formation fragmented more and more succumbed  to the warrior blades.  In no time it was over and the battered survivors fell back behind one of their fellow units.

The trap is sprung

The Dervish charge

The Dervish triumph
 Thabat's troubles were not over.  He had ordered his second-in-command, Tawfil Pasha to take a second Egyptian cavalry unit and support the one which was in such desperate straits.  No sooner had this advanced than it  too had been charged by the Dervish and it was now fighting for its life.  As Thabat watched the second unit also succumbed to sword and spear, so in no time at all, half the Egyptian force had been destroyed.  However, the Dervish had suffered heavy casualties and were now vulnerable.  Thabat launched another attack and this destroyed the remaining Dervish warriors.

On the Imperial right Firth-Newsome was also having problems.  Here also a trap had been sprung, but his leading unit of lancers had managed to defeat their attackers, though at considerable cost.  As he pushed a second unit forward, they had come under fire from Dervish artillery.  What he needed was infantry and artillery support and he was gratified that Fitzwarren had moved over to Richardson ordering him to seize the small hill to their front of the Camel Corps and bring the enemy artillery under fire.

At Sayff, Lieutenant Beatty, on the Assad, surveyed the scene with growing concern.  The desert force seemed to be getting bogged down and the Dervish were out of range of his machine guns.  Even though the area around Sayff was quiet he had a feeling that Dervish forces were quite near.  He glanced across at the other steamer,  the Khedive, hoping young Walton kept his nerve.  Both steamers had a small company of blue jackets with them, but far too few to hold the village should it be attacked.  Just then a sailor approached with a message from the chief engineer of the Assad, could the Lieutenant come to the engine room?  Leaving instructions that he was to be told of any change in the situation, Beatty went below.  He was deep in discussion with the engineer about coal supplies and the urgent need for an overhaul of the engines when he was summoned back to the bridge.  Walton had disembarked his blue jackets.  The naval infantry were marching into the town square, intent on holding the houses closest to the the approaching Imperial troops.  At their head was Walton, deep in discussion with Armitage, the commander of the infantry.  Beatty was about to dispatch a runner to order the blue jackets back to the Khedive, when a large body of Dervish broke cover to the south of Sayff and charged towards the town.  Alerted by a blast from the Khedive's siren and waving from the sailors on board  Walton ordered one body of blue jackets to seize houses on the southern side of the town whilst he retained a reserve to cover the jetty at which the Khedive was moored.

Armitage's men defend the town whilst Walton covers the jetty
There was just enough time for Armitage's command to fire a volley before the Dervish attack struck.  Hacking and slashing the Dervish attempted to force their way into the houses; the outnumbered blue jackets fought back, determined to hold on.  In the end there were just too many Dervishes and one by one the blue jackets were cut down.  Walton was unable to help as his small command had been charged by more Dervish units as they flowed down the streets.  With their backs to the river the blue jackets fought to the last, Walton in their midst.  His last order was for the Khedive to cast off and take station in mid channel.    With the attack coming from the south Beatty had not been able to support  Walton's men.  The blue jackets had been between his machine guns and the Dervish.  All he could do was watch, grimly determined to exact a heavy toll on the enemy when he could.

Out in the desert Fitzwarren knew he needed to reinforce the embattled Egyptians.  He sent one of Richardson's units to the left , hoping their rifle fire would weaken any further attacks and also sent over the field gun.  It was none too soon.  A further wave of attackers surged forward.  The gunners worked their guns with a will but although the enemy charge slowed it was not stopped.  Talbot, the gunnery commander sensed the fire was slackening; the ammunition was running low.  "Where's the second limber", he demanded.  "It cracked a wheel in the manoeuvre sir" was the reply.  "It should be here in 10 minutes".  "10 minutes may be too damn late" Talbot growled, "do the best you can, and send Featherstone over to those infantry and request their best support".

The Lancers destroy a unit of Dervishes
Emboldened by the slackening artillery fire the Dervish charged the Egyptians again.  One unit hit the cavalry, the other the infantry.  To his dismay, Thabat saw his cavalry seem to dissolve when hit by the Dervish.  A few small groups attempted to stand, but the majority, having seen the fate of their comrades galloped for the rear.  The infantry stood their ground, giving as good as they got and gradually gained the upper hand, driving off their assailants.  However, their respite was short-lived as a fresh wave of attackers approached.  A feeble close range volley did not stop this new wave of Dervishes and the infantry were overwhelmed.  Thabat was one of the fallen.  He had galloped over to encourage his men and had been drawn into the swirling melee.  Being on horseback he was an obvious target and drew the attention of numerous attackers, eventually falling to multiple stab wounds.

Looking to his left, Fitzwarren could see that nothing more could be done for the Egyptians, he needed to ensure that the British artillery and infantry escaped the carnage.  He sent an aide with orders to withdraw and join Richardson's command.  Another aide galloped off to Richardson with orders to push on quickly to Sayff.  Firth-Newsome would have to cover the right flank with his cavalry.  Richardson had managed to reduce the fire from the Dervish artillery and he prepared to advance.  Firth-Newsome ordered the remains of the leading lancer unit to push on and sent a second regiment in support, holding one back in reserve.  As the British cavalry crested a low rise they found a further body of Dervish infantry waiting for them.  Bugles braying the lancers charged and forced their way into the native ranks, resorting to swords where their lances became too unwieldy.   To cover Richardson's advance, Firth-Newsome led the reserve regiment of cavalry forward against the Dervish artillery.  This was silenced and its supporting infantry driven back.

The Lancers attacks again
In Sayff, the Dervish milled about hunting down the few remaining blue jackets.  On board Assad, Beatty ordered his men to bring the natives under fire.  The gatling swept the square free of Dervish and the blue jackets picked off those who sought refuge in the houses.  Manoeuvring up and down stream the Assad enabled the crew to bring all the town under fire and the Dervish paid a heavy price for their attack.  Fitzwarren's command suffered one final major loss on it's advance.  The machine gun team accompanying Richardson was ambushed as it passed some broken ground. 

The machine gun crew are ambushed
With the Dervishes in Sayff much reduced in numbers by Beatty's fire, Fitzwarren's command was able to fight it's way to the landing stages and the remnants of the expedition boarded the steamers for the voyage back to base.

Wednesday, 27 February 2019

First outing for the Ottomans

By no means a big battle, more a small scale action to try and settle on the relative factors between the different armies/troop types.  Although there was an element of getting a few troops on the table to kick start the painting needed to get a balanced force together.

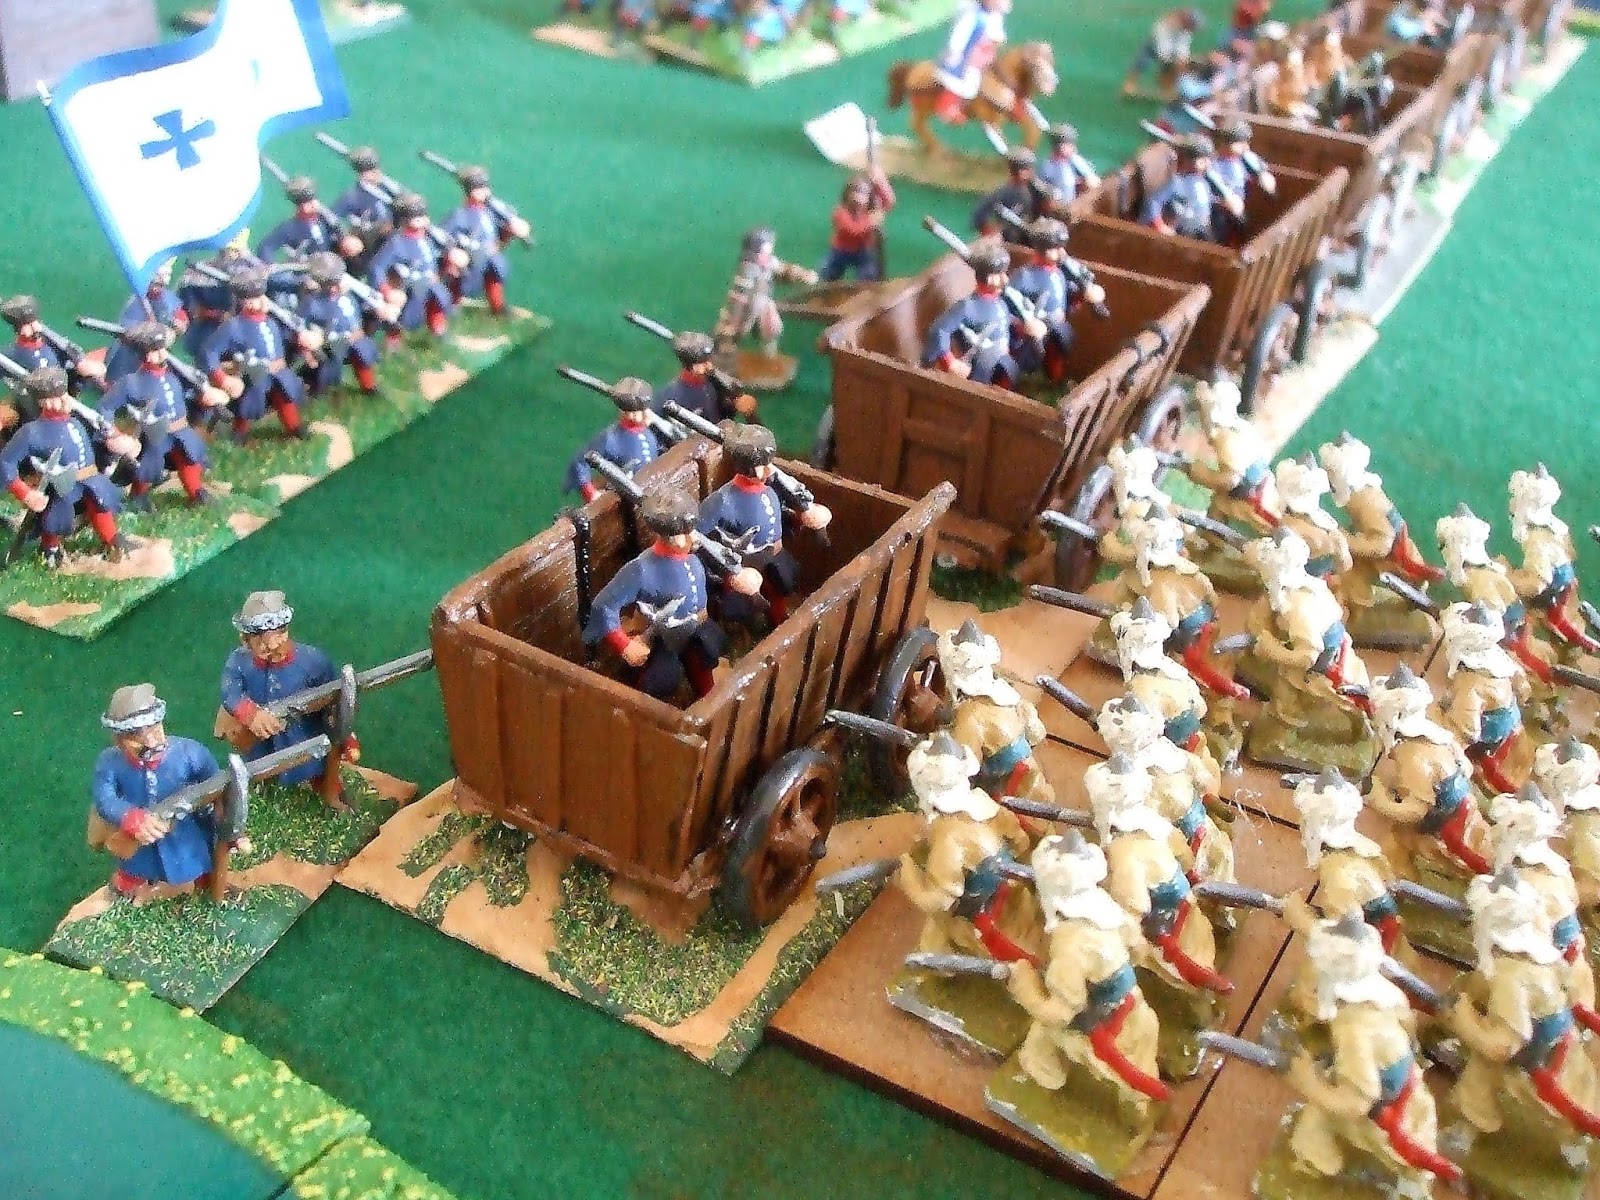
After an incursion into Ottoman controlled territory a  portion of the Cossack force has been forced back against a river.  Hastily forming a defensive line with their wagons the Cossacks have turned to face their pursuers.


The wagons are 'garrisoned' by two small units of registered Cossacks supported by two light guns.  One of the wagons has a very light gun.  This is based on the cart shown in film 'with fire and sword' which uses light, short-range guns to drive off a Polish cavalry attack.  Behind this line of wagons are the two reserve units, one of moloisty and one of registered cossacks.

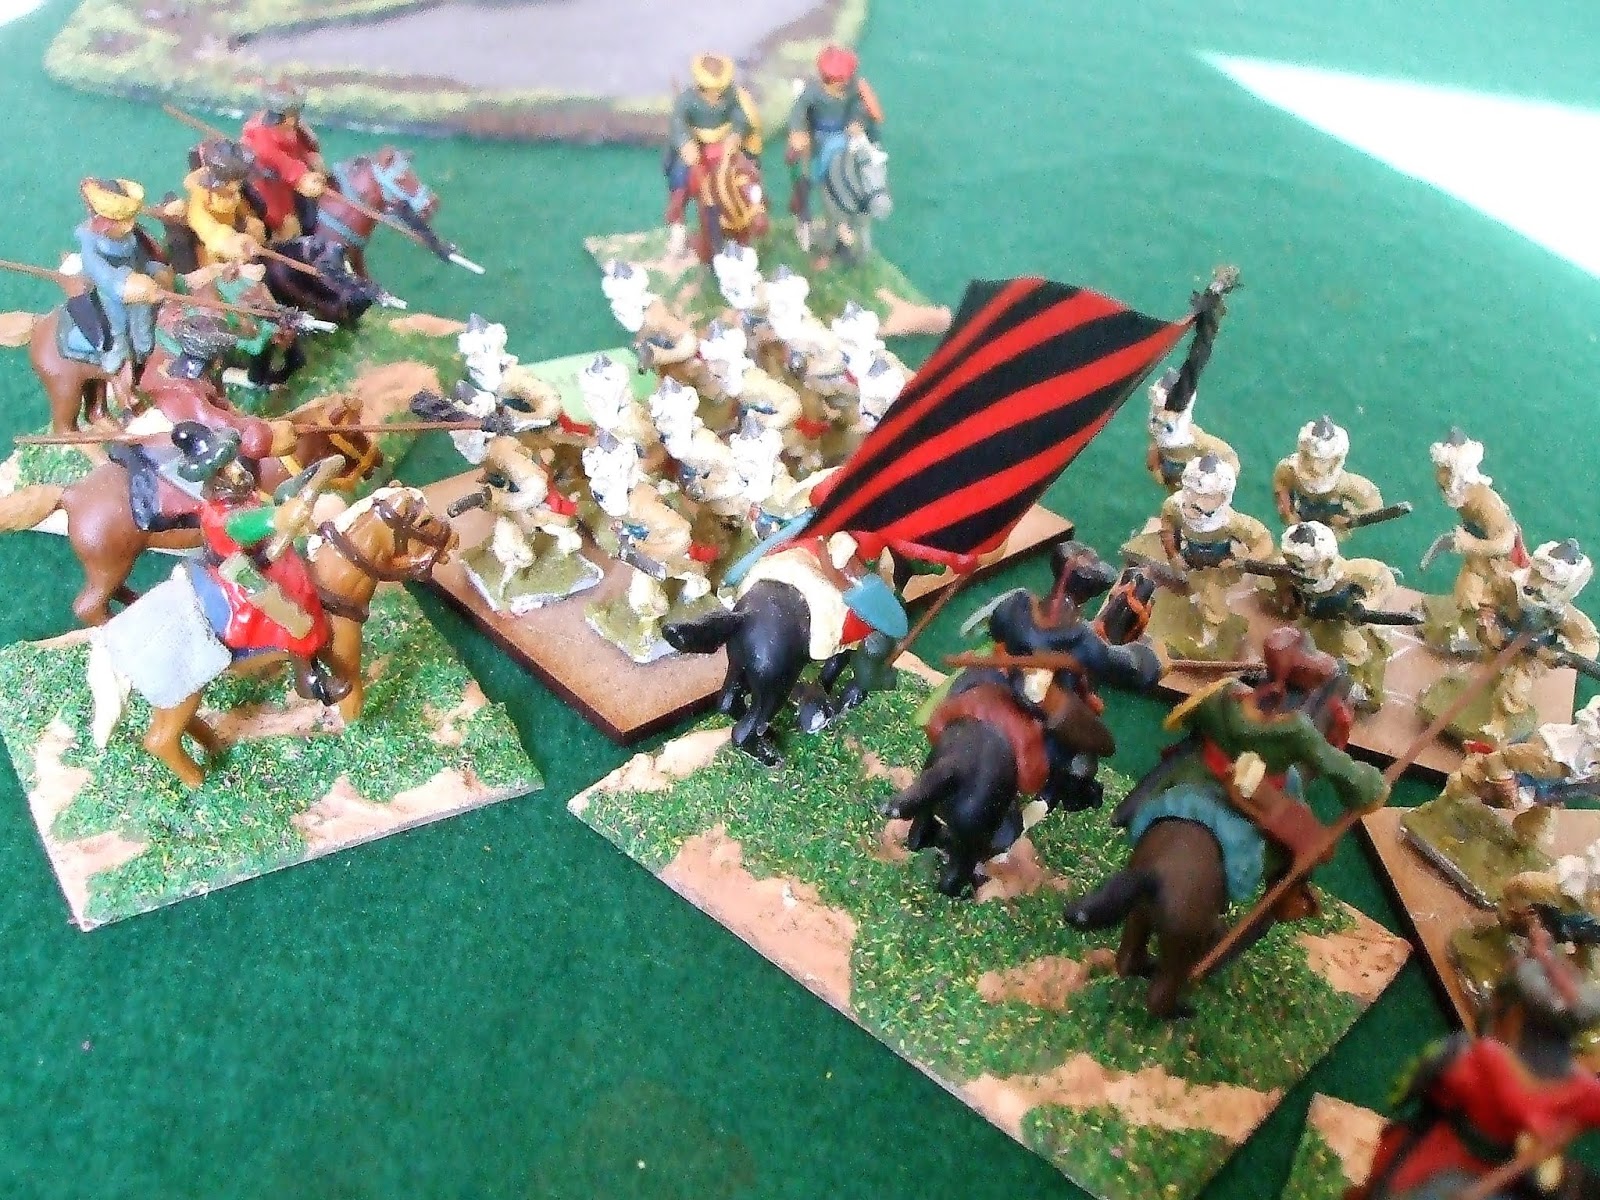
The Ottoman force has two units of levy infantry (my apologies for fielding them with unfinished bases) and four small units of janissaries, backed up with two medium guns.  Steve brought along a couple of units of cavalry to round out the force.

The Janissaries

One of the levy units
The Ottoman commander sent forward the levy to soften up the defence before the janissaries finished off the job.  At least that was the theory.  The levy did attack, but not in any co-ordinated way, and the janissaries were at first reluctant to advance.  By the time they got forward the levy were attacking the wagons and although not pushing the Cossacks back, they were wearing them down.

The struggle for the wagons
The Ottoman light cavalry were trying to help, but the terrain prevented any flanking manoeuvre.  Eventually the inevitable happened and the levy infantry routed, leaving the way open for the Janissaries.  However, they fared no better, their attacks foundering against the wooden walls of the Cossack line.

The Ottoman light cavalry
The scenario had a couple of Cossack cavalry units arriving after a number of moves.  Perhaps surprised, the spahi unit did not attack immediately, allowing one of the cavalry units to  destroy a fleeing levy unit..  It then followed on to threaten the rear of one of the janissary units.

Success for the Cossack cavalry
At the wagons all the janissary units were on the brink of collapse, indeed one routed.  With this the Ottoman commander conceded victory, there was little hope of breaking through the line of wagons. So Steve and I had lunch and mulled over how things had panned out.

The janissary unit has had enough and routs
Refreshed, we reset the scenario, swapped commands and ran the game again.  This time the Ottomans had a bit more success.  One of their levy units did rout after several rounds of melee, but the other managed to break through with the janissaries in close attendance.  However, the disorder caused by making its way through the wagons left it vulnerable to counter-attack and it was duly routed by the moloisty unit.  An injudicious attack on a jannisary unit which had occupied the wagon line resulted in the moloisty unit routing, leaving an inviting gap in the Cossack line.

Even the arrival of the Cossack cavalry did not affect affairs.  The Ottoman commander calmly ordered the spahi unit to charge nearest unit.  This it did and routed them without suffering any loss itself.  Following up it dispatched the other unit with similar disdain.  This time it was the Cossack commander who had to concede defeat.

This was an interesting little action in which we tried out some new troop types and rule tweaks.  The factors for the Ottomans were an amalgam of those in Pike and Shotte and also the "Last argument of Kings" supplement.  We also used the 'bloodthirsty' rule, but limited it to the first round of the first melee.   The Cossack wagons gave cover from musketry and a +1 modifier to the melee result.

Monday, 18 February 2019

Mockern April 1813

A Shako scenario this week, it is a long time since the Napoleonics managed to get on the table.  This is not a totally historically accurate scenario, the terrain has been tweaked and the OOB's come from a League of Augsburg weekend game (link ).  That was spread over three tables using 25mm figures, so I had to make some changes to get it onto one 6 x 4 table.

Strategically Eugene has been driven back from the line of the Oder river and is now trying to hold the line of the Elbe.  His task is to hold the Russian armies back whilst Napoleon creates a new army around the survivors of the 1812 disaster.  Eugene had advanced a couple of divisions eastwards, pushing back the Prussians of Borstell's brigade.  The allied army under Wittgenstein which was facing Eugene had been ordered to move southwards towards the other allied armies.  Concerned that Eugene may be advancing on Berlin he ordered Borstell to retake the villages he had lost, supporting him with Bulow and Berg's divisions.The two forces clashed in the vicinity of Mockern, but without a clear victor.  However, Eugene decided to pull back to the Elbe, allowing Wittgenstein to continue his march south.

The map above shows the terrain for the battle.  The river Ehle is described by Nafziger ( in his book Lutzen and Bautzen), as "not wide or deep but having banks that were swampy and difficult to cross".   Later he says it is 2 - 3 feet deep and c12 feet wide.  We therefore decided that formed units crossing the river (cavalry and infantry only) would become disordered, or 'staggered' in the Shako rules.  On the French side of the river, roughly half way between the villages is an area of marsh which is impassable to all troops.  There are two lakes near the western edge of the table and near the road junction an area of rough ground passable only to skirmishers. (Gamers may find this restricts the field too much and prefer to ignore it).

Vandamme sends off his aides with orders for his divisional commanders
For the French, General Morand holds the northern village of Vehlitz with his Westphalian division (6 battalions, a foot battery and one skirmisher stand).  The village of Dannigkow is held by Grenier's Wurttemburg division (7 battalions and a skirmisher stand).  Marshal Vandamme has the divisions of Puthod (6 battalions, a foot battery and 2 skirmisher stands), Fontanelli (6 battalions and a skirmisher stand) and Bianchi (4 light cavalry regiments and a horse battery) marching east from Magdeburg.  They can arrive from turn 4 onwards depending on a d6 die roll, 6 at the end of turn 3, 5/6 at the end of turn 4 etc.  NB a '1' is always a fail.


Morand prepares to defend Vehlitz
Wittgenstein's forces are as follows.  General Borstell's brigade (5 battalions, a regiment of hussars, 2 skirmisher stands and a field battery) will attack Vehlitz.  Von Roth's advance guard, (4 battalions, 2 regiments of cavalry, 2 skirmishers and a field battery) will attack Dannigkow.  Berg's division (8 battalions, a skirmisher and an army gun) arrives at the beginning of turn 5 between Borstell and Von Roth.  In addition, the divisions of Denisov (4 regiments of cavalry,( 2 uhlans, 2 dragoon), and a horse battery) and Bikov (4 battalions of infantry and 2 skirmishers) will arrive on the road from the north.  Their arrival is on the turn following that on which Wittgenstein accumulates a score of 16 or more from rolling a single d6 at the end of each move from turn 2 onwards.

Borstell prepares to attack
The French will win if they can hold both villages and maintain their lines of communication back to Magdeburg.  Their opponents win if they can capture the villages and block the road west.

With the 1st Silesian infantry regiment leading the way, Borstell sent a column of infantry over the bridge towards Vehlitz.  Two more battalions moved forward towards the Ehle covered by skirmishers.  Morand's Westphalians also advanced and soon musketry volleys echoed across the river.  The Silesians had almost crossed the bridge when the first volley swept through their ranks.  A few men dropped but the remainder swept on, increasing pace, charging towards the white clad line opposing them.  A point-blank volley stopped them in their tracks, but they regrouped and charged again.  Another volley caused them to falter, but urged on by their officers, the battered battalion came on a again.  This time it was the Westphalians who faltered, their ragged volley being totally ineffective and they routed as the Prussians crashed into them.  The Silesians had little time to recover, Morand quickly ordered a battalion to move out of the village and take the place of the unit which had routed.

The 1st Silesian infantry trying to capture Vehlitz

 To the left of the Silesians a battalion of Pomeranian militia had crossed the river.
Supported by skirmishers and artillery this had forced back another Westphalian unit and created the space for the Hussars to cross. 

Von Roth was making slow progress towards Dannigkow.  His first push across the river, by the Pomeranian infantry regiment, had been repulsed and the fire from the 1st battalion Prinz Friedrick regiment inflicted severe losses on the 1st battalion of the Brandenburg infantry regiment as it crossed the bridge. Nevertheless it pressed on and charged  the Wurttemburg battalion, but was repulsed, falling back behind its supports.

Von Roth's first attack
 Von Roth had ordered his cavalry to stay in reserve until a secure footing had been secured across the Ehle, but the commander of the Frei Korps cavalry was keen to prove himself and rashly took his regiment across the river.   He spotted the Konig Jaeger battalion which was supporting the flank of the battalion opposing the push up the road and decided to charge, even though his men had not had time to re-order themselves after crossing the river.  The jaeger colonel was alert and spotted the cavalry and ordered his men to form square.  This was done with precision and the enthusiastic but barely trained Prussian horse galloped to their doom.  They could make no impression on the square and having lost many men they retreated back across the river, too battered to take any further part in the battle.

The ill-fated Frei Korps cavalry charge
Berg's division now began to arrive, the grenadier brigade moved to support Borstell's attack on Vehlitz, whilst the line brigade moved south to aid Von Roth.  The leading grenadier battalion managed to cross the Ehle unopposed and it moved forward to allow more to cross in its wake.  However the 1st battalion New Ingermanland had more difficulty.  It was opposed by the Konig Jaeger who lined the bank of the Ehle and held firm against the Russian infantry.  As more battalions 'stacked up' behind them the Russians tried again and again to dislodge their opponents but to no avail.  The battered remnants, utterly spent, fell back their work done.

Vandamme could draw comfort from the gallant defence offered by his Westphalian and Wurttemburg troops, but his lack of cavalry and inferior number of guns would make prolonged resistance difficult.  Therefore he was glad to see the first squadrons of Bianchi's light cavalry appear along the road from Magdeburg.

Bianchi's division arrive
 St Priest, the allied commander also saw the cavalry arriving and hoped his flanking column would not be long delayed.  He urged his three divisional commanders to redouble their efforts to take the villages and the response was immediate.  Von Roth, supported by Berg's artillery pounded the Wurttemburg troops in front of Dannigkow.  The 1st battalion of the Prinz Paul regiment was badly hit, losing half its men to canister fire and then plagued by enemy skirmishers.  As it attempted to pull back a final blast of canister drove the remnants of the battalion from the field.  Also suffering were the jager battalion Konig.  They too were subjected to canister and skirmisher fire, before being charged by a fresh battalion of Russian infantry.  Much reduced in numbers they could offer little resistance, being wiped out as a fighting force.  Just as there seemed to be a chance that the Russians would advance further westwards Bianchi's cavalry appeared before them.  This checked Berg's infantry but his artillery now targeted the nearest enemy cavalry, the Westphalian Hussars.  They stood and took the punishment, losing over half their number, but still posing a threat to any advancing Russian infantry.

Bianchi had ordered two of his regiments, plus his horse battery, to move north towards Vehlitz to contain the advance of the Russian grenadiers.  This they achieved, as the 2nd battalion of the Siberian Grenadier regiment formed square against the light cavalry and were then subjected to canister from the horse artillery.  Morand moved one of his battalions to support Bianchi, hoping its volleys would inflict further casualties on the grenadiers.  Unfortunately for the Westphalians this move opened them to attack by the Prussian Hussars.  Just in time the infantry colonel saw the enemy cavalry and ordered his unit to form square.  Undeterred, the cavalry closed and sensing a nervousness amongst the ranks of the infantry hacked their way into the square.  Once breached, the square was doomed and barely a man escaped.  Command was lost as the Prussian horsemen galloped on towards the Bavarian Cheveauleger who were behind the square.  Their impetus broke the Bavarian formation inflicting significant loss on them, forcing them to fallback to recover.  Their job done, the Prussians fell  back to reform.  Before this could take place, the Polish Hussars, who were supporting the Bavarians charged and drove the remains of the Prussian cavalry back into the river, finishing them as a fighting force.

The Prussian cavalry break the Westphalian square
Borstell's attack on Vehlitz was making progress.  Led by the Pomeranian Grenadier regiment the Prussian infantry smashed the battalion defending the approaches to the village and then cleared the village itself. 

The Pomeranian Grenadiers capture Vehlitz
Morand had now lost his artillery and one third of his battalions and another third were reduced to shadows of their establishment.  The troops he had were insufficient to recapture the village and the proximity of the Russian grenadier battalions could spell disaster.  He was therefore mightily relieved to see Puthod's leading battalions heading towards him.  Four fresh battalions could swing the balance again.

Puthod's leading battalions
The Russian flanking column had at last arrived and Denisov's cavalry had almost reached the road. Puthod had had to leave two battalions plus his artillery to block the defile between the woods and the rough ground to protect his rear from the Russian cavalry.  Bisov's infantry was making for the crossroads to block the road back to Magdeburg.  Vandamme had placed Fontanelli's division behind Dannigkow to support Grenier, who now faced a renewed attack from Von Roth's division.  The 2nd Brandenburg infantry regiment now crossed the bridge with cavalry and artillery in support

Von Roth's final attack
With game time running out Steve launched Puthod's battalions against Vehlitz.  Two were stopped by volleys from the grenadiers, but the third closed to melee and in a finely balanced melee just edged a victory.  The grenadiers were forced out and the French re-garrisoned the village.

At this point we had to call time and adjudicated a tactical victory  to Vandamme as he still held both villages.  However, with the Russians blocking the road back to Magdeburg, Vandamme would have to find an alternative route back across the Elbe, so strategically the allies had forced him to pull back.  Honours even?


Monday, 4 February 2019

Vapnartak 2019

Our first show of the year was, as usual, Vapnartak last Sunday.  For a change, the weather gods were favourable and the trip over the Pennines went without a hitch.  The Lance & Longbow stand was in it's usual location and setting up went smoothly.  The York club had members on hand to help transfer things from vehicles to the stands and that was much appreciated.

Once the doors opened things got busy very quickly.  Attendance was good with lots of eager shoppers working through their lists.  There didn't seem to be as many games on offer as in previous years, certainly on the ground floor.  I think that at this show there is a move away from large 'eye candy' type games towards participation/join in games, certainly the majority of the games on the upper floors were of this variety and very busy they were too.  What was evident was the number of younger gamers who were keen to try out these games.  We were busy with our 'Stamford Bridge' game, running it three times and attracting customers for each one.  Being so busy meant that I only had one brief opportunity to take photos.

Next to us was an ECW set up "The Queen's arrival in Bridlington". 


The ships were impressive and the overall effect was very good, but the same kind of thing has appeared under different titles for a number of years.

Close by was what looked like an "Indiana Jones"  themed game.  Plenty of nice detail and modelling on view.


Nearby were a WW2 airborne action


and a WW1 Middle East game featuring a very impressive castle


I managed to get a couple of photos of another WW1 game, this time set on the Western Front


The other times I glanced over the table seemed to be fully occupying several players.

I mentioned earlier that the upper floors had mostly participation type games and they all seemed very busy.  One larger game was put on by Yorkshire Renegades, it used Pike and Shotte rules and was based on the Siege of York during the ECW.  My apologies for the photos, the light flooding in through the large windows made life difficult.


Nicely painted figures and a well presented game.

The York club has once again produced a very welcoming show with plenty on offer for those visiting.  Steve and I were very happy with how our game was received and we would like to offer our thanks to Adam, Danny, George, Jim, John, Jonathan and the two Pauls for giving our game a try.  Andy and Will manned the society stall and Dave and Lynne provided welcome refreshments.

Friday, 1 February 2019

Lessie's Moor an ECW scenario

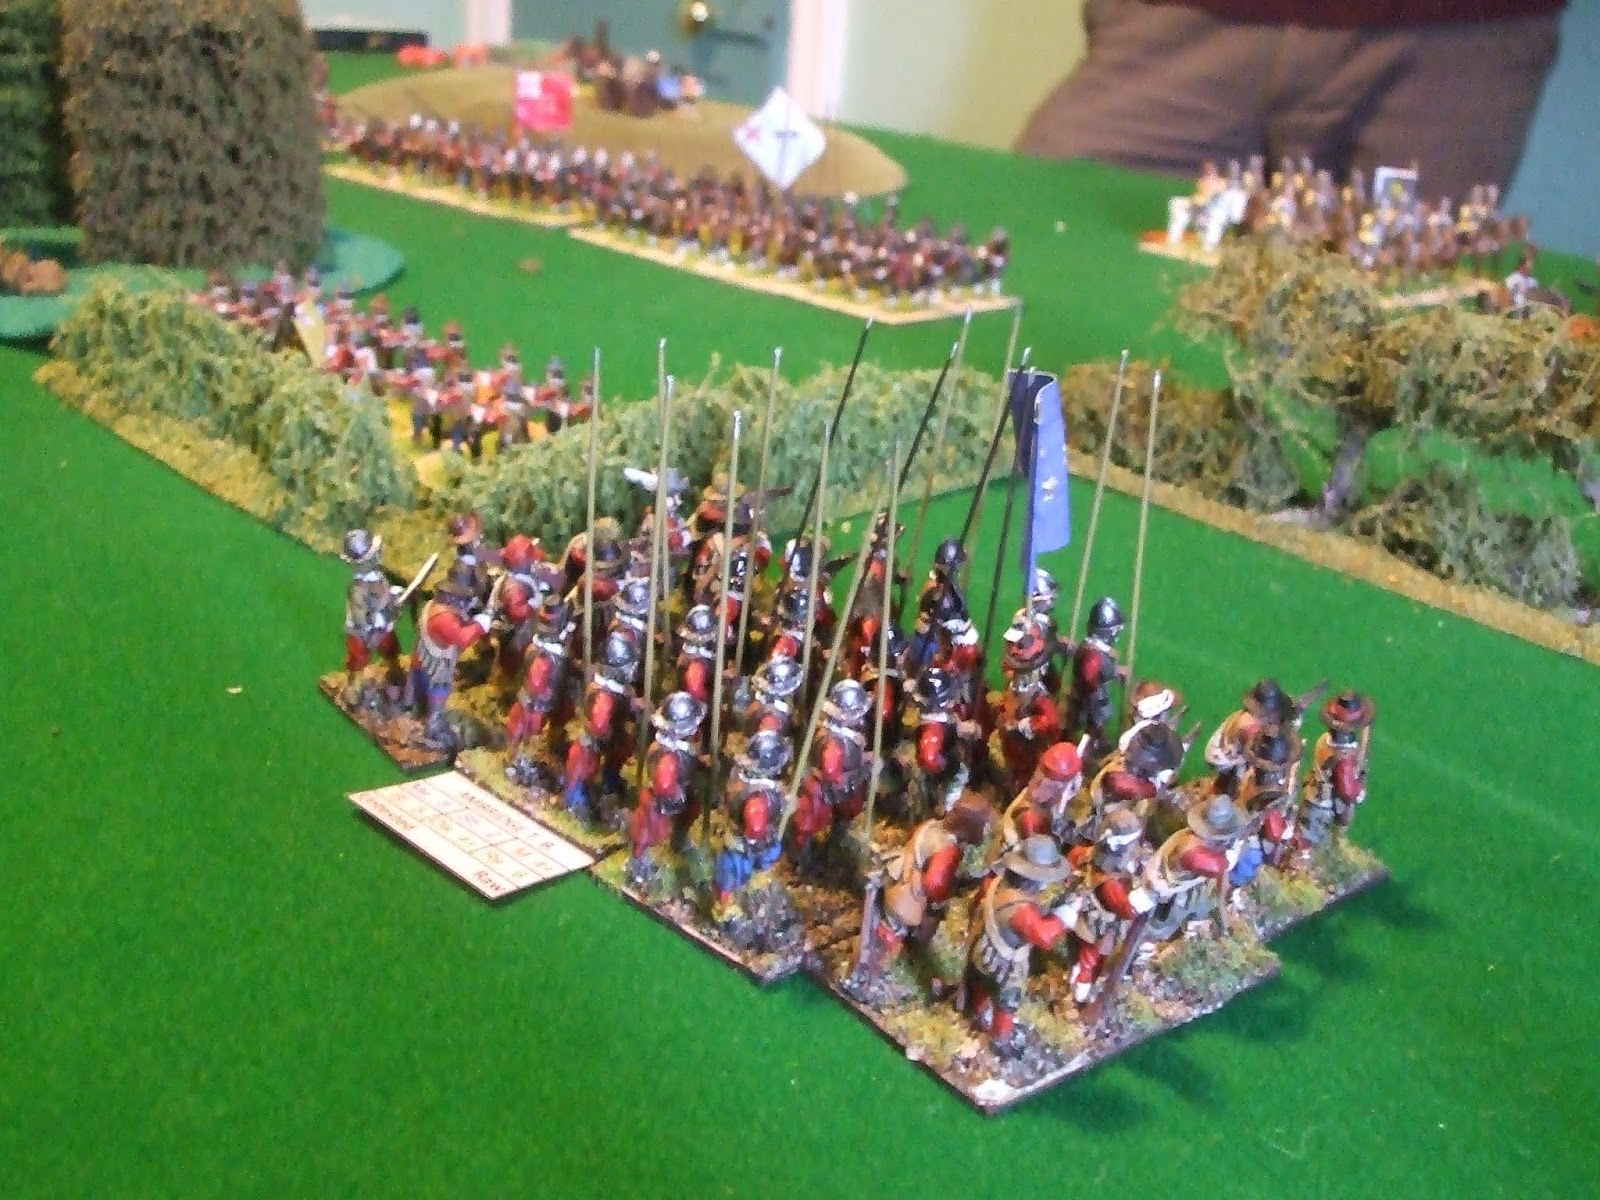
For our most recent game (actually roughly 4 weeks ago), Steve used this scenario by Andrew Brentnall, which can be downloaded free from here .  It is set up for the "For King and Parliament" rules by Simon Miller, but Steve adjusted it for our in-house version of "Pike and Shotte".  It was also an opportunity to try out some different formation depths.  There has been a fair bit of discussion on TMP and elsewhere regarding the way in which we, as wargamers, deploy our units and we thought we would try and get the cavalry a bit nearer the formations depicted on contemporary mid-seventeenth century illustrations of battles.

The action takes place in the fictional (unless you are an Archers fan), county of Borsetshire, which lies just to the south of Kelhamshire.

The view from behind the Parliamentary right wing


The scenario map shows that over half the parliamentary cavalry is deployed  in enclosures on the left wing, rather restricting it's ability to manoeuvre.  A roll of the dice allocated command of the Royalists and the persona of Lord Nigel Pargeter to me, whilst Steve was General Edward Grundy.  My plan was to attack with my right and hold in the centre and left.  Steve opted for the same plan, meaning the two armies were pivoting around the small copse seen in the photograph above.

My right wing cavalry made good progress advancing across the moor, but the trained bands were less keen, plodding slowly forward, whilst Perk's regiment became disordered trying to get across a hedge.  Fortunately, the enemy left wing cavalry seemed to prefer to wait on events and remained in position.  It was only when the leading Royalist regiment approached the opening to the enclosure that Elliot and Bellamy's regiments turned to face them and a prolonged melee took place in the narrow opening.  My infantry had now come under fire from the commanded shot placed behind the hedges on the parliamentary left and the first volley caused the Penny Hassett trained band to waver.  David Archer quickly moved over to steady them and together with the Ambridge trained band they fired a volley back at the musketeers.

The fight for the enclosure
Grundy's plans for his right wing were not progressing as he had hoped.  Fairbrother's cavalry lacked cohesion, one unit had been driven back by fire from D'Arcy's musketeers whilst the remainder had been charged by Josh Archer's regiments.  The melee swung back and forth but it was the Royalists who had to give ground, one unit routing, the other falling back to reform.  Archer tried to rally his fleeing troopers, but was swept from the field in the rout; only returning some time later.  Meanwhile Lord Pargeter had re-aligned the infantry in the centre to cover their flank.  He was able to do this because Sterling's brigade of infantry were reluctant to advance, (with the exception of Grundy's own regiment) and Carter's brigade of trained band units were also keen to remain in reserve rather than face the enemy.

D'Arcy's musketeers

Lord Frederick's rout
Although Fairbrother was able to drive off the remaining Royalist cavalry on the Parliamentary right, he was exposed to fire from the musketeers ensconced behind the hedges.  To his left Grundy's regiment had been broken by musketry and Sterling's had been forced back to reform.

On the Royalist right the cavalry fight for the enclosure continued as fresh regiments made their way forward.  Neither side could gain an advantage, but the Royalist infantry now began to exert an influence.  The two trained band regiments had gained the upper hand against McCreary's musketeers and a determined charge broke the small unit.  Perks' unit also overcame Tichener's musketeers and was able to advance to the hedge bordering the enclosure.  Now the Parliamentary cavalry faced charges from the enemy cavalry and also volleys from the infantry lining the hedge.  One by one the cavalry units routed threatening the collapse of the Parliamentary force.  Grundy ordered Fairbrother to move his cavalry quickly to bolster the left, whilst the remains of Sterling's command also moved left to counter the Royalist advance.  This left Carter's untried brigade to hold off the Royalist left and centre.  Grundy's mood was not improved by the sudden demise of his artillery, the axle shattered under the strain of discharging a shot.  Surveying the scene, he ordered a withdrawal.  For his part Lord Pargeter was happy to claim victory by right of possession of the field.

The Ambridge trained band advance

Snell's regiment charge Fairbrother's regiment

The cavalry melee in the enclosure

The trained bands and Perks' regiment line the enclosure hedge

Carter's brigade reluctantly move forward
An enjoyable game, surprisingly won by the Royalists although they were outnumbered.  Steve was hampered by most of his commanders having a lower command factor and thus failing more tests.  The greater depth of the units somehow looked 'right' at least as far as being more like contemporary illustrations.  A bit more testing is required to establish whether they work in practice.

All being well Steve and I will be at the Vapnartak show on Sunday, running our Stamford Bridge game on behalf of the Lance & Longbow Society.  If you are attending the show please drop by and say hello and maybe even join in the game.

Friday, 18 January 2019

Action at Longmarket, a Kelhamshire Pike and Shotte scenario

Lord Melchett's forces had been besieging the Parliamentarian stronghold of Whitecross, but had had to retire when Sir Victor Meldrew's relieving force had approached.  To gain time for the vital artillery and supply trains to cross the river Kelham and reach the safety of Royalist headquarters, Lord Melchett had deployed a holding force on the line of the Blackwater stream, just west of Longmarket.   At this point the road to Longmarket crossed the Blackwater by a ford.  The stretches of river either side of the ford could be crossed by formed units, but the going was very soft and likely to disorder the troops.  The road was lined with hedges and more hedges enclosed fields on either side of the river.

Lord Melchett had 4 regiments of foot, (2 raw and 2 trained), 3 units of cavalry (2 trained and 1 raw) and a light gun.  He place two units of foot under Sir James Fotheringay to the left of the road and two , (under Colonel William Saville), on the right.   His cavalry under Sir Hesketh Fleetwood covered the lane.  The light gun was placed to cover the ford.

Sir Victor Meldrew had the larger force, 6 regiments of foot, (although some were reduced by lengthy campaigning), 2 units of commanded shot and 4 regiments of cavalry.  In addition there was a medium gun.  The commanded shot were deployed forward with orders to unsettle the Royalist infantry defending the hedges by the river.  Colonel Richard Clayton had a brigade of 3 regiments of foot to oppose Sir James Fotheringay and on the opposite flank the veteran Colonel Ezekial Cooper also had 3 regiments.  Sir Victor's cavalry, (2 elite and 2 trained regiments) was gathered by the entrance to the lane under the command of Colonel James Livesey.

The action opened with the commanded shot moving forward to engage the Royalist infantry lining the hedges.  Lord Melchett had requested Fotheringay and Saville to place their raw units in the front line, hoping to preserve the more seasoned troops from unnecessary losses.  The opening volleys from the Royalists belied their status.  Fotheringay's men caused the commanded shot facing them to pull back to reform, and Saville's stopped those advancing towards them.  Sir Victor ordered the remaining infantry to advance and try to use their superior numbers to outflank the Royalist line.
Fotheringay's men await the parliamentary attack
The parliamentary infantry struggled through the boggy terrain by the Kelham and as the fire from the royalists wavered they forced their way over the river.  To put more pressure on the defence Sir Victor ordered Livesey to send two regiments of cavalry up the lane and attack the royalist cavalry.  Livesey protested that the narrow lane was not suitable country for cavalry, but Sir Victor would brook no argument.  With a sense of foreboding, Livesey led his men forward.  At first all was well, the leading troopers splashed through the ford and began their ascent of the opposite slope.  Lord Melchett had placed his light gun to cover the ford, but their fire was totally ineffective and the enemy horsemen passed unscathed.  At the top of the lane, Livesey was surprised to find that he had been allowed space to deploy, accepting this unexpected gift he quickly ordered his leading regiment to deploy and charge.  The ensuing melee was evenly matched , but Fleetwood's reserves were able to support his engaged unit whilst Livesey's supports were still making their way up the lane.  Livesey was forced to fall back, but the royalists were too shaken by the tussle to take advantage and follow up.


Livesey's attack up the lane

At the river line, Fotheringay's leading regiment had broken.  Assailed by the volleys from two regiments to their front; they were shattered by fire into their flank from the commanded shot.  The commanded shot had little time to enjoy their triumph as they were in turn broken by a volley.  This was fired by Fotheringay's reserve regiment which then moved forward to try and retake the hedge.  This they accomplished with ease, as Clayton's men had become disordered pushing their way through and over the obstacle and could offer little to resist the royalist counter-attack.  Bundled back across the Kelham they took some time to recover.
Saville's leading regiment routs
On the opposite flank, Saville had also struggled to maintain his position.    Cooper had attacked on a broad front and advanced steadily and although struggling with the terrain, he had managed to get all three units across Blackwater.  With his men ready, he ordered the charge and his men swept forward.  The closing volley from Saville's men was ineffective and as the pikes struck home, his men turned and ran up the hill.  Cooper avoided Clayton's mistake and didn't try to cross the hedge, instead he awaited the inevitable counter attack.  As Saville's reserve advanced they were met by volleys, but on they marched.  Gathering themselves, they charged the hedgeline.  the parliamentary closing volley swept their ranks and although they closed, they were unable to dislodge their opponents.  As the melee continued casualties rose amongst the royalists and they broke, streaming up the hill.  Saville managed to rally them behind their fellow regiment, which had been rallied by Lord Melchett.


Cooper's men prepare to cross the Kelham
Lord Melchett saw that Sir Victor was reinforcing success.  Across the river, Livesey's reformed regiments, together with the previously uncommitted regiments were moving swiftly to their left.  To counter this had only two regiments.  One of Fleetwood's raw regiments had moved forward to support Fotheringay;s remaining regiment.  Fotheringay himself was no longer on the field, he had tried to rally his routing unit, but had been carried away with them.  Lord Melchett suspected that neither the infantry nor Sir James would halt this side of Longmarket.  The cavalry had advanced too far and the volleys from Clayton's regiments had decimated their ranks, causing them to rout.  Fleetwood had been unable to rally them and they also disappeared westwards towards Longmarket.

The Royalist cavalry rout
The crisis of the battle was approaching, Livesey's troopers were beginning to cross the Blackwater and Cooper had moved forward one regiment  to cover their deployment.  Just in time, Saville's two battered regiments had managed to reform and they advanced towards the parliamentary infantry.  They both fired volleys and when they smoke cleared they could see the enemy infantry running.  Their rout had disorganised the cavalry directly behind them and Livesey decided to pull back.

Sir Victor ordered a ceasefire and pulled his troops back, allowing the royalists to fall back unmolested.

 This was actually a disguised version of the battle of Langport.  Historically. Fairfax sent his cavalry up the lane.  They defeated Goring's cavalry, which fled, together with the infantry.  Rule sets often prevent cavalry attacking in column of route and thus the tactic used at Langport is difficult to duplicate.  An enjoyable game, Steve stuck to his task as parliamentary commander, even though the terrain was against him and came close to victory, being denied by some rogue dice.


Saturday, 5 January 2019

A brief review of 2018

I am sure I am not alone in thinking that the years are passing quicker and quicker.  Also I think that being a wargamer tends to mean that your 'to do' list is always longer at the end of the year.  Looking back I do not think I have too much to complain about, 8 shows attended, c30 games played, (despite the various interruptions from holidays and the real world) and c200 figures painted and added to the collection.  However, there is one failure in particular, the lead mountain has continued to grow, (and at an increasing pace).  For most of the year I did manage to hold my resolve and not purchase more figures, however, there were three major lapses;

In January I took advantage of an offer from Warlord Games and purchased an ECW package of 90 infantry and 24 cavalry.  Then in August at Britcon I fell for a collection of 15mm Austrian infantry (another 100 figures to paint).  Finally, in September came the largest fail, a collection of 25mm Hinchliffe Ottoman figures part painted, almost 200 figures in all.  In my defence I will say that this last purchase was a real bargain (where have we heard that before?)  Here are a few photographs

First the 4 units of Sipahi


As you can see all the figures will need weapons and some painting,
.

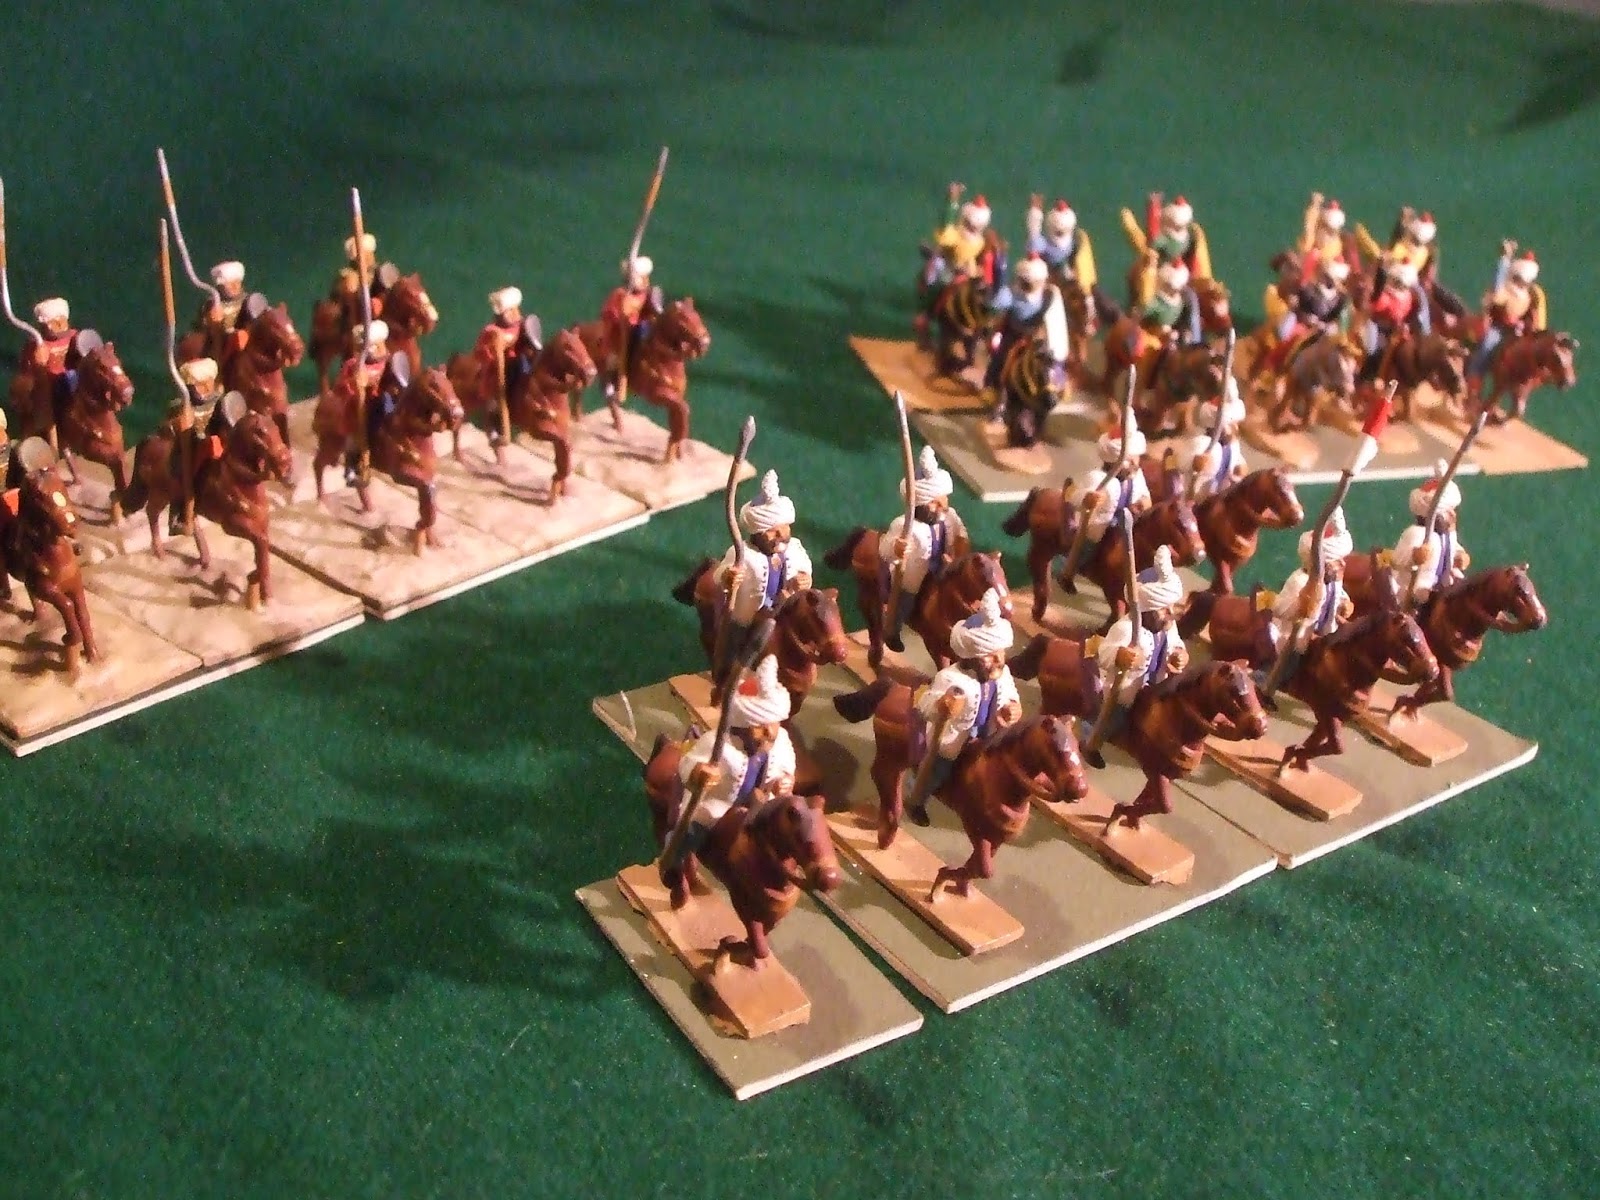
To accompany the Sipahi are 6 units of light cavalry, 2 of archers, a Deli unit and these Arab light cavalry


With the cavalry came 3 units of infantry, (each 20 figures strong), one each of Janissaries, archers and musketeers.


These musketeers require the least work, but the whole collection will take up a sizeable chunk of painting time for the coming year.