Sunday, 12 July 2020

Boldon Hill; an ECW scenario

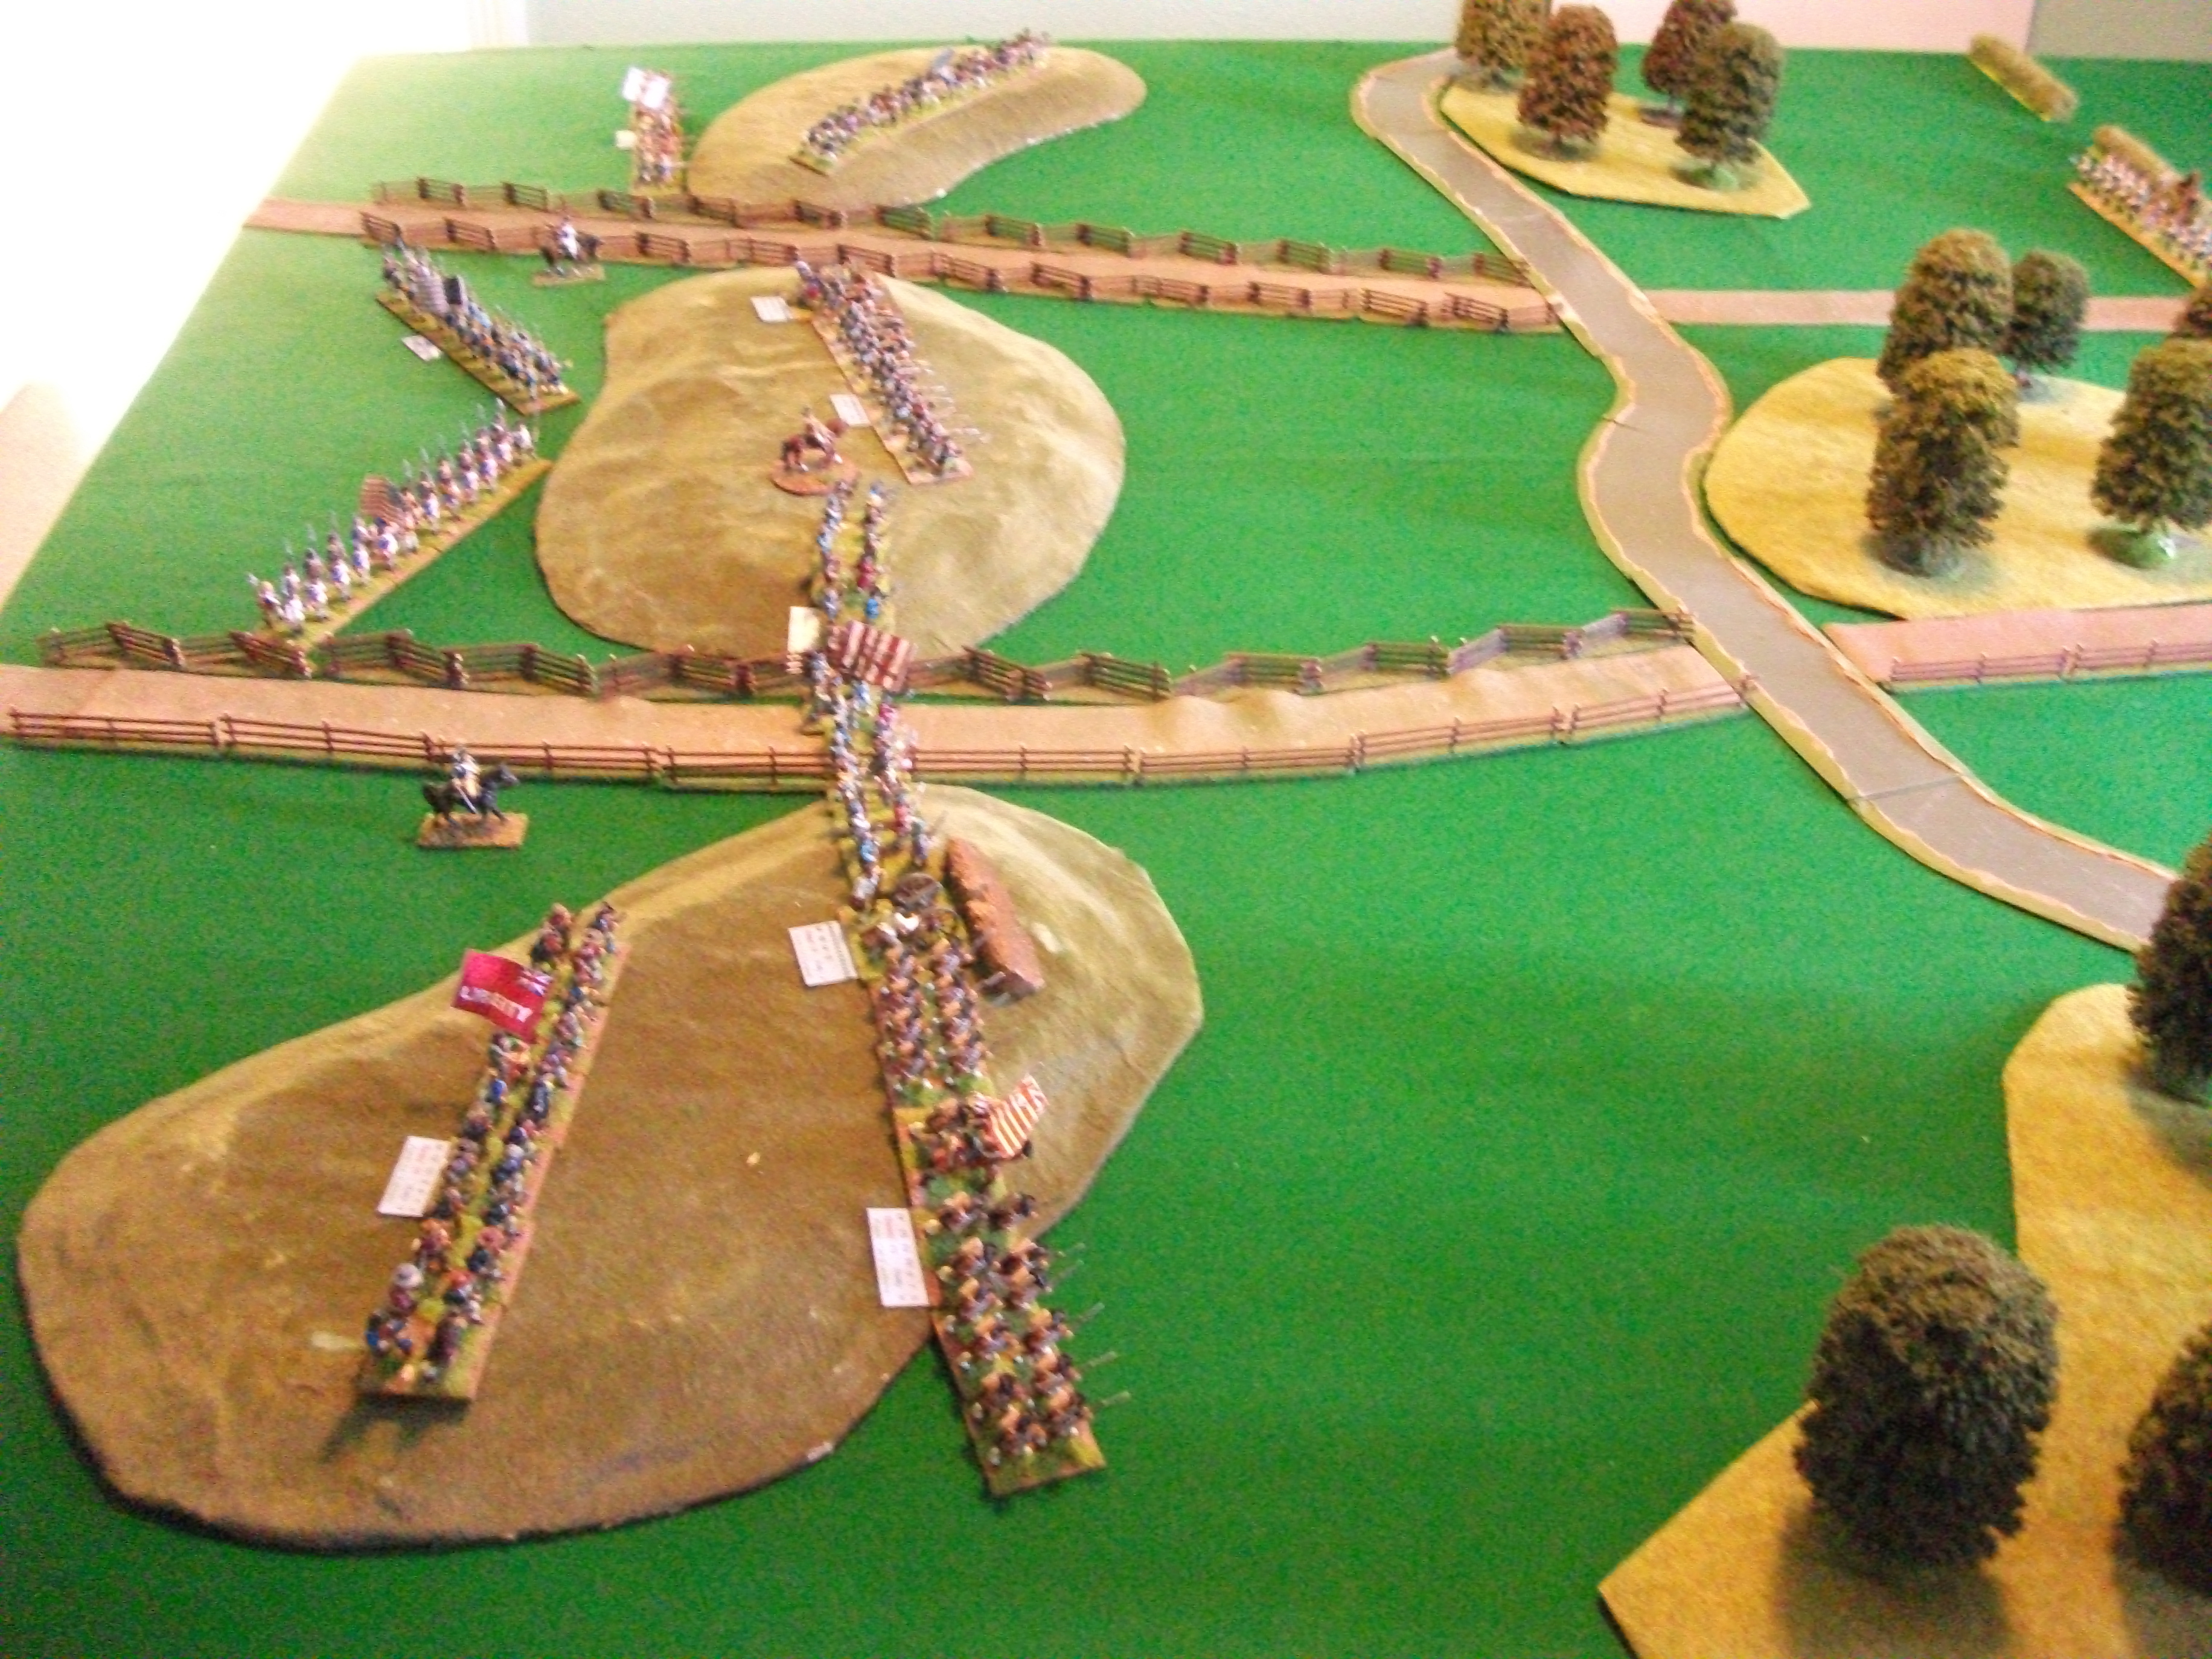
This week's game is based on the Battle of Boldon Hill scenario available for the In Deo Veritas rules written by Philip Garton and sold by Helion (link).   Set in 1644, the action represents the attempts by the Marquis of Newcastle to disrupt the siege of Sunderland by the Scottish Covenanter army.  He pushed forward a small force to threaten the supply lines for the besiegers and the Scots sent troops to counter this.  The action at Boldon was a result.

The scenario gives two options one with a fairly open terrain, a second where the Royalist forces have the benefit of a couple of enclosures near the village of Boldon.  I chose the second option, but in either case the objective is control of the road passing through Boldon.  In the scenario the Scots have more infantry, the Royalists an advantage in cavalry, giving the Scots the decision of how much infantry to devote to cavalry support whilst maintaining sufficient force to carry the enclosures and village and thus secure the supply lines.

Both commanders deployed their cavalry on the more open terrain, leaving the infantry to contest for control of the enclosures.

The battle started with a Royalist cavalry advance, not as rapid or co-ordinated as would have been wished, but at least taking the fight to the Scots.  Indeed one unit advanced further than was prudent and suffered quite heavy casualties from musketry fire.

The Scots infantry support their cavalry

Therefore, when charged by the Scottish cavalry the Royalists were defeated, but managed to inflict sufficient casualties on their opponents to prevent them following up their victory.  As more cavalry units entered the fray the action swayed back and forth, both sides gaining an advantage only to be driven back by counterattacks.

The Scots infantry were now nearing the enclosures.  The defenders fired one volley which caused some losses and disorder but did not prevent the Scots charging home.  A closing volley caused more casualties among the attackers and they were unable to make any progress in the ensuing melee; both being driven back in considerable disorder. 


The first attack on the enclosures

The first attack repelled

However, there was no time for the Royalists to celebrate, before they could recover from their efforts the second line of Scottish infantry charged home and the battle for the enclosures resumed.  This attack proved more successful for the Scots and one of the defending units was routed, eventually rallying in Boldon village.

The Royalists rout

Unwilling to advance further until support arrived the Scottish infantry halted, contenting itself by firing volleys into the rallying Royalists.

The cavalry battle seemed to be moving in favour of the Scots.  One unit of Royalists had been routed and almost driven from the field, another was being driven back by the remorseless advance of a unit of infantry supported by the light gun.

One of the Royalist cavalry units rout
Just in time, the Royalist reserve infantry unit came into action.  It had originally been positioned in the village, but the developing crisis on the Royalist right had resulted in it being moved there.  Once in position it began to fire at the Scots infantry unit supporting the cavalry and forced it to the new threat.  As the Scots manoeuvred the Royalists were given the order to charge.  Somehow the order was not received.  It was issued a second time, but once again nothing happened.  By this time the opportunity had been lost and a devastating volley from the Scots infantry was enough to disorder the Royalists.  A second volley, supported by fire from the light gun drove the remains of the unit from the field. 

An overview of the cavalry wing

Deprived of their infantry support, the Scottish cavalry had struggled.  One by one their units had been routed.  As the remnants attempted to rally in the rear of the field they could see their opponents advancing to deliver the coup de grace.  


One of the Scots units routs
 In the enclosures the balance seemed to be edging in favour of the Royalists.  The unit in Boldon had rallied and was getting the better of the musketry exchanges with their Scottish opponents.  In the other enclosure the Royalists had held another Scottish attack, but with the reserve unit routed their flank was now unsupported.

With his cavalry all but destroyed, the Scottish commander ordered his infantry to fall back to prevent them being enveloped by the Royalist cavalry.  For his part, the Royalist commander, although satisfied with his troops showing, realised he could not hold Boldon much longer.  When a messenger arrived with orders for him to pull back he was only too happy to comply.

A nice little scenario which played out well under the rather limited conditions imposed by having to game over Skype.  I upgraded the Scots cavalry from the values given in the "To Kill a King" supplement to Pike and Shotte, giving them the same factors as the Royalists.

Sunday, 5 July 2020

A day to forget: the Highlanders at Rumport River

Another AWI action, appropriately enough the report is written up over the Independence Day weekend.  Steve devised this scenario based on the action on the Brandywine, but much reduced to cope with the limitations of the Skype games we are playing at the moment. Below is an overview of the battlefield.  Nearest the camera are the units of the Hessian brigade; on the left, under the command of Von Stalheim, the jaegers and the Musketeer regiment von Mirbach with a light gun.  On the other road, commanded by general Arbuthnot, are the Fusilier regiment von Lossberg and the Grenadier regiment von Rall.  Arbuthnot has sent the British brigade under Brigadier Collingwood on a flank march, which should arrive on the rebel/revolutionary left flank in 10 moves.  The Hessians are to fix the attention of the two enemy brigades facing them, preventing them from manoeuvring to meet the flank attack. 


To buy a little time, von Stalheim took great care over the precise positioning of his units, but eventually the Hessian advance began.  The rebel/revolutionary commander, Brigadier James Walter, had deployed his two brigades, Baker on his right and Adams to the left.  Both brigade commanders had opted to place their riflemen well forward, occupying the flanking woods, their militia units on the ridge and their continental regiments in reserve. 

The Hessian left prepares to advance


The rebel/revolutionary force await the Hessians

As the Hessains advanced their leading units came under fire from the riflemen.  Both the jager and von Lossberg suffered casualties and their return fire seemed to have little effect.  Von Stalheim ordered the Musketeers von Mirbach to move to the left and bring their fire onto the riflemen, hoping that this additional firepower would prove decisive.  On the Hessian right the Fusiliers von Lossberg opted to close the range, increasing the pressure on their tormentors.  This proved to be an effective tactic, a couple of close range volleys tore through the ranks of the riflemen and the survivors turned and ran back towards their own lines.

Adams' riflemen rout

With the riflemen out of the way, von Lossberg advanced towards the river with the grenadiers in support.  Once they reached the river they came under fire from the enemy artillery and the militia unit on the ridge facing them.  On the opposite flank, the riflemen were proving stubborn, it took several volleys and an advance by the Musketeer regiment von Mirbach to force them to flee.

von Mirbach force the riflemen to flee

This minor success was offset by the Hessian artillery taking a pounding from the rebel/revolutionary artillery on the ridge.  The guns had been advanced too far before being deployed and took quite a bit of damage before this error could be rectified.  However, once deployed the guns quickly found the range of the militia unit holding the road in front of them and inflicted some serious casualties.

General Arbuthnot noticed that the units on the ridge on the enemy left seemed to be deploying to face a flank attack, was this Collingwood?  If so, the British advance was aided by von Lossberg, whose volley caused the militia unit facing them to rout, leaving a solitary militia unit facing the oncoming British brigade.

The militia rout

With the light infantry leading the way, the British brigade entered the fray.  The gallant militia facing them were reluctant to give ground.  They traded volleys with the British light infantry and only fell back when Fraser's Highlanders began to move round their flank.  Collingwood had deployed the combined grenadier regiment to the right of the light infantry and they, with the field gun moved towards the road.  Walker had seen the extent of the British advance and resolved to move what troops he could to meet it.  Two continental regiments hastened to the left, leaving only militia to face von Stalheim.

Collingwood's advance

Any notion Arbuthnot had entertained of leading his Hessians forward to aid Collingwood evaporated when von Lossberg were crippled by a devastating volley from the enemy infantry on the central ridge.  The battered remnants fled, leaving only the grenadier regiment to maintain the Hessian position on the Royal right..


Von Stalheim was also experiencing problems.  Once the riflemen had been sent packing he ordered the jaeger and von Mirbach to advance across the river.  The jaeger, being in the open, came under fire from the entire rebel/revolutionary right.  Already weakened by losses incurred trying to drive back the riflemen, the jaeger routed.  At the same time, the enemy artillery fired again on the Hessian artillery, destroying it with a direct hit.


Walter moves his reserves to the left

The Hessian artillery is destroyed

Collingwood continued with his advance.  The light infantry had eventually forced the militia back to the fence lining the road.  Behind them, across the road two continental infantry regiments were deployed in support.  Spoiling for a fight, Fraser's charged the militia, ignoring a closing volley they charged home.  To the surprise of almost everyone present, the militia, lacking bayonets, stood their ground and managed to beat off the attack.  With the catcalls of the militia ringing in their ears the highlanders fell back.  

Fraser's are defeated and driven back by the militia

For their part, the grenadiers were suffering also.  Facing a continental infantry unit they fired a volley and advanced; only to be stopped in their tracks by the returning volley.   Collingwood's resolve was further weakened when an aide from Arbuthnot reached him, informing him that he could expect no assistance from the Hessians as the the brigade had suffered over 50% losses.  Preferring to keep his command intact, Collingwood ordered a withdrawal, covered by the light infantry.

For his part, Walter was content to hold his ground, the morale of his troops boosted by their victory. 

Sunday, 28 June 2020

Mayfield Common: an ECW scenario

Another visit to Kelhamshire for an action that took place about the same time as Eastcott which featured a few weeks ago.  A Royalist force is trying to outflank a Parliamentary position, by marching through some heavily wooded terrain.  Sir Victor has learnt of their march from scouting reports and a blocking force commanded by Sir Charles Lonsdale has been hastily assembled to delay the Royalist advance whilst the main Parliamentary army can assemble.  Therefore, as the head of the Royalist column comes out of the woods onto Mayfield Common they find their opponents ready for them.  Lonsdale had deployed Robinson's cavalry brigade on his left.  The enclosure was held by a regiment of dragoons, while on the ridge by the road his own brigade of foot, (the regiments of Mytton, Leck, Ireby and Clarke) and a light gun waited on developments.

Anxious to carry out his orders to cover the deployment of the Royalist infantry, Sir Royston a Dames led his brigade of horse to the right towards the Parliamentary cavalry.  One regiment, Catlow's, followed orders a little too enthusiastically and strayed into range of the enemy infantry and artillery who inflicted heavy casualties on the unsupported Cavaliers.  It was only the refusal of the Parliamentary regiments on the ridge to charge their shaken opponents that saved this element of Sir Royston's command.  


The waiting Parliamentary cavalry


The impetuous Royalist cavalry, with Sir Royston striving to bring forward supports

Back on the road, Lord Melchett was directing the dragoon regiment to the left to be followed by the infantry from Saville's brigade; the regiments of Strickland, Bradshaw and Harrington.  Behind the infantry was a light gun which was to move forward to support the right flank of the infantry.


The Royalist infantry move forward to deploy

Whilst the infantry deployed prior to advancing on the enclosure, which was occupied by Parliamentary dragoons, disaster had befallen Sir Royston's cavalry.  The Catlow's, already shaken by losses from musketry and artillery, received further punishment from the Parliamentary forces.  This proved too much and the survivors routed.  The Parliamentary cavalry moved forward as Sir Royston struggled to rally his troopers.  Turning to his remaining regiment, Ashton's, he ordered them to hold off the enemy long enough for their colleagues to reform and the remaining regiments of he brigade make their way forward from the rear of the column.  A tough task, given that the Royalists would be outnumbered 3 to 1, but Ashton's did their best.  They were charged by Thursby's regiment, supported on their right by Bannister's.  Although outnumbered the Royalists held their ground, gaining time for Sir Royston and also a small unit of commanded shot, which Lord Melchett had sent to the right flank to provide flanking fire from the safety of a small wood.  Determined to make rapid progress, Robinson committed his remaining regiment, Clayton's, to the melee.  Ashton's fought on but began to give ground and then suddenly routed.  Although they had suffered heavy casualties, they had bought enough time for Sir Royston to rally Catlow's regiment.  Also, Thursby's and Clayton's regiments needed time to recover from the melee, so the commanded shot managed to reach the safety of the trees.

Ashton's regiment routs

In the centre the infantry battle was beginning.  Once the Royalist intentions became clear, Sir Charles ordered his infantry forward.  Mytton and Leck headed towards the Royalist left; Ireby's moved to take over from the dragoons in the enclosure and Clarke's regiment advanced down the road.  The Parliamentary dragoons certainly needed help.  They were being destroyed by the fire from Strickland's and had begun to waver.  Sensing an opportunity, Melchett ordered a charge, but the message never reached Strickland's and the chance was lost.  By the time a second message was sent, Ireby's had replaced the dragoons and they provided a stronger defence.  Harrington's, a newly raised regiment, faced two enemy units, but did have the support of the dragoons.  Both Harrington's and Strickland's were suffering increasing casualties, the light artillery had still not arrived and Bradshaw's were facing Clarke's larger unit.

The infantry battle in the centre, with Catlow's attacked by Bannister's in the foreground

Having rallied Catlow's regiment, Sir Royston galloped off to try and do the same for Ashton's.  Robinson had sent forward Bannister's to try and finish off Catlow's.  Now under-strength, the Royalist cavalry stood little chance against their new opponents.  In no time at all they broke and scattered, fleeing the field.  Fortunately for the Royalist cause, the remaining cavalry regiments, those of Bracewell and De Lisle had now deployed.


Catlow's flee the field

Although the Royalists now had cavalry to oppose Robinson's troops, they had lost Sir Royston.  He had been swept from the field with the routing Ashton's so Lord Melchett found himself in sole control of all the troops.  The Royalist position was not too favourable, but Lord Melchett ordered the regiments of Bracewell and De Lisle to counter attack.  This they did, but not before the luckless artillery had been overrun by Bannister's regiment.  Slow to advance, the artillery had not even deployed before being inundated by the Parliamentary cavalry.  Lord Melchett's counter attack was a failure.  Both Royalist regiments were routed by their opponents and Sir Royston arrived back on the field to see the remnants of his brigade fleeing in the opposite direction.

With the success of Robinson's cavalry, Sir Charles had decided to increase the pressure on the Royalist infantry by ordering Clarke's regiment to charge Bradshaw's.  The charge had been a failure, a short range volley had stopped it in it's tracks.  However, a charge by Bradshaw's proved even less successful.  Although the Royalist infantry closed to contact, they were thoroughly bested in the melee and routed.  

The day was undoubtedly lost for the Royalists; with no cavalry to speak of, outnumbered in infantry and no artillery, any idea of continuing the advance was out of the question.  Sir Charles ordered Robinson to harry the Royalists and round up prisoners while he visited his weary infantry regiments.

An enjoyable game though a rather one-sided affair.  The dice did not favour the Royalists.  They failed too many command tests in the beginning which made their deployment too slow and far too disjointed.  Then when battle commenced they failed to win a single melee.  It could have been worse had the Parliamentary force also not failed some crucial attempts at charging.   


Saturday, 20 June 2020

An Ottoman Raid

This week's skype game provided a first proper outing for my Ottoman army.  At present the units painted are primarily those which would appear in the provinces, rather than the main field army.  The majority of the infantry are levy, with a single unit of janissaries, a small unit of skirmishers and two light guns. There are two units of light cavalry and one of sipahi.  It was a fairly standard scenario with the Ottoman force raiding into the southern Muscovite lands.  The Muscovites have a local force of two urban streltsy units, two border dragoon units and a unit of servant Cossacks; backed up by a unit of Cossack cavalry and a unit of feudal horse. 

The Muscovites manning the defences

Outnumbered, the Muscovite commander has decided to concentrate his forces in a village, although one unit of border dragoons is holding a camp where the majority of the supply horses are held, there being no room in the village.

The field of battle before the Ottoman deployment

Informed by his scouts that the village ahead was held against him, the Ottoman commander deployed his force with the infantry on the right facing the isolated border dragoons the artillery in the centre and the cavalry on the left.  

The Ottoman cavalry prepare to advance
On the commander's signal the skirmishers moved forward, followed by the levy and then the janissaries.  The levy unit on the extreme right seemed to have been inspired by a preacher's speech as they surged forward chanting.  In no time they had left behind the other levy units and even the skirmishers, as they homed in on the border dragoons.

The levy advance with speed.
The Ottoman cavalry was advancing at a steady pace, wary of approaching too close to the village; indeed the Muscovite light artillery had already begun to fire at the leading regiment.  Concerned that his own artillery seemed to be lagging behind, the Ottoman commander personally led one of the batteries forward, though to be honest, his presence did not increase the speed with which it was advancing.

For his part, the Muscovite commander had hoped his cavalry would move over to support the border dragoons, but the Cossacks were reluctant to advance and the chance was lost.  The border dragoons had been firing at the approaching Ottomans but although they had inflicted casualties, it was not enough to slow the enemy advance.  They would need to depend on their defences to hold up the attack.  In this they were sorely disappointed.  The original plan was for two levy units to attack, but the precipitate advance of the right hand unit meant they attacked unsupported.  Even the skirmishers were unable to help, they had been struck by a volley from the streltsy and had to fall back to rally.

The Muscovite light artillery prepares to fire at the Ottoman cavalry

Undaunted, the levy closed up to the chevaux de frise, ignored the volley from the defenders and fired a volley of their own.  Although behind cover, the dragoons took heavy casualties and control evaporated.  The survivors took to their heels, abandoning their defences and running towards the village.  As they emerged from their defences and entered the open area near the village the dragoons offered a tempting target for the Ottoman light cavalry.  It was one they did not decline.  Galloping through the flanking fire from the village, they hacked and stabbed their way through the unfortunate Muscovites, eliminating them as a fighting force.  

The border dragoons rout

and are cut down
On cutting their way through the border dragoons, the Ottoman cavalry saw the Cossack cavalry and charged them.  The Cossacks were caught at the halt and proved unable to withstand the Ottoman attack.  They had to fall back to rally, but the feudal cavalry came to their rescue driving back the Ottomans.  As the broken unit routed back, the feudal cavalry followed up, against the wishes of it's commander.

One unit of ottoman light cavalry routs


Meanwhile the Ottoman infantry were beginning to bring pressure to bear on the village defences.  Still with their artillery lagging behind, the levy approached the village.  The unit on the left struggled against an accurate defensive fire from the streltsy, the central unit was fortunate that the cavalry conflict shielded it from fire.  The irresponsible advance of the feudal cavalry left them open to a charge by the remaining unit of Ottoman light cavalry.  This charge was met at the halt by the feudal cavalry, who absorbed the initial shock, but were unable to drive off their assailants.  Seeing an opportunity, the Ottoman cavalry commander ordered the sipahi to reinforce the melee.  As the mass of cavalrymen fought, they obscured the advance of the Ottoman infantry.

A general overview before the Ottoman assault

Eventually numbers prevailed and the feudal cavalry were overwhelmed, routing.  The Ottoman light cavalry were shaken and unable to advance, but the siipahi were in good order and, passing through the light cavalry, followed up their victory.  A dire consequence of the cavalry melee was that the streltsy unit which saw the feudal cavalry defeated became disordered.  This reduced their ability to withstand the assault by the Ottoman levy infantry.  The gun crew who had provided sterling service suffered heavy casualties and the remainder fled.  With their defences crumbling, the streltsy also wavered and a final push by the Ottomans had them falling back.


To the left of the levy the janissaries had also charged against the village.  After a fierce struggle they too forced their way over the defences, routing the streltsy facing them.

The defences breached


With the defences breached, his best units driven back and only a servant Cossack unit remaining to him, the Muscovite commander ordered a general retreat.  Fortunately for him, the Ottoman troops were more concerned with looting the provisions stored in the village than pursuing the beaten Muscovite troops.

An interesting first outing for the Ottomans.  We experimented with allowing a levy unit which rolled low enough to obtain three actions to go 'fanatic'.  The rules state that this advantage lasts until the unit goes shaken.  It seemed odd that it persisted even when the unit didn't move; so we decided that in future the fanatic status would only last for the move in which 3 actions were obtained. 

Sunday, 14 June 2020

Action at Eastcott : an ECW scenario for Pike and Shotte

This week we return to Kelhamshire, where the forces of Sir Victor Meldrew are on the march.  Their objective is the supply centre of Castletown, but word of their approach has preceded them and Sir Roderick Hoghton has hurriedly assembled a force to oppose them at the village of Eastcott.  Hoghton's force consists of a cavalry brigade commanded by Sir William Molyneux containing the regiments of Chorley and Stanley , the latter being understrength, and also the Kelhamshire Horse.  There is also Sir James Fotheringay's infantry brigade with the regiments of Hoghton, Gillibrand and Chorley and a small unit of the Kelhamshire Trained Band.  These are supplemented by two small units of commanded shot and a light gun.  In addition there is a small unit of dragoons.

The Parliamentary force is commanded by Sir Victor and contains Colonel William Wanless' brigade of 5 infantry regiments (Demdyke, Malkin, Nowell, Chattox and Bentham) and Colonel James Livesey's brigade of horse, (Livesey, Shuttleworth, Newsome and Shapland).  The artillery consists of a light and a medium gun and their is a small unit of dragoons.


An overview of the table before the arrival of Sir Victor's force.  The river on the right can be forded by foot and horse, but may cause disorder.  There is a bridge some way back from the Parliamentary table edge, so Sir Victor can deploy units over the river if he wishes.

I took the part of Sir Roderick and deployed all the cavalry on the right with the infantry holding the village of Eastcott.   Gillibrand's were on the right, theTrained Band in the centre behind a hastily erected barricade and Hoghton's were on the left.  Chorley's regiment were held in reserve at the rear.  The dragoons were placed in the wood near the bridge and the light gun was with the Trained Band in the centre.  The commanded shot from Smethurst's regiment were in the houses.

Sir Victor's deployement mirrored that of the Royalists.  Livesey's brigade was on the left, Wanless' regiments in the centre, (3 units in the first line, two in the second) and the dragoons over the river on the right.  The Parliamentary artillery was divided, the medium gun on the right and the light gun was with Nowell on the left of the front line.

The Parliamentary advance begins.  Wanless with Chattox, Bentham in support


The battle began with a general Parliamentary advance, Livesey's brigade being hampered by the woods to their left and their own infantry on the right.  Livesey's own regiment advanced beyond it's supports and Molyneux seized the chance to attack it with Chorley's regiment with Stanley's in support.  Livesey's managed to hold the charge of Chorley's regiment, but when Stanley joined the fray and Livesey's own reinforcements didn't advance in time the Royalists prevailed.  Livesey's men routed, pursued by Chorley's whilst Stanley's men reined in and reformed.

Chorley's successful


Wanless was making a steady advance, but outpaced the artillery which was very slow in coming forward in support.  Across the river, the dragoons were heading towards the bridge, but when they came under fire from the Royalist dragoons in the wood they quickly dismounted and began to return fire.

Chorley's had swept forward into Shuttleworth's regiment.  Even though they had been caught at the halt Shuttleworth's fought with determination and  when Newsome's and Shapland's came up in support the pressure increased on the Royalists.

Demdyke's attack the barricade


The leading Parliamentary regiments were now under fire from the Royalist defenders of Eastcott.   Demdyke's in the centre suffered the most; they were targeted by the light gun, the trained bands and the commanded shot.    However, undaunted they charged up to the barricade and quickly overcame the defenders.  The gun crew were last seen heading back to Castletown , whilst Fotheringay tried to rally the Trained Bands.  On the right, Chattox's was losing it's fire fight with Hoghton's and even the arrival of the field gun and its fire was not enough to reduce the fire from Hoghton's regiment.  Wanless decided to order Chattox to charge their opponents.  The men responded bravely, but a devastating close range volley stopped them in their tracks and they routed.  Bentham's stepped forward from the second line to take their place, but also began to take casualties.  Hoghton's began to move forward and seemed to be preparing to charge, so Wanless directed his reserve regiment, Malkin's, to move across to give flanking fire.

Chattox's failed charge


On the Royalist right, Molyneux was struggling to control his regiments.  He had ordered the Kelhamshire Horse to advance to support the embattled Chorley's, but had somehow misinterpreted the orders and found themselves up against the woods on the extreme right.  Stanley's had managed to recover from their earlier melee just in time to see Chorley's routing back with the victorious Shuttleworth's in pursuit.  As the Kelhamshire Horse shuffled into position to oppose the pursuing Parliamentarians, Stanley's engaged with Shapland's regiment.

Malkin's move across to support Bentham's


Hoghton had been feeling pretty satisfied with events up to this point.  True, the barricade in Eastcott had been lost, but there had been no follow up from the Parliamentary foot.  Hoghton's seemed to be gaining the upper hand on the left and the threat from the Parliamentary dragoons to the bridge had been nullified.  However, his right wing was about to crumble.  

First, Chorley's Horse disappeared from the field, galloping off towards Castletown.  Then Stanley's were defeated by Shapland's and routed.  This left only the inexperienced Kelhamshire Horse to try and hold back three regiments of Parliamentary cavalry.  No doubt encouraged by the performance of their cavalry, Nowell's regiment, on the left of Wanless's line now charged Gillibrand's.  Although they fired a good, disciplined volley, the Royalists were unable to prevent the Parliamentarian infantry from charging home.  The impetus of the charge was enough to push back the Royalists in disorder.  Fotheringay's attempts to rally the Trained Bands came to naught when a volley from Demdyke's scythed through their ranks and felled a good number of men.  Unwilling to take any more punishment they routed from the field.  

Gillibrand's attempt to hold against  Nowell's

Stanley's rout

The Trained Bands rout


Hoghton decided he had done all he could.  Using the foot regiments of Chorley and Hoghton as a rearguard he pulled back the remnants of his force; ceding the ground to the enemy.

Friday, 12 June 2020

Sudan Quick Reference Sheets

Chris posted a comment to my last report with questions regarding the rules Steve and I use. I  posted a reply, however, for general information here are copies of the Quick Reference sheets  we use.  I hope they are useful. 


Friday, 5 June 2020

The El Shaif Compound; a Sudan scenario using the Black Powder rules.

Whilst out hunting, the Dervish leader, Emir Khat, had taken a serious fall when his horse stumbled.  He had been carried to the nearby El Shaif compound and now, a few weeks later, was still there, it being deemed too soon for him to attempt to move away.  Word of the Emir's indisposition had filtered through to the Imperial headquarters and against his better instincts, the general had given command of the force ordered to capture the Emir to Brigadier Walter "Let's get this over with" Glennister.  Brigadier Glennister's last action had not been a success (link ) and with the general's comments relating to "the next boat home" ringing in his ears, Glennister left the camp next morning leading his force to El Shaif.

For this operation he had the British infantry brigade commanded by Sir Roger Bathurst Oliver which contained battalions of infantry, the McVitie Highlanders, The Royal Cornish regiment and the Blue Jackets.  Fire support was from a machine gun crewed by a team from the RN and a field gun crewed by a detachment of the Royal Artillery.  A British cavalry brigade was commanded by Captain Firth-Newsome and contained the Borsetshire Hussars and the Royal Kelhamshire Lancers.

Glennister also had two Egyptian brigades which were commanded by Mohammed Anwar, (known as Moan to other officers because of his continual complaints the Egyptian forces never got the recognition they deserved).  The infantry brigade contained two battalions of infantry and the cavalry brigade two battalions of cavalry.  A machine gun gave some extra fire support.

The opening position

Above is the position as Glennister prepared to attack El Shaif.   Anwar's Egyptians are on the right, Oliver's infantry in the centre and Firth-Newsome's cavalry on the left.  Although the approach to the compound was open, all the cover on the flanks provided ample opportunities for sudden attacks by the Dervishes.  Firth-Newsome suggested some caution with the advance, sending out scouts to check the dead ground and holding back a reserve.  Surprisingly, Glennister seemed receptive to this idea.  Turning to Anwar he ordered him to reconnoitre the valley beyond the hills on the right; muttering that once again the Egyptian forces were being sidelined, Anwar rode off.  Glennister then sent one of his young aides, Lieutenant Alexander Younghusband towards the El Shaif compound with orders to check the ground to the left.  Oliver was to follow with the infantry while Firth-Newsome remained in reserve.  Unfortunately, Glennister failed to send orders to the artillery and machine guns, with the consequence these units were slow to respond to the forward movement of the rest of the force.

Anwar sent his scout forward and the young trooper worked his way cautiously along the ridge.  Behind him one cavalry unit crossed into the valley and the two infantry battalions, with the machine gun, headed for the gap between the first and second hills.  The second cavalry unit moved towards the gap between the second and third hills.  As the first cavalry unit moved down the valley a group of Dervish infantry broke cover and charged towards them.  Charging the Dervishes the cavalry crashed into the tribesmen and quickly routed them, though they took significant casualties themselves.  The Egyptian infantry continued their measured advance.

The Egyptians advance into the valley

Meanwhile, Younghusband had been investigating the land ahead of Oliver's brigade.  Everything seemed quiet and perhaps as he neared an area of broken ground his concentration his concentration lapsed as suddenly a group of Dervish appeared in front of him.  Pulling his horse round, Younghusband tried to make for the more open ground, the cries of the tribesmen all too near.  Drawing his revolver, he twisted in the saddle to fire a few shots in their direction.  His first shot went astray and as he concentrated for a second attempt, his horse stumbled and he was thrown to the ground. As he struggled to his feet he saw the Dervish closing on him.  He managed to shoot one before drawing his sword and facing the rest.   He wounded two more before being overwhelmed.  The remainder of the Dervishes gathered and now charged out of the broken ground and towards the Royal Cornish.  

Younghusband is surprised

Alerted by the shots, the Royal Cornish had time to face the Dervish attack.  Oliver had expected the artillery to be accompanying him and when he noticed their absence sent off an aide with a request for their immediate assistance.  To assist the Royal Cornish, Oliver ordered the Highlanders to wheel to add their fire to deter the Dervishes.  The steady volleys from the British infantry caused the attack to slow and then stop before those remaining routed.

The British infantry repel the first Dervish attack

 As the British infantry reformed to continue their advance they came under fire from the Dervishes defending the El Shaif compound.  Rifle fire was supplemented by artillery and although ineffective, Oliver thought it would be politic to subdue the defensive fire before continuing his advance.  As the artillery had still not arrived, he had to rely on rifle fire.

Glennister had seen Oliver's advance slow and cease and was anxious that the attack should not stall.  He first ordered Firth-Newsome to take the cavalry to the left and make sure no further Dervishes were lurking in that direction.  Then Glennister galloped over to the artillery, directing the machine gun to support the left of Oliver's advance and then personally leading the field guns forward.

On the Imperial right, Anwar had continued his advance.  The leading cavalry regiment had pursued the routing Dervishes, but had been halted by rifle fire from the compound.  Ahead, the scout reported that he could see no Dervishes near the compound, but to the right a large body of cavalry was heading towards the Egyptians.  Anwar ordered his second cavalry unit to cross into the valley between the second and third hills.  He also formed a line with his infantry with the machine gun in the centre.  The leading cavalry unit needed to be rallied and then it could support the rest of the Egyptian force.  As the front rank of the Dervish cavalry crested the hill, the Egyptian cavalry charged.  Although attacking uphill, the impetus of their charge was sufficient to push the enemy back and then rout them.  However, before they could exploit their victory they were charged by another unit of Dervish cavalry.  Perhaps disordered by their previous melee, the Egyptians were unable to resist this attack and had to retreat across the valley and reform.  For their part, the Dervish cavalry were reluctant to advance and expose themselves to the massed fire of the Egyptian infantry and machine gun.


On the opposite flank Firth-Newsome ordered the lancers to lead the way as the cavalry moved to the left.  The Lancers were just approaching a low hill when a message arrived from the Hussars.  They were to the left of the Lancers and could see that a large body of infantry were massed behind the hill.  Firth-Newsome galloped over and led the Lancers back with the intention of forming them up behind the Hussars ready to support them when they charged.  However, he was caught out by the speed of the enemy advance.  The Dervish infantry surged forward and caught the Hussars before they could move, the Lancers bystanders to the carnage which resulted.  The British cavalry were overwhelmed, heavily outnumbered and with heavy casualties, what remained routed, fleeing back towards where Glennister was supervising the battle.

The Hussars rout

Behind the leading Dervishes were two more units of infantry.  As the leading unit pursued the Hussars, a second made for the Lancers and a third for the British infantry.  Oliver ordered the Blue Jackets to form to the left to face this new threat and also deployed the machine gun to give them some supporting fire.  The machine gun proved to be a damp squib.  On its first attempt to fire, it jammed and as the crew laboured frantically to clear the problem, the Blue Jackets were hit by a wave of Dervishes.  A closing volley had failed to stall the enemy and now the navy men were fighting now desperately to save themselves.  Hard as they fought, they had to fall back to rally, but they had done enough to cause the enemy to pause as well.  This gave time for Oliver to turn the Highlanders around and wheel them to fire on the Dervishes.

Oliver attempts to prevent the left flank crumbling
 

The Royal Cornish had now run out of ammunition.  Their fire had reduced the fire coming from the compound, but Oliver thought it best that they should be resupplied before advancing any further.

Behind the British infantry, Firth-Newsome was struggling to hold his command together.  He had formed up the Lancers and they had attacked a unit of Dervish infantry.  Although they had inflicted heavy casualties, they had also sustained them and routed back.  The Hussars had rallied, but were much reduced in numbers.  Firth Newsome gathered what remained and charged once again.  They stopped the Dervish advance on the rear of the British position, but at a fearful price.  The unit was reduced to a skeleton and could fight no more.

The Lancers are routed


Without the cavalry Glennister saw he needed to fall back.  No doubt further Dervish forces were on their way and he would need luck to get what remained of his force back to base.  Oliver was ordered to fall back and Anwar was to provide the rearguard.  A task he performed with skill.  A fact he was in the habit of mentioning at each and every opportunity.

The end is nigh for the Imperial forces


For Glennister an appointment in a provincial training establishment was obtained.  Firth-Newsome was invalided home to recover from his wounds and later obtained a posting in India.  

An enjoyable game.  Steve, who commanded the Dervish force said that no more troops were available and that he had thought he would be defeated at times.