Thursday, 13 July 2023

Kenilworth Castle

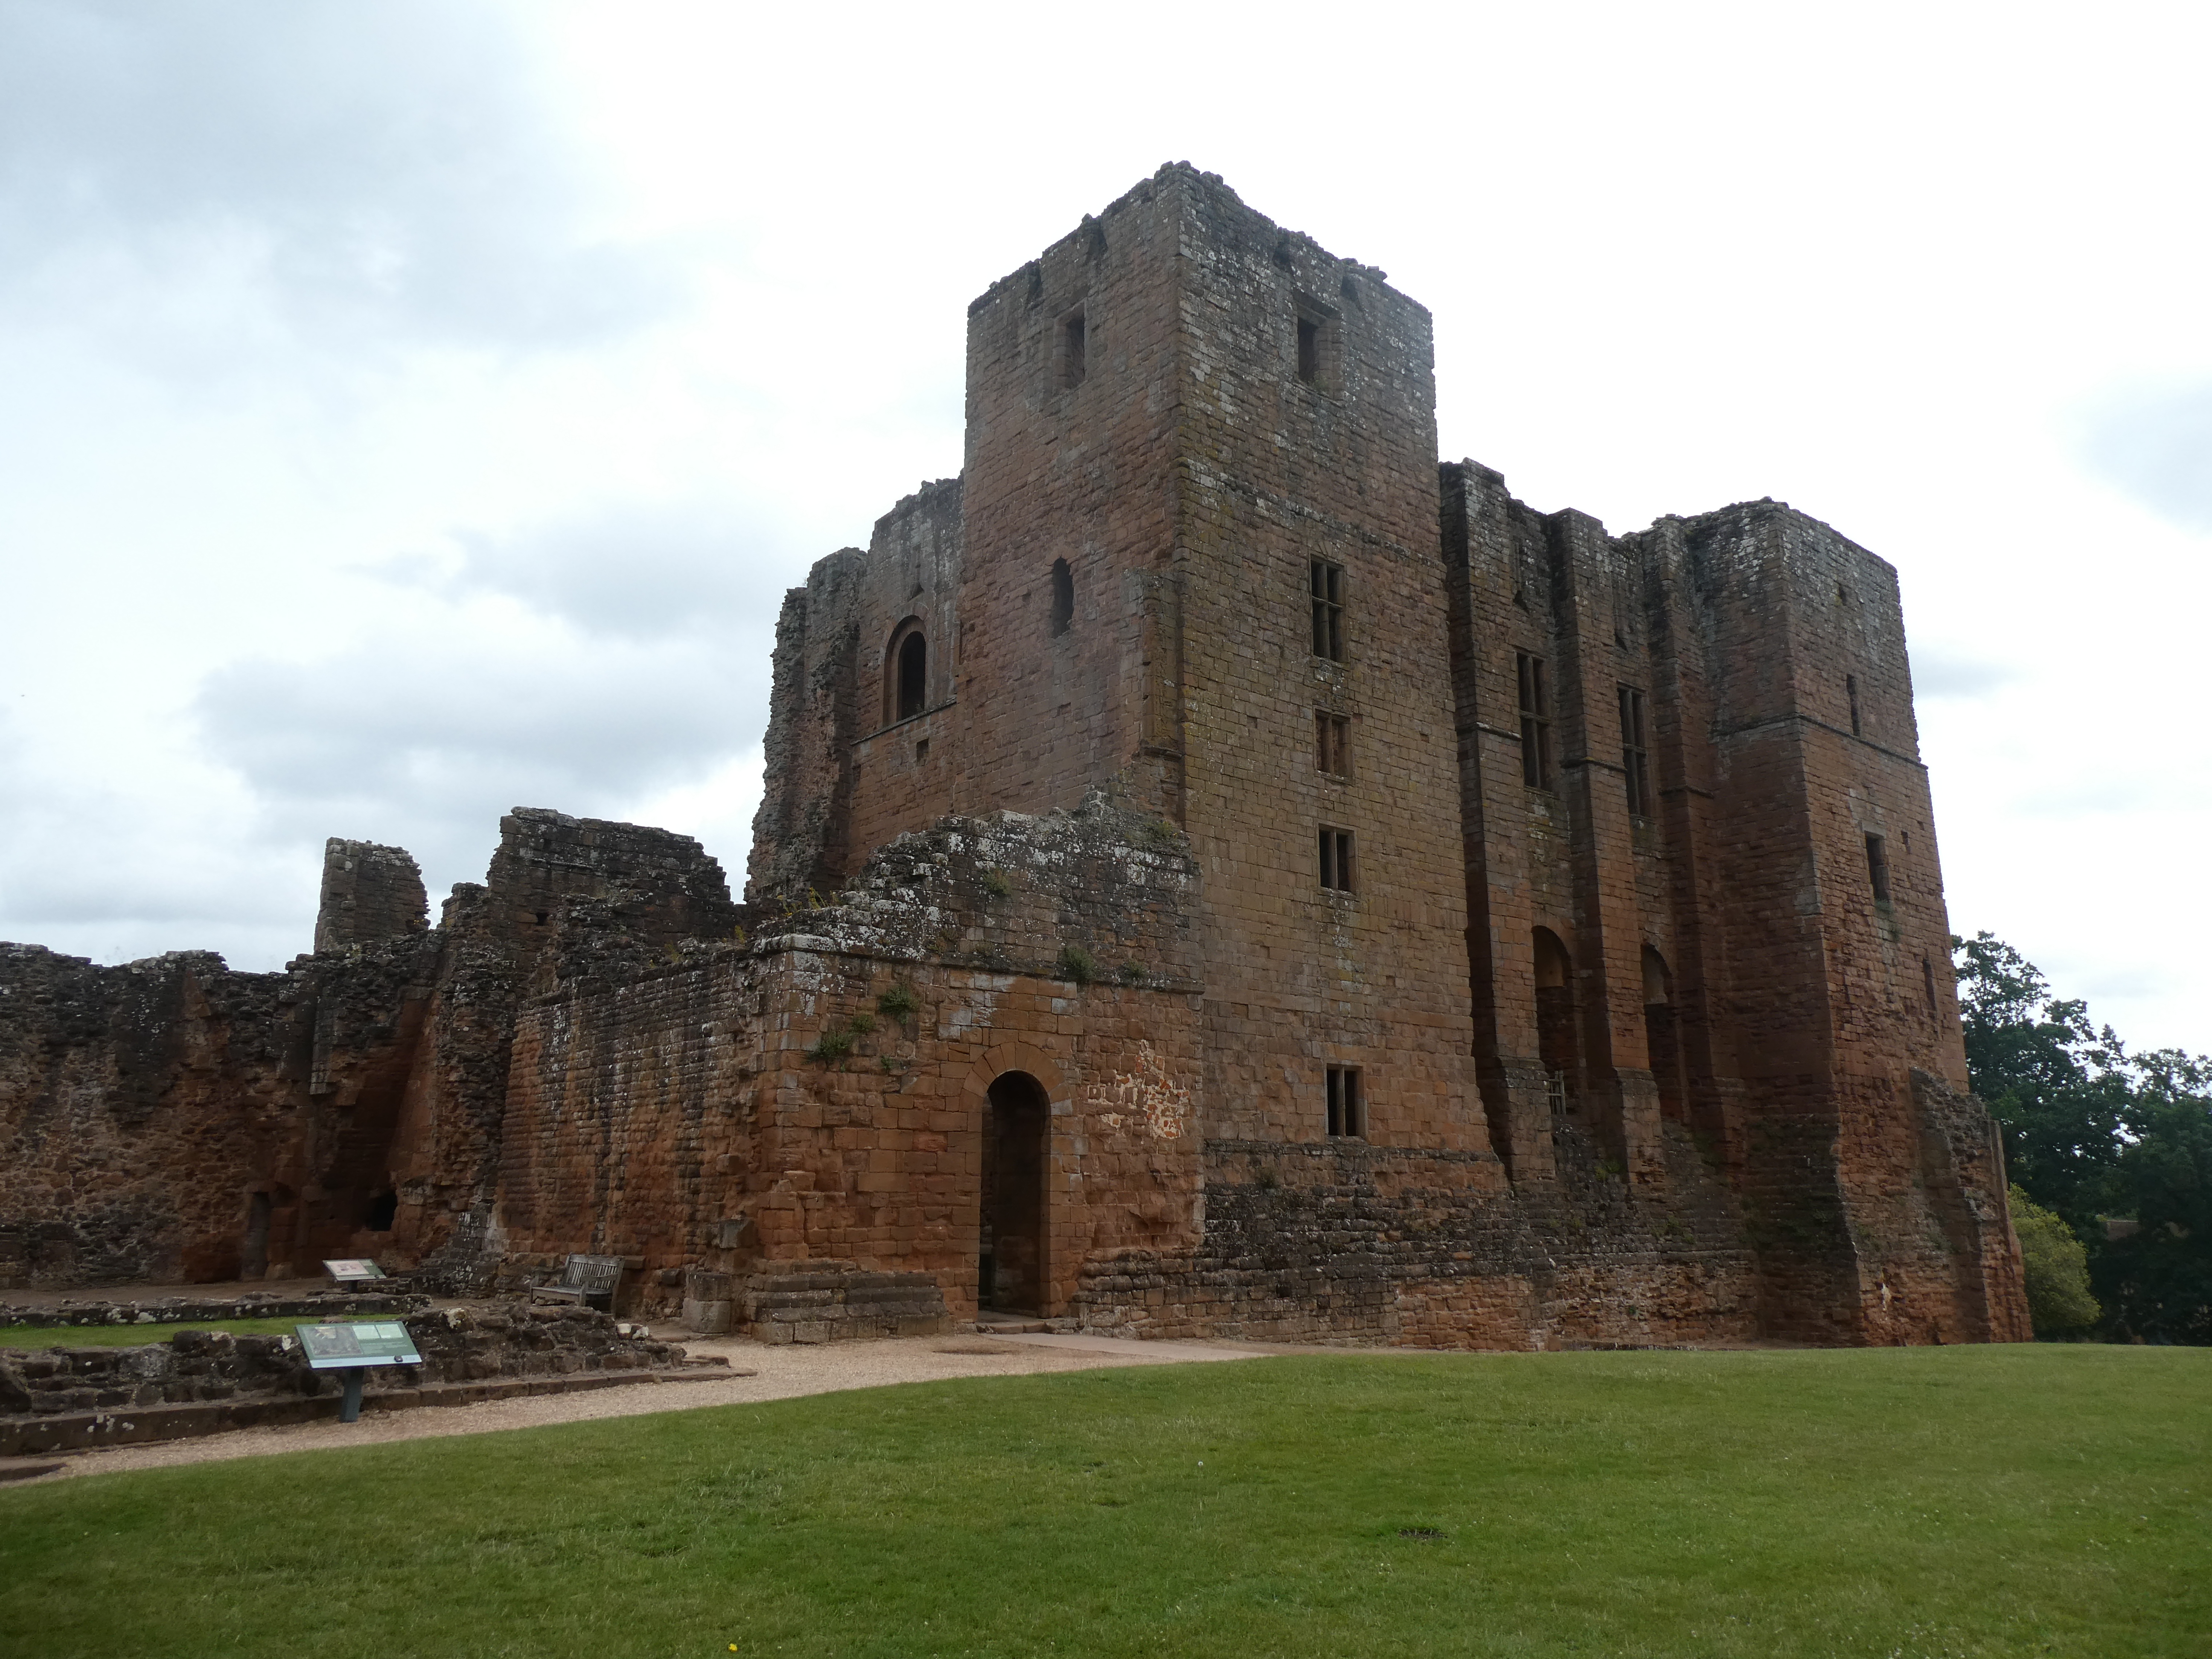
 Last weekend, we were visiting the Midlands.  One of the places we visited was Kenilworth Castle.  I had been before, almost 40 years ago and not surprisingly I  didn't remember much apart from the very imposing keep.


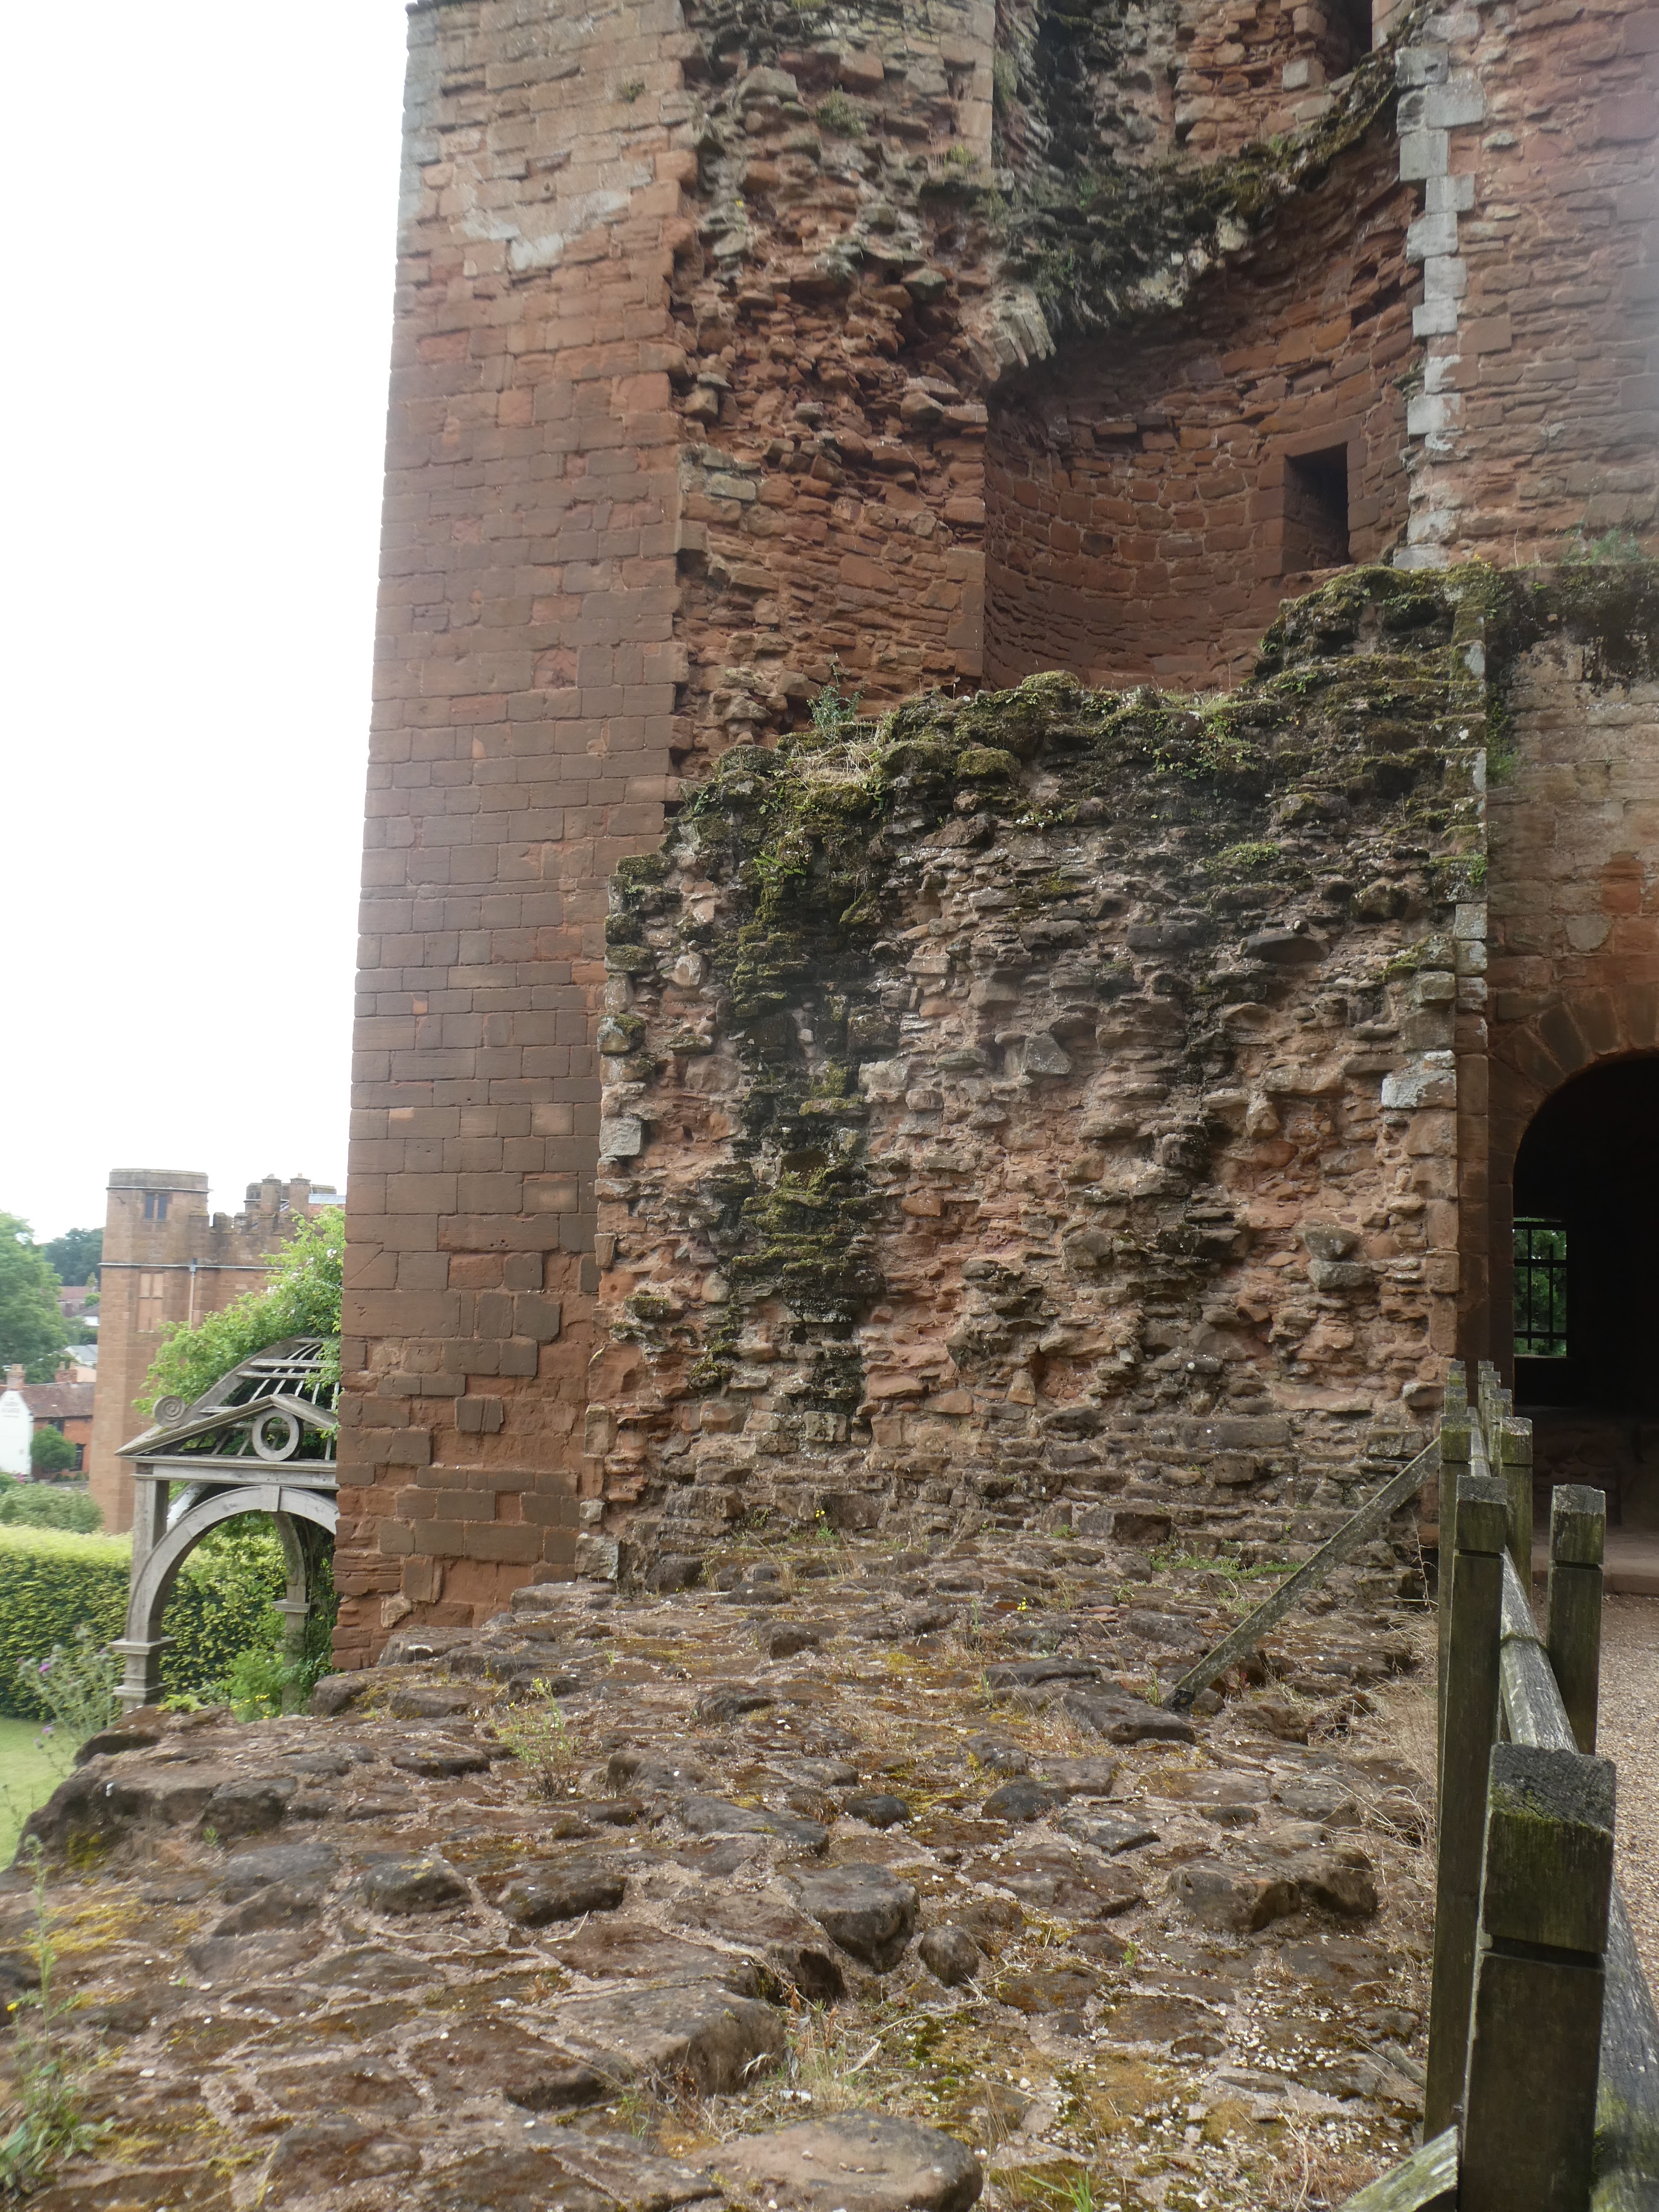
The walls of the keep are up to 14ft thick as can be seen on the North Wall which was demolished when the building was 'slighted' after the Civil War.


The castle was first established by the Royal Chamberlain, Geoffrey de Clinton in the early part of the 12th century.  It was considerably strengthened by King John, who built a stone curtain wall, an outwork to protect the main castle gate and raised the level of the keep.  He also raised the level of the causeway leading to the main gate which increased the extent of the water defences.  These were tested to the limit in 1266 when Simon de Montfort's son, also called Simon, was besieged by the Royal army after the rebel defeat at Evesham.  For six months the garrison held out.  The Royal stone throwers did not have the range to fire over the water defences and a larger machines had to be sent from London.  Stones from a trebuchet have been found within the castle grounds and are on display in the Stables exhibition.


The water defences meant that undermining the walls was impossible and an assault using barges was repulsed.   In the end disease and starvation forced the garrison to surrender. 

Further building was carried on by John of Gaunt.  He created a great hall with additional private apartments and the castle was often visited by the Lancastrian kings in the 15th century.  Below is a photograph of a model of the castle at the time of Elizabeth I when additional buildings had been added by Robert Dudley.  He also created a garden using French and Italian designs.  In 2005-6 an archaeological survey established the layout of the 16th century design and the garden has been recreated, complete with fountain and avairy.


Tuesday, 11 July 2023

Back to the AWI

For our game last week Steve organised an AWI game based on this post (https://paintingshed.blogspot.com/2023/04/the-battle-of-fonteytown-1777.html) from the Painting Shed blog.


Looking up the battlefield from the Crown right wing

The photograph shows the battlefield before the Crown forces deploy.  On their right and centre the Crown have two brigades (each of 4 units) of British troops; on their left a third brigade which are all Hessians, consisting of 5 units: 3 battalions of line infantry, one unit of jaeger and one light gun.  Their task is to drive off the rebel forces and allow the road to be used by supply wagons.

Opposing them are two rebel/revolutionary brigades, each of five units.  They have formed quite a strong defensive line, but have few reserves.   A roll of the dice allocated me command of the Crown forces and Bob took command of the opposition.

My intention was to get forward as quickly as possible, ie advance in column and then deploy into line once I was in musketry range.  This plan was in the wastepaper basket by the end of the first move as my best unit, the British grenadiers were targeted by the opposition artillery and having failed a morale test routed back to the baseline.

The grenadiers rout

Other British units made slow and stately progress, suffering the odd casualty on the way.  On the left flank the Hessians also had problems.  After a reasonable start, they seemed to be unable to coordinate their advance, allowing the defenders to concentrate their fire on first one unit and then another.  The brigade commander was soon scurrying around the battlefield rallying his men. 

It all started so well

Then this happened

On the flanks the light infantry were trying to push back the enemy riflemen from the woods.  The British light infantry were making heavy weather of the operation; their fire seemed to be having little effect and when they advanced they began to suffer casualties.  A bayonet charge managed to force the enemy to fall back but it was all too late.  One line unit had been advancing and also covering the artillery which was moving forward into effective range.  However, the line infantry had taken quite a few casualties from the riflemen and when targeted by the enemy artillery their nerve broke and they routed.  This left the British artillery exposed to a volley from a unit of Continental infantry and as men fell the remainder left their guns and ran for cover.  They were rallied but the British artillery was fated to play little active part in the action.

For all their problems, the Hessians were the first to break through the enemy lines.  The jaegers charged their opponents, who instead of falling back, stood their ground.  In an unequal melee, where the jaegers had bayonets and they did not, the riflemen inflicted severe casualties before they routed.

Success for the jaegers

Once the riflemen had been driven off, the jaegers could move onto the flank of the line infantry holding the defences.  Their harassing fire, combined with volleys from the weary Hessian line troops eventually forced one of the defending units to rout.  

Success at last


The opportunity was there for the Hessian brigade to move forward, but they were just too weak.  The jaegers were at half strength, the artillery had expended all of its ammunition and one of the musketeer regiments had routed from the field.  The two remaining Hessian infantry units were on the brink of following them, each having only one strength point remaining.

For their part the British had neared the defences, but had not yet tested them and we had run out of time.  The rebels/revolutionaries were adjudged the winners, but later, Steve played a few more moves and the British actually managed to break through the defences and open up the road.  


Friday, 30 June 2023

Almost Cropredy Bridge ; An ECW scenario set in Kelhamshire

 Traditionally, the Sunday of the Phalanx Show weekend Steve hosts a big game for the Gentlemen Pensioners.  This year he selected an ECW game set in Kelhamshire using our in-house version of the Pike and Shotte rules.  The table was 16 feet by 6 feet and he had assembled around 1500 figures divided into 8 commands, 4 per side.

A view from behind the Parliamentary right flank

  
The Royalist army in march column

The scenario starts with the Lord Mechett's Royalist army marching north in column.  Half of the vanguard and half of the rearguard (both composed of cavalry) are off table.   Sir Victor Meldrew's forces appear on the Royalist flank, but only half the brigades are immediately available, the remainder are still making their way over various bridges and fords.

The Parliamentary infantry advance in the centre

There was soon action on both flanks as the opposing cavalry commanders tried to gain ad advantage.  The situation on the Parliamentary right was the most fluid, with units charging and counter-charging and the balance tilting one way and the other.

The Parliamentary cavalry attack their opponents who are still in column


A couple of photos provided by John
(the Royalist cavalry commander on this flank)

On the opposite flank, the Royalist cavalry commander was having difficulty recalling his leading units, but the leading infantry brigade continued marching forward and then deployed to give support.  This secured the Royalist right, but did mean that the central infantry were outnumbered.

The Royalist cavalry begun to form up, with their
infantry deterring an early Parliamentary charge


The impasse on the Royalist right/Parliamentary
left from both sides

In the centre, the Parliamentary infantry were having a few problems..  One unit  had 'blundered', received no orders and just stood in position  blocking the exit from the bridge.  This meant that a co-ordinated advance by all four brigades was not possible..  

The dragoons on the Parliamentary left deploy into some woods

In what was to prove a significant move, the cavalry commander on the Parliamentary left ordered his dragoons to move into some woods.  This one unit drew the attention of two Royalist infantry units , plus a gun even though the dragoons firepower was relatively small.  

The piecemeal advance of the Parliamentary infantry

The left hand Parliamentary infantry general gathered his units in the lee of the low hill in the centre and then advanced all of them together to threaten the Royalist centre.  His colleague on his right had got his first brigade forward at last, but the second was still crossing the bridge.  Nevertheless, the right hand infantry commander moved forward to engage the enemy, trading volleys, hoping to pin his opposite number in position.  For his part, the Royalist commander used just enough of his units to hold his position and maintained a reserve against possible setbacks.

The two infantry brigades on the left of the Royalist centre

Having made little progress exchanging volleys, the Royalist infantry commander decided to charge the Parliamentary infantry on the hill.  One of his units was stopped in its tracks by a telling volley, but the other continued up the slope into contact.  


There was no quick victory, but gradually the Parliamentarians gained the upper hand and pushed their assailants down the slope.  To the left of the melee the Royalists were gaining the upper hand in the musketry exchanges and the leading Parliamentary infantry unit was beginning to waver. Further to the left another Parliamentary infantry unit was pushing forward, but the courier carrying Meldrew's order for it to charge must have been unhorsed, because nothing happened.  Perhaps sensing a little unease among their opponents, the Royalists did not stand on ceremony and charged themselves.  A rather feeble volley did little to stop them and they crashed into the Parliamentary ranks.

More fighting in the centre

 On the Royalist right the cavalry battle had begun in earnest.  The Royalist commander had broadened his attack by moving round a small wood and forced his opponent to move his reserves to meet this threat.


Unfortunately, we now ran out of time, as some of the participants had to start their journey home.  A good day.  Thanks to Alasdair, Andy, Bob, Chris, Dave, John and Will for taking the various commands. Also, Steve for devising, setting up and umpiring the game and also explaining some of the finer points of the rules to those who were not familiar with them. 


The essential logistics ( a fine lunch) were provided by Gwen and Lynne.  

Perhaps it was as well for the Parliamentary cause that we stopped when we did.  The first cracks were starting to appear in the Parliamentary infantry I was commanding.  One unit was routing and a couple of others were shaken.


Wednesday, 21 June 2023

Phalanx

 Last Saturday the Gentlemen Pensioners were at the Phalanx Show organised by the St Helens Spartans.  We were supporting the Lance & Longbow Society and running our 'Crusades' participation game.  As usual there were plenty of willing helpers from the society to help unload and carry our figures and terrain. 

Here are photographs of  some of the games, unfortunately, I do not know which club put on some of the games .

East Lancashire Wargames Association put on this game representing the Assault on Louisburg, with nicely modelled small boats and scenery.


They also ran a Greek naval game


Next to our game was this Normans versus Anglo-Saxons  game, Hastings? which I think was provided by the Liverpool club.


The Independent 54mm Wargames Club moved from their usual big game to this Colonial era Foreign Legion skirmish


The Mailed Fist group had this Thirty Years War game.  


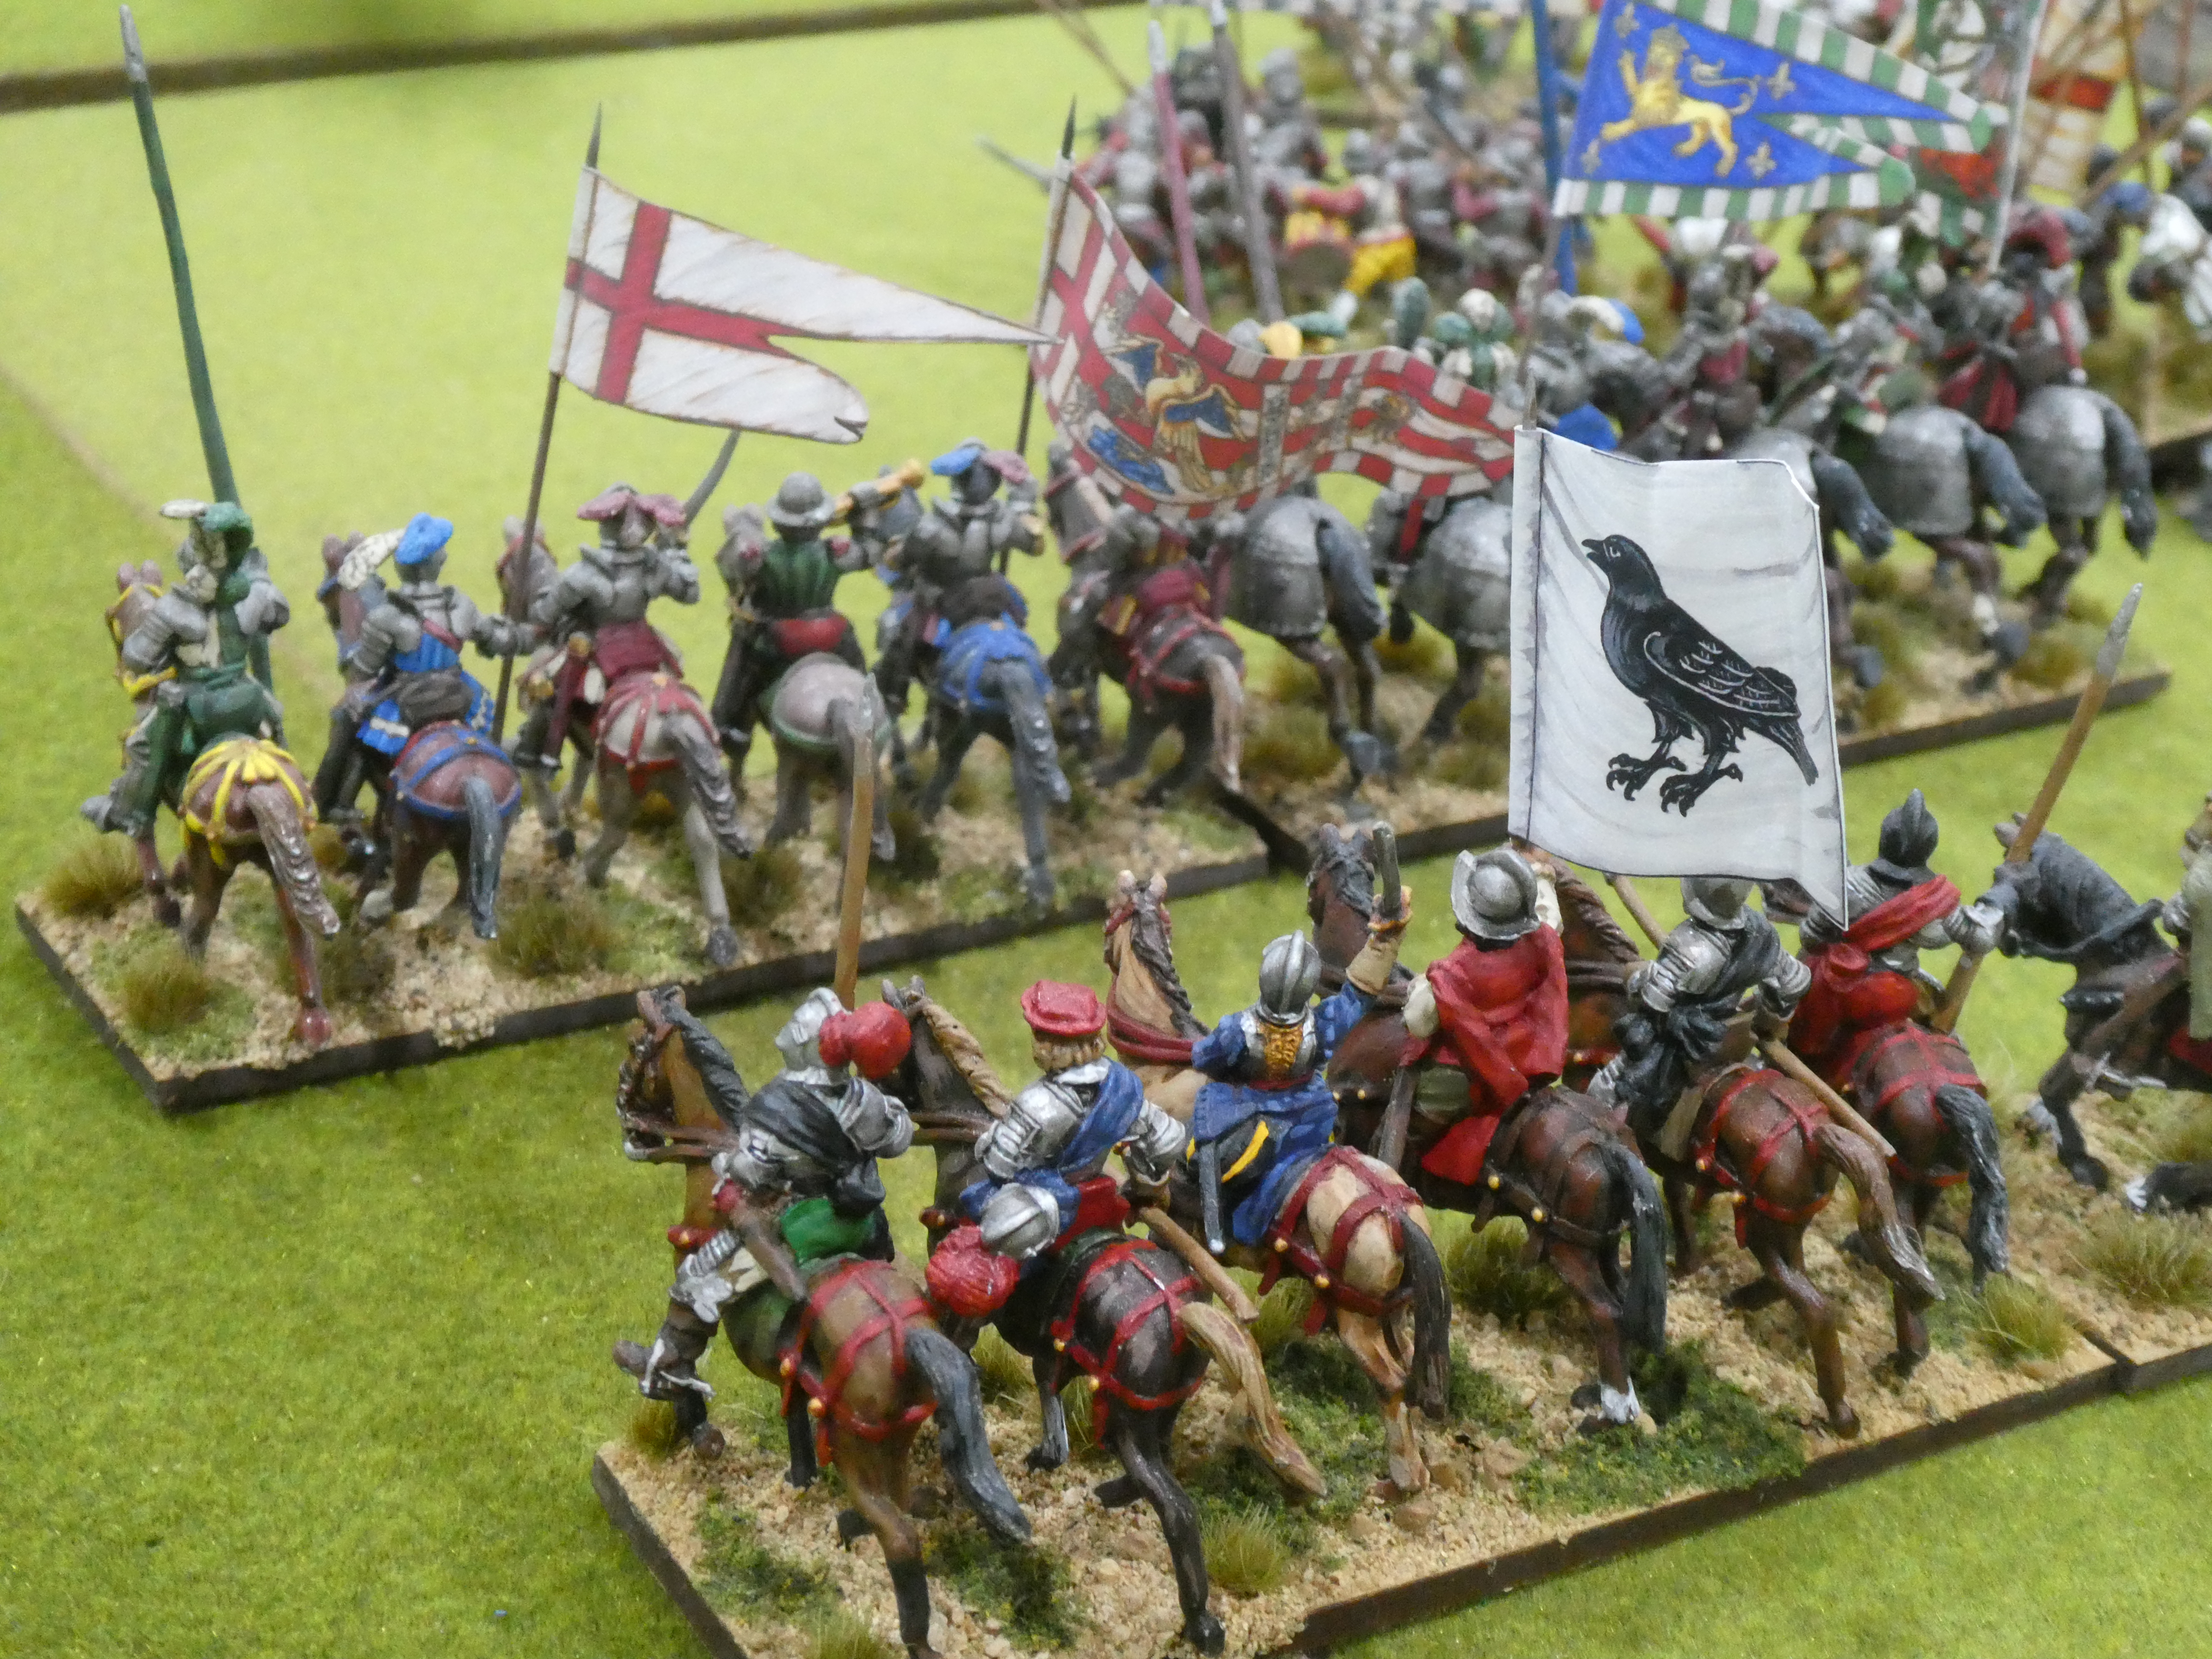
This is one of the mystery games.  It looks possibly Tudor era


A landing set in the Peninsular War, possibly the Hornblower scenario by Furness Warlords


All Hell Let Loose had this Battle of Scarif participation game.  The vivid blue and dramatic tower building really drew your attention to the game.


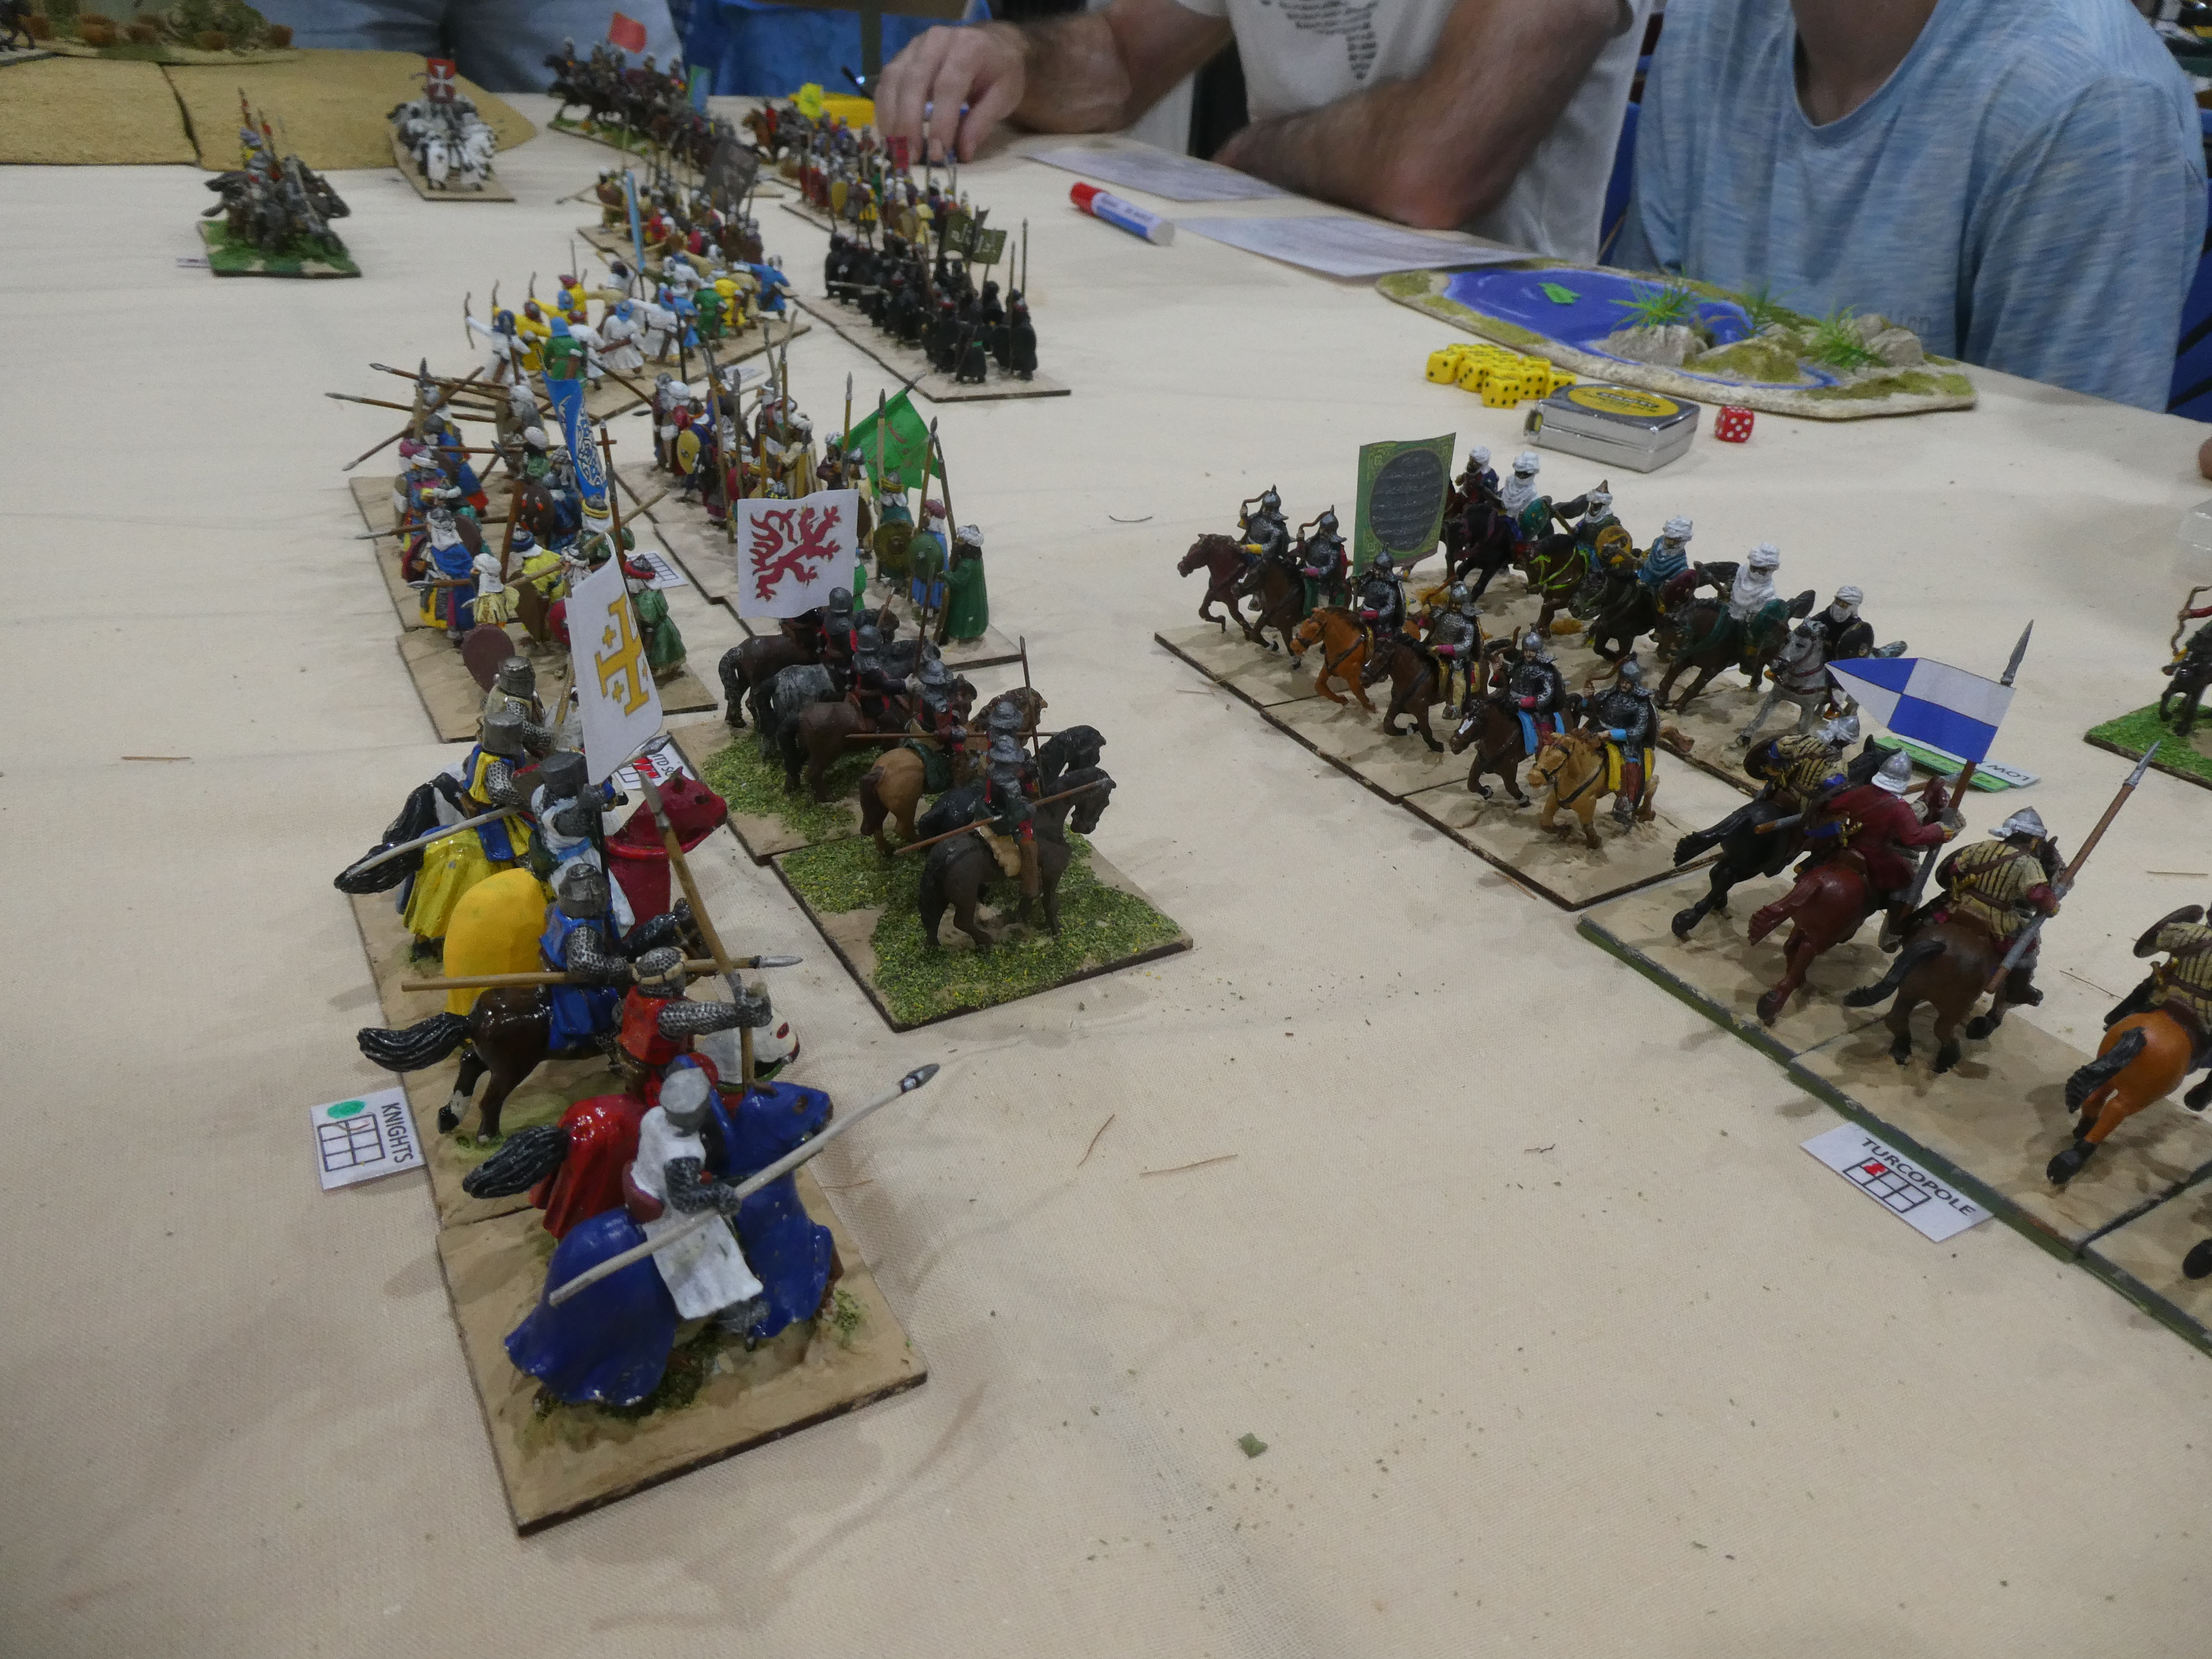
Now a few photos of our game, which we ran twice, with honours being even, one victory each to the Franks and Saracens. 


Overall, a very good day.  The venue is easy to get to, with plenty of free parking.  There are a good number of traders and a variety of games.  It did seem a bit quiet on the visitor front this year, but we did manage to inveigle a few members of the public to join in the game. So thank you to Jeff, Oscar and his Dad for trying out the rules, the Gentlemen Pensioners, Alasdair, Andy, Bob, Chris, John, Peter and Will for also taking part and Steve for helping with explanations and umpiring.  

Wednesday, 14 June 2023

Countdown to Phalanx

 This coming Saturday, the Gentlemen Pensioners will once again be putting on a game for the Lance & Longbow Society at the Phalanx Show run by the the St Helens Spartans.  Our game will be a fictional encounter from the period of the Crusades ( c 1095-1291) and is a participation game, so if you are attending the show, please feel free to drop by and perhaps join in.  We use our own version of the 'Lion Rampant' rules by Dan Mersey; all you will need to play is contained on a single A5 sheet.

A few photos of our trial run.

A general view of the set up

A rather disjointed Frankish advance

The Frankish right wing cavalry advance

On the opposite flank the Teutonic knights
come to a sticky end

We played through the game twice and each side had a victory, so hopefully that means that the game is fairly evenly balanced!  Many thanks to Bob, David and Steve for helping with the playtesting.