For our pre-christmas game Steve and I returned to the county of Kelhamshire. Following the success at
West Dene, Lord Melchett was convinced he could wrest the initiative from Sir Victor. When word came that the vault at Eastfield Church was being used as a temporary powder store by Sir Victor, his lordship was determined to act. He immediately set off with the forces at hand, two units of horse and one of dragoons, commanded by Sir Royston a Dames and three regiments of foot under Sir Roderick Hoghton. Orders were sent post haste to Colonel William Saville to march on Eastfield with all his available units. This amounted to two units of horse and three of infantry. Whilst Saville commanded the infantry, the horse were led by Colonel Walter Bracewell, comprising his own regiment and that of Sir James Catlow.
 |
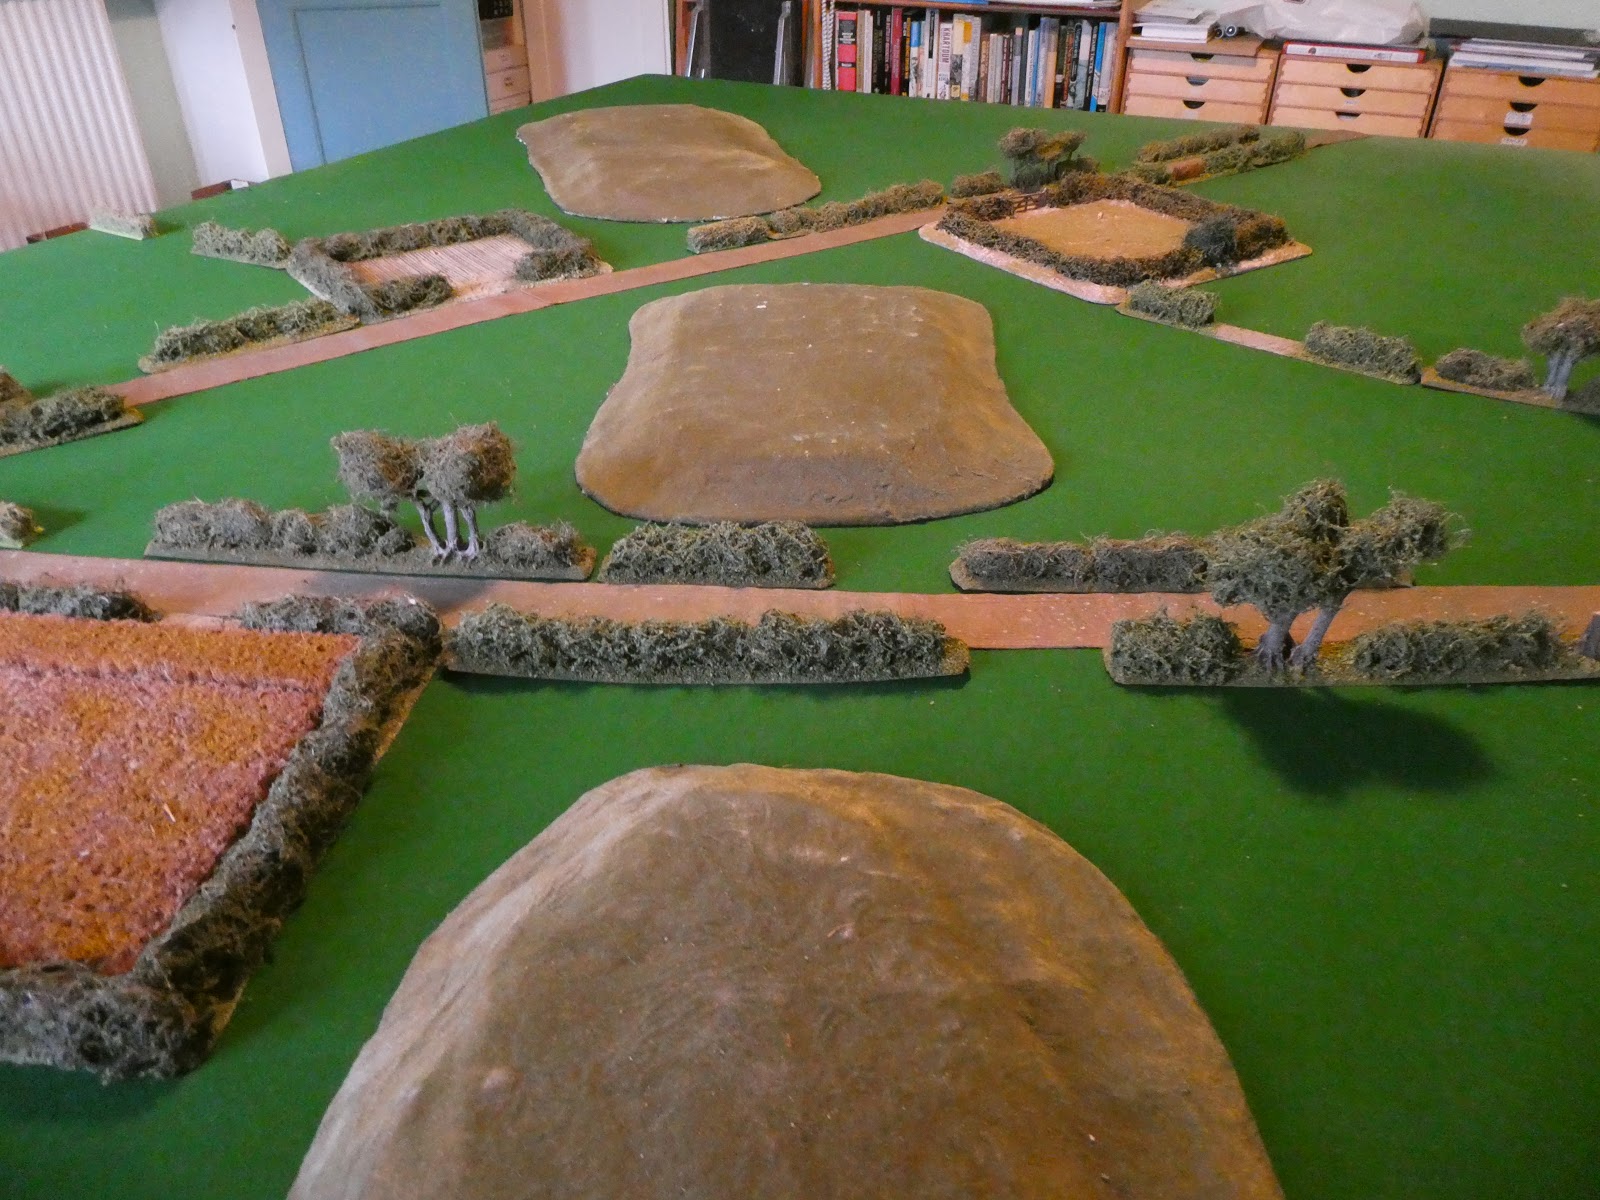
| The view from the Parliamentary position |
 |
The line of hills which saw much of the fighting,
Weld's Hill in the distance. Eastfield Hill nearer the camera and finally Tomb's Hill in the foreground |
When a courier arrived with news of the Royalist advance, Sir Victor hastened to gather a force to oppose it. In the nick of time he assembled four regiments of cavalry, six of infantry and a regiment of dragoons. He led these units towards the range of hills on which he hoped to take up a defensive position. Sir Charles Lonsdale, with the infantry of the Northern Hundred was on the left, supported by Colonel Edward Robinson's horse. The remaining forces moved to the right, to oppose Saville. Colonel William Wanless commanded the infantry and Sir Andrew Goldshaw the cavalry. Sir Victor took up a central position to direct the defence.
Both commanders wanted to seize the high ground, (Weld, Eastfield and Tomb hills) and advanced at best speed. Robinson decided to make for the open ground near Eastfield Hill while Lonsdale's infantry were intent on first securing the hedge and enclosure below Weld's Hill. For his part, Lord Melchett had ordered Hoghton to take Weld's Hill and then move to secure the hedges and enclosures nearer Eastfield, to open the way for Sir Royston to make a rapid descent on the Church and seize the powder. Sir Royston had already ordered the dragoons to move round Weld's Hill and he held Loughton's regiment ready to exploit a successful advance by Hoghton's infantry. The remaining cavalry regiment, Stanley's, was on the road and had orders to advance and then deploy when it reached open ground. Lord Melchett had managed to cajole a team of gunners to accompany his forces, but as the prospect of action increased so did their anxiety and their advance was very tardy.
Robinson's two regiments of horse now appeared heading along the road straight towards Stanley. Seeing that Stanley was outnumbered, Sir Royston immediately ordered Loughton's men to turn about and follow him and he set off at a good gallop back towards the road.
 |
| Hoghton and Sir Royston advance on Weld's Hill |
 |
| Lonsdale's infantry secure the hedge and enclosure |
Anxious to deploy to meet the oncoming Parliamentary cavalry, Stanley advanced towards the open land. Unfortunately, he was too late. As his men attempted to change from road column to line they were hit by the charging enemy horse. In a trice they were heading back down the lane in total disorder; just as Sir Royston was leading Loughton's regiment to their aid. Both regiments dissolved into a mass of disorganised troopers, with their officers struggling to establish some sort of order. They were saved from total destruction by the reluctance of Robinson to lead his men down the narrow lane with enemy infantry close by.
 |
| Stanley'd men overwhelmed |
Hoghton's infantry were also struggling to establish a hold on Weld's Hill. As they ascended it's slopes they were unaware that Lonsdale had sent Bentham's regiment forward on a similar errand. Hoghton's front line consisted of Gillibrand's regiment on the left and Smethurst's on the right. Chorley's regiment was in reserve. As Gillibrand's regiment crested the rise they saw that Bentham's was almost on them. Before they could react, Bentham's had fired a volley and charged. Caught at a disadvantage, the Royalists tried to stand their ground, but they were forced back. A second push by the parliamentary infantry had Gillibrand's men routing back the way they had come. Hoghton ordered Smethurst's regiment to wheel and attack Bentham's. This attack stopped the parliamentary advance in its tracks. A fierce struggle took place, but Bentham's eventually gave ground and streamed back towards the rest of Lonsdale's force.
 |
| Bentham's regiment take on Gillibrand's |
 |
| Gillibrand's take to their heels |
 |
| Bentham's regiment driven back |
On the Royalist left, Saville had advanced towards Eastfield Hill, ordering Bracewell to move over Tomb's Hill and on towards Eastfield. As Bracewell's troopers crested the hill they saw that an enclosure to their front was occupied by enemy foot. Moving further to their left they met Goldshaw's command which was advancing towards them. A swirling cavalry melee ensued which ebbed back and forth for the remainder of the battle, neither side being able to gain an advantage. The impasse favoured Sir Victor more than Lord Melchett, as the Royalist's required a speedy advance.
 |
| Bracewell's regiment ready to advance |
Saville's men reached the summit of Eastfield Hill and Clifton's regiment began to fire on Nowell's regiment which Wanless had sent forward to seize the hill. Undeterred by the musketry, Nowell's continued to advance and charged home against Clifton's. However, the short range volley from the Royalists disordered the chargers and they were unable to gain the advantage. Clifton's gained the ascendancy and it was the Parliamentary foot which had to retreat.
 |
| The struggle for Eastfield Hill |
As the struggle took place on the top of Eastfield Hill, another of Saville's regiments, Strickland's was beating off an attack by Bannister's one of Robinson's cavalry regiments. This had attempted to disrupt Saville's advance, but Strickland's had stood firm and their solid pike block had forced the Parliamentary troopers to fall back. This opportunity was exploited by, of all people, Sir Royston. He had manged to get his command re-ordered and then led Stanley's regiment on a sweeping advance round the enclosures. He arrived just as Bannister's were falling back and attacked. The Parliamentarians had little chance and those that survived the Royalist charge turned and galloped back towards Eastfield. Sir Royston's charge cleared the way for Loughton's regiment to advance and the Parliamentary position seemed in peril.
 |
| Bannister's attack |
Sir Victor ordered Wanless to move all his infantry to oppose Saville's command, leaving the flank to be guarded by the dragoons. Robinson meanwhile led his remaining regiment, Clayton's forward against Stanley's still recovering troopers. The Royalists were driven back with ease and Clayton's swept forward to engage Loughton's. In the following melee both units fought themselves to a standstill, but the Patliamentarians had gained precious time to reorganise their line. Sir Victor now had two fresh units to oppose any advance by Saville and on the Parliamentary left Lonsdale was ensconced behind a hedge, strongly placed to oppose any advance by Hoghton, two of whose units had suffered heavy casualties in the struggle for Weld's Hill. The attempted flank march by the Royalist dragoons had come to naught and Lord Melchett decided that he would have to withdraw and await another opportunity to attack.
Another enjoyable scenario from Steve. My apologies for the quality of some of the photographs, the light was quite fickle; some times bright sun, (too bright on occasion), others gloomy.


Thanks. An enjoyable scenario and read.
ReplyDelete