This weeks game saw a return to the AWI using Steve's impressive collection. The scenario had a Crown force of three brigades (2 British, 1 Hessian) under the command of General Fitzherbert, attempting to advance along the turnpike over Spencer's Ridge and past Hamilton Chapel . Opposing them were three brigades of Revolutionary troops under the command of General George Graham.
Fitzherbert deployed his strongest brigade, commanded by brigadier Adams (the grenadiers, two line battalions and the light infantry) on his right; the second British brigade (Brigadier Buller) in the centre and the Hessian brigade (Von Bredow) on the left.. Graham's brigades were all of 2 continental battalions, two militia battalions and a unit of riflemen. The brigades on the flanks ( Rodgers on the right and Lewis on the left) each had a battery of artillery. Cooke in the centre had no artillery but he did have the chapel enclosure with it's stone wall.
 |
| View of the table from the Crown right |
The battle started with sporadic fire from the two opposing skirmish lines with the skirmishers from the brigades of Adams and Buller having most success, pushing back the riflemen. Von Bredow's jaegers did not get the same support from their line infantry who manoeuvred very slowly giving Rodgers time to move his units forward. On the ridge, Cooke had placed Glover's Massachusetts regiment in the chapel grounds and one of the militia units moved forward to contest any crown advance past Helm's House which lay close to the ridge.
 |
| Hamilton Chapel, key to the Revolutionary position |
Cooke could see that his riflemen were falling back and sent two units forward to oppose any sustained crown advance. This could have exposed their flanks but Lewis's men to the left were holding firm at the moment.
 |
| A strong push in the centre by the Revolutionary army |
Fitzherbert was frustrated at the fairly slow advance of his forces, but his British brigades were at least now in a position where they could exert some pressure on the revolutionary lines. Von Bredow's Hessians were getting 'knocked back' one by one as they attempted to manoeuvre through some wooded terrain. After successfully driving back a militia unit, the Fusiliers were caught by the combined fire of two units and forced back needing to rally. The jaegers were pushed out of the woods by an advancing unit of continental infantry. An attempt to move round the wood came under fire from the ridge and the grenadiers had to fall back, leaving the Hessian artillery to fend for itself.
 |
| The Hessians driven back from the wood |
Adams brigade brought some good news when they successfully drove back the unit holding the wood on the far left of the revolutionary line. Though Graham did not know at the time, this was the first setback which would eventually lead to the disintegration of Lewis' brigade and the fall of the Spencer's Ridge position. With the wood cleared, pressure could now be brought against the homestead next to it. Fire from two units and the artillery eventually forced the defenders to fall back.
 |
| A volley from the redcoats proves too much for the militia |
Cooke's advance in the centre now seemed ill-advised. With Lewis' men wavering and the British grenadiers advancing the pressure was increasing. A feeble volley from the militia was followed up by two withering ones from the grenadiers; who then charged. Rather than try and hold their position the militia routed pinning the continental infantry who were behind them.
 |
A militia unit driven off by the grenadiers
|
On the other side of the turnpike Buller had struggled forward. The infantry had struggled to get round Helm's House in line and their column formation had been swept by volleys from the ridge. One unit had sustained very heavy losses and would play no further part in the action, but a second did manage to form line by the fence. A succession of volleys proved sufficient to drive back the militia and this gave the chance for the 42nd and 5th foot to move forward with a view to assaulting the chapel position.
 |
| The 42nd and 5th regiments advance on Hamilton Chapel |
The grenadiers had meanwhile driven back the continental infantry facing them and these joined the growing number of units on the ridge needing to rally.
 |
| The combined light infantry are routed by the grenadiers |
Lewis had rallied one unit of militia, but the continentals holding the homestead had routed and needed rallying as did a second unit of militia which had been ordered to the left, but whilst marching there had been hit by artillery fire and routed. This left Lewis with one formed continental infantry unit and one reformed miltiia unit to try and hold back Adams
 |
| The Hessian fusiliers overwhelmed by the volleys of the militia |
In the centre. the 42nd advanced up the ridge towards the chapel but were stopped by volleys from Glovers. As they steadied themselves another volley hit them and then a unit of riflemen opened up a harassing fire from their flank. This proved too much for the 42nd and they routed back past Helms House, where Buller tried to rally them.
On the revolutionary left, Lewis had sent the reformed miltia forward to contest control of the wood. Volleys were exchanged but the British gradually gained the upper hand and sent the militia packing once again.
 |
| Militia driven from the woods on the Revolutionary left |
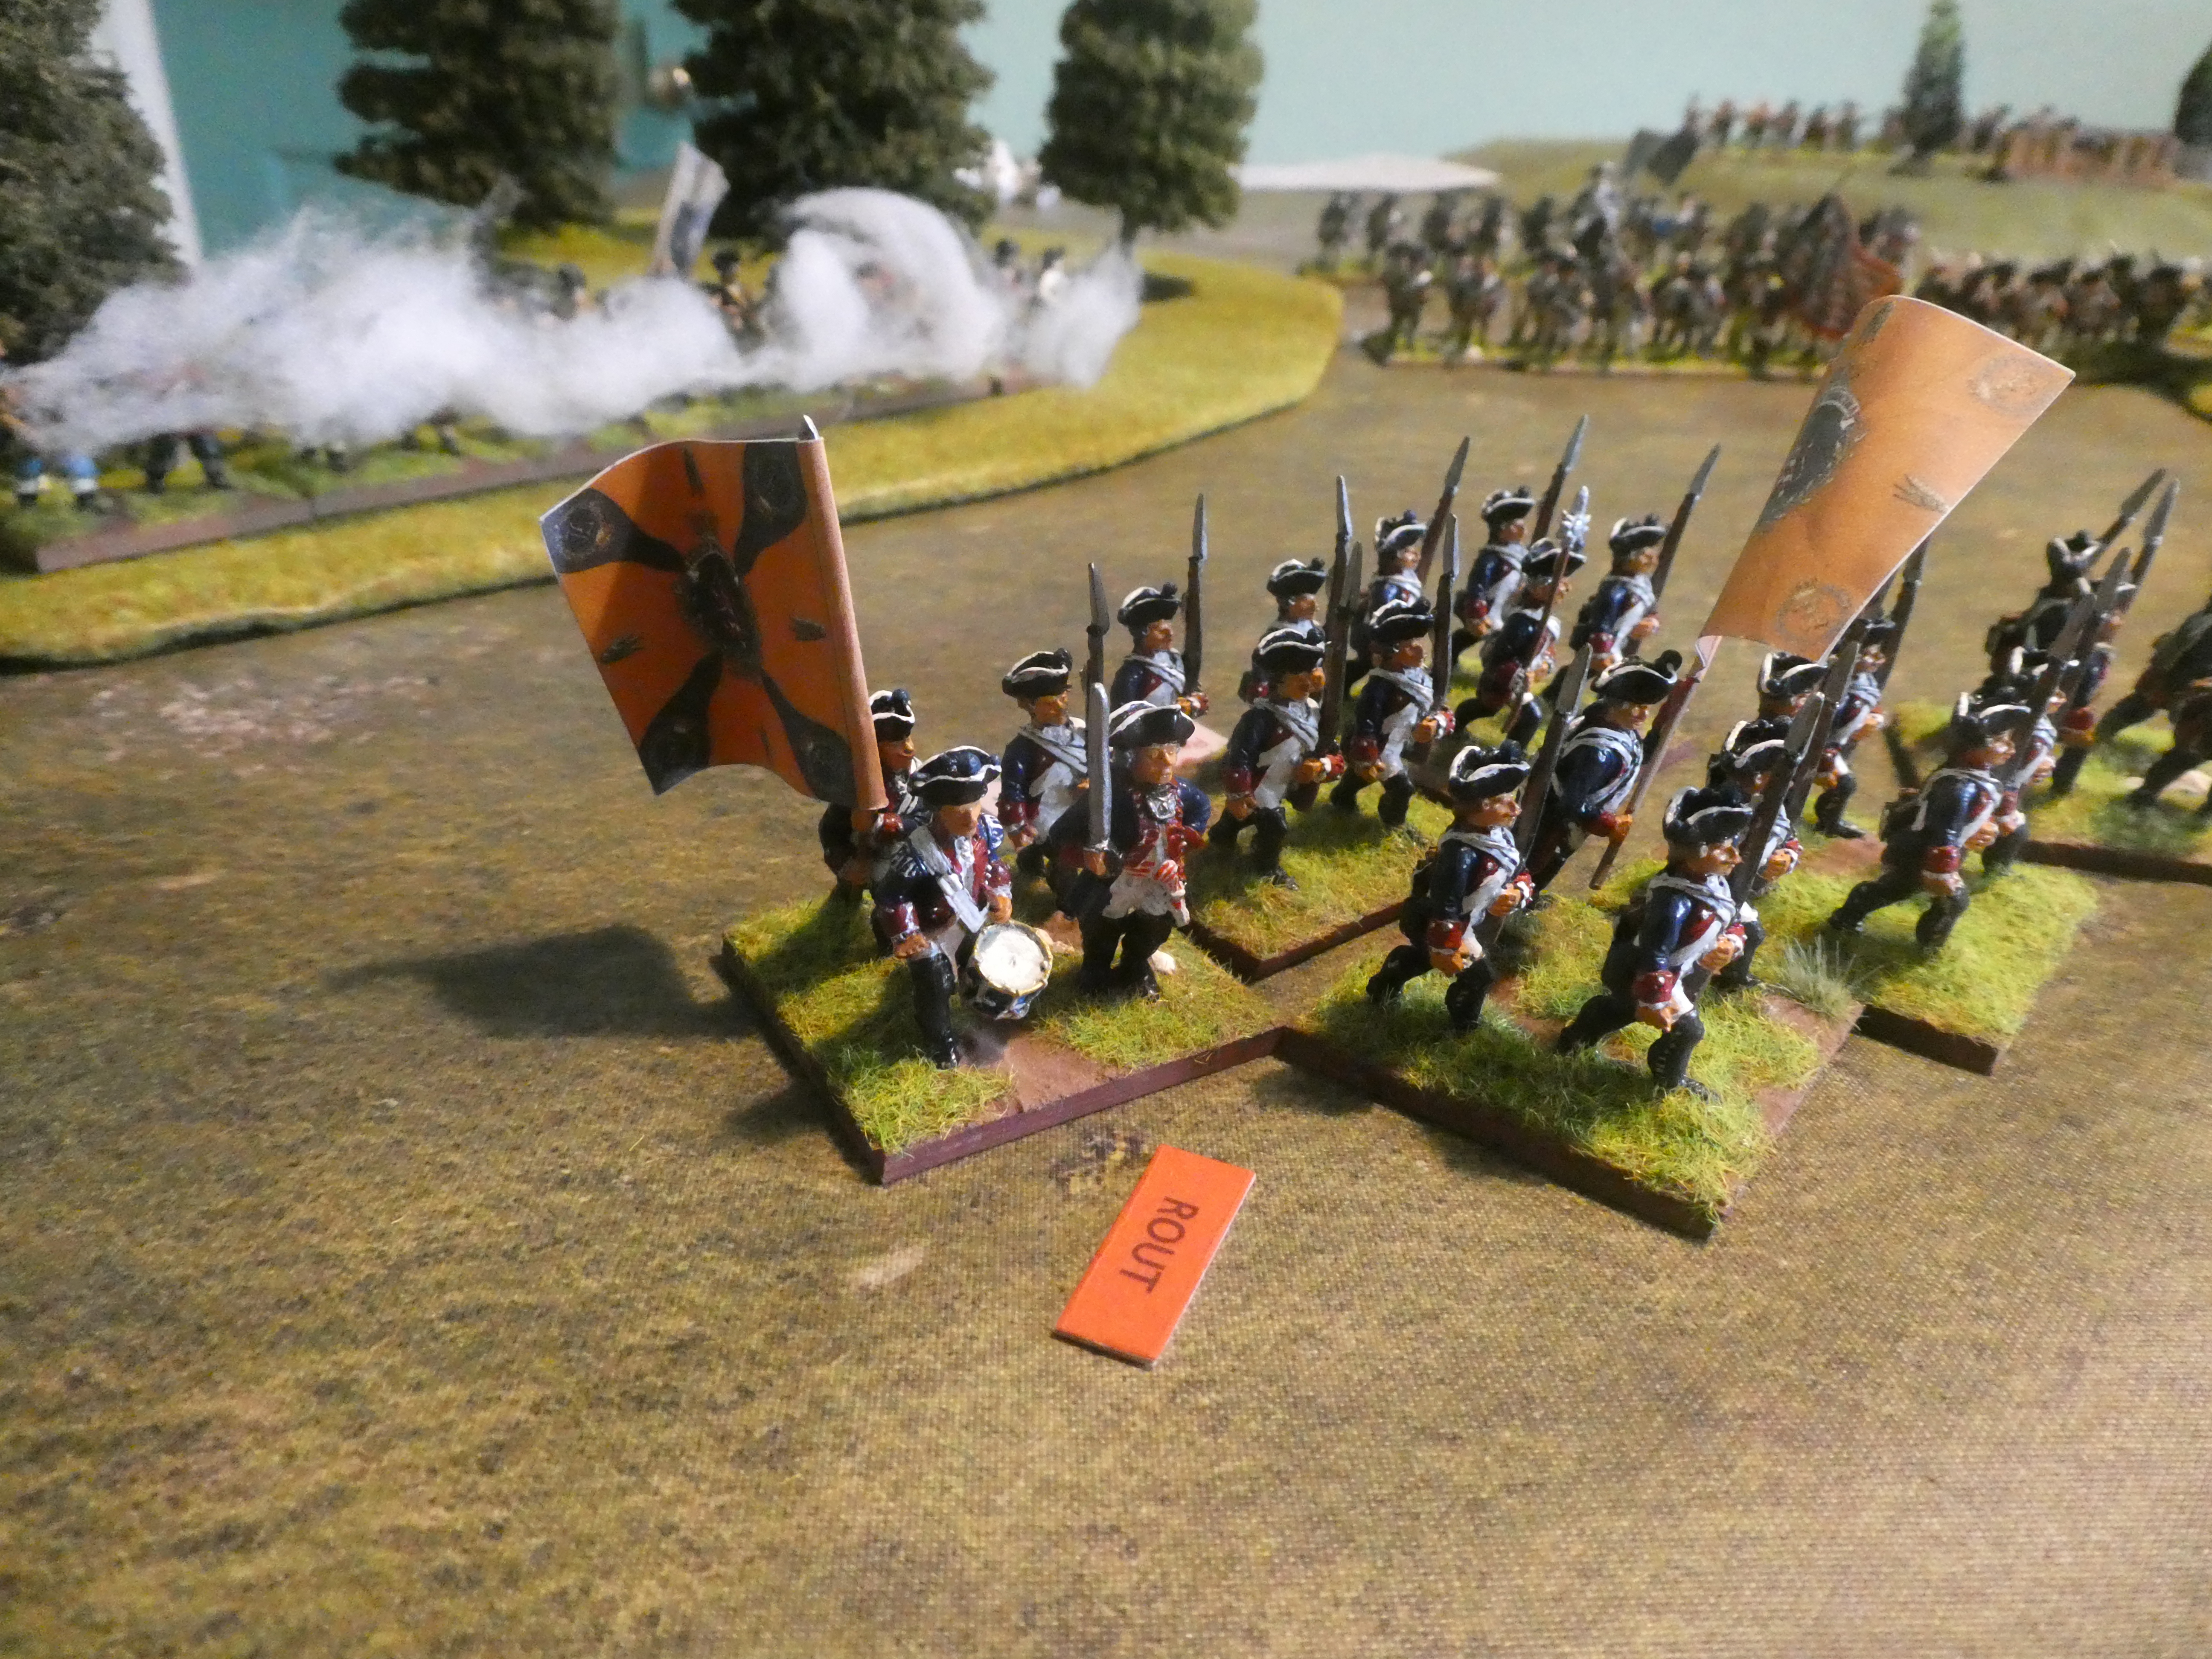
Von Bredow meanwhile had regrouped and was determined to push forward. Supported by the jaegers the musketeers advanced against one of Rodgers continental infantry units which was ensconced in the woods. As the Hessians closed up ready to charge; two crushing volleys were fired by the continental infantry. The musketeers attempted to hold their ground but another volley decided the issue and the Hessians routed from the field.
 |
| Hessian musketeers rout |
By the chapel Glovers had little time to rest on their laurels after driving back the 42nd; up the slope came a fresh opponent, the 5th foot. Breasting the rise they paused and fired a volley. The stone wall helped protect Glovers and they stood their ground and replied in kind. Their fire was augmented by Rodgers' battery and once again the red-coated line was sent back down the slope of Spencer's Ridge.
 |
| Revolutionary artillery contribute to the defeat of the 5th Foot |
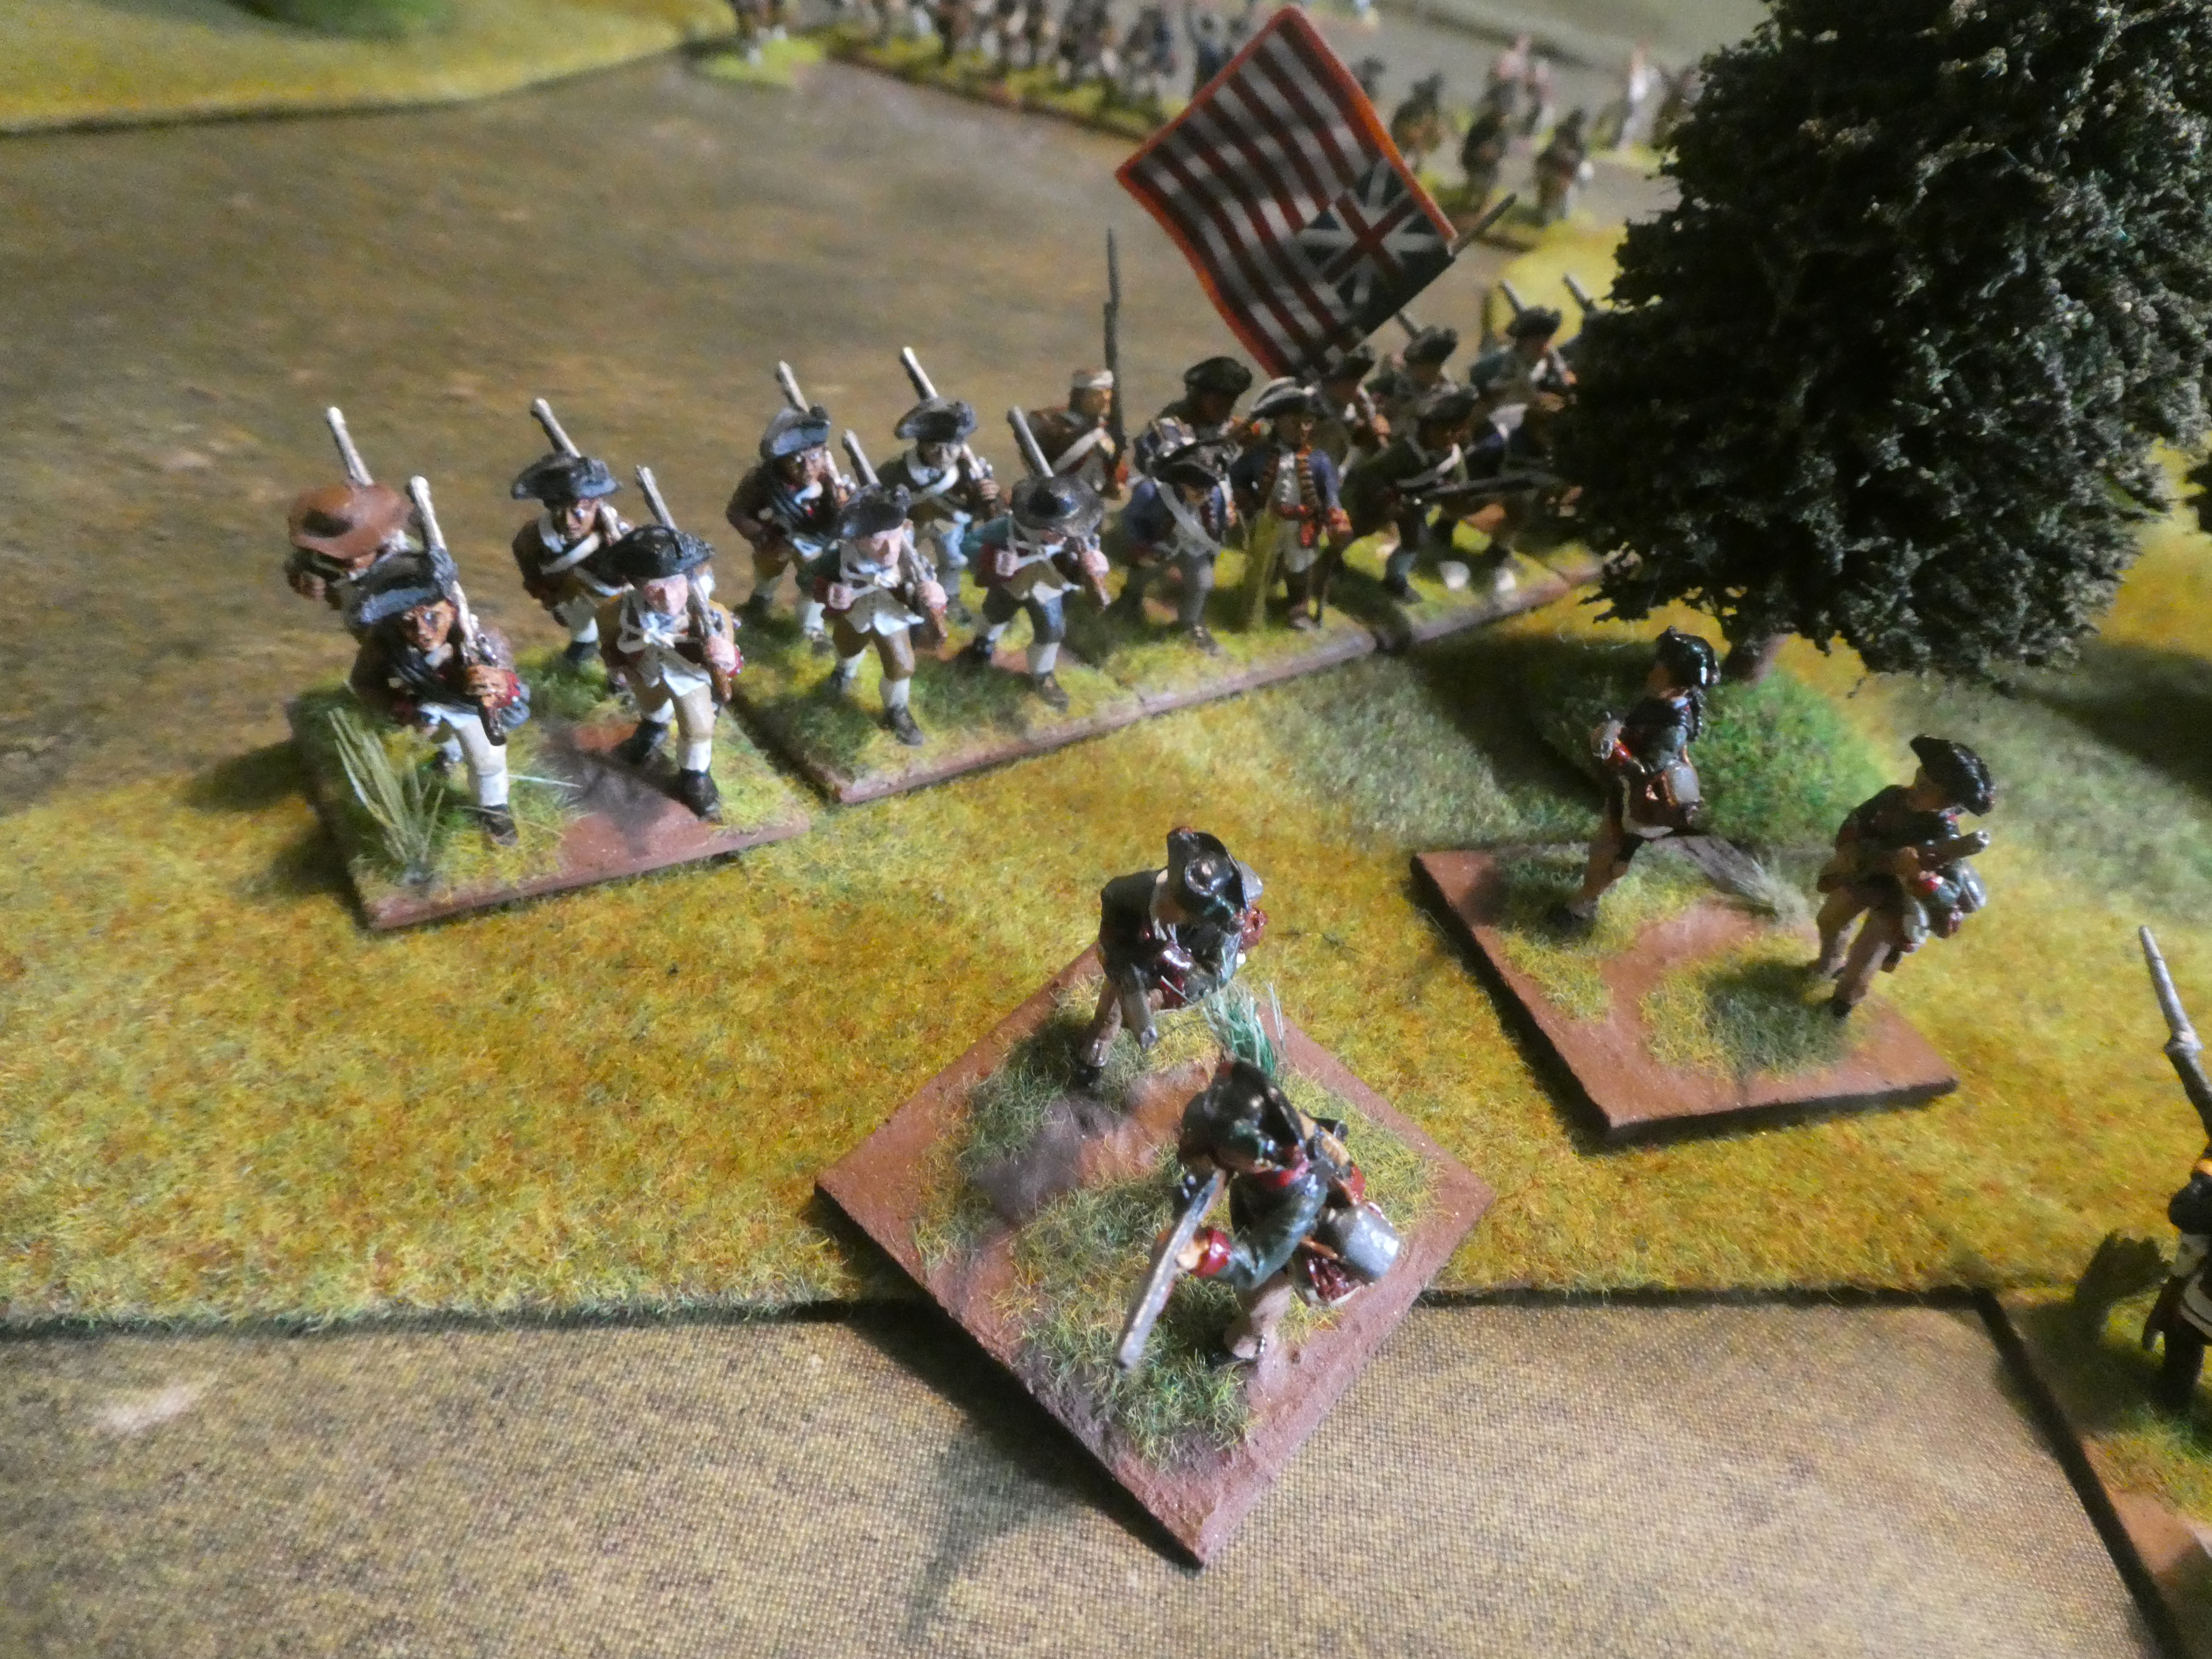
While things were going well for Graham to the right of the turnpike, on the other flank his position was starting to unravel. Lewis had lost one militia unit which had routed from the field. He had rallied one continental unit and was desperately trying to rally a second militia unit. Graham himself had galloped over to assist Cooke and had rallied the combined light infantry unit. He stayed with the regiment encouraging them as they tried to stop the advance of the British grenadiers. Adams' artillery had now shifted its fire to the remaining revolutionary units on the ridge. One shot landed among the ranks of the combined light infantry, bounced and then hit the general. Mortally wounded, he fell from his horse and was carried from the field by his aides. This loss was keenly felt by the army and all central direction of the action was lost.
 |
| A decisive hit, the general falls |
The remaining units of Adams' and Buller's brigades now advanced up the slope against the wavering revolutionary line. Cooke and Lewis attempted to hold the line together, but too many of their units were reduced in numbers and the supporting artillery had withdrawn because it had fired all its ammunition.
 |
| The red coated line advances onto the ridge |
Rodgers continued to push forward as von Bredow's command disintegrated. The only real opposition was coming from the jaegers, but they were forced back as the revolutionary units continued their advance, threatening to envelop them.
 |
| The Hessian Jaegers are pushed back yet again |
In a last desperate attempt to buy time for the infantry to withdraw, the Light dragoons charged the British grenadiers. As they had done several times before, the grenadiers halted, levelled their muskets and fired a crushing volley. The cavalry never reached the British line. Stopped by the first volley, they were driven from the field by a second. With their departure all resistance ceased and the British could claim victory.
 |
| The final Revolutionary attack is repulsed |
An enthralling game which we played over four sessions. Each side had times when they seemed to be gaining the upper hand before the final decisive shift near the end.


Great stuff - an excellent game reported in a very engaging, narrative style - I particularly like the description of the death of the American leader! Nice to see the Brits successful in an AWI scenario and great to recognise some venerable Front Rank figures in the collection too!
ReplyDeleteThank you for your comment, I do try and make the accounts interesting. Steve has built up his collection over a good number of years and his forces contain figures from several manufacturers.
ReplyDeleteDavid