Sunday, 10 July 2016

Action at Scheune Brücke: a Grand Alliance scenario using Pike and Shotte

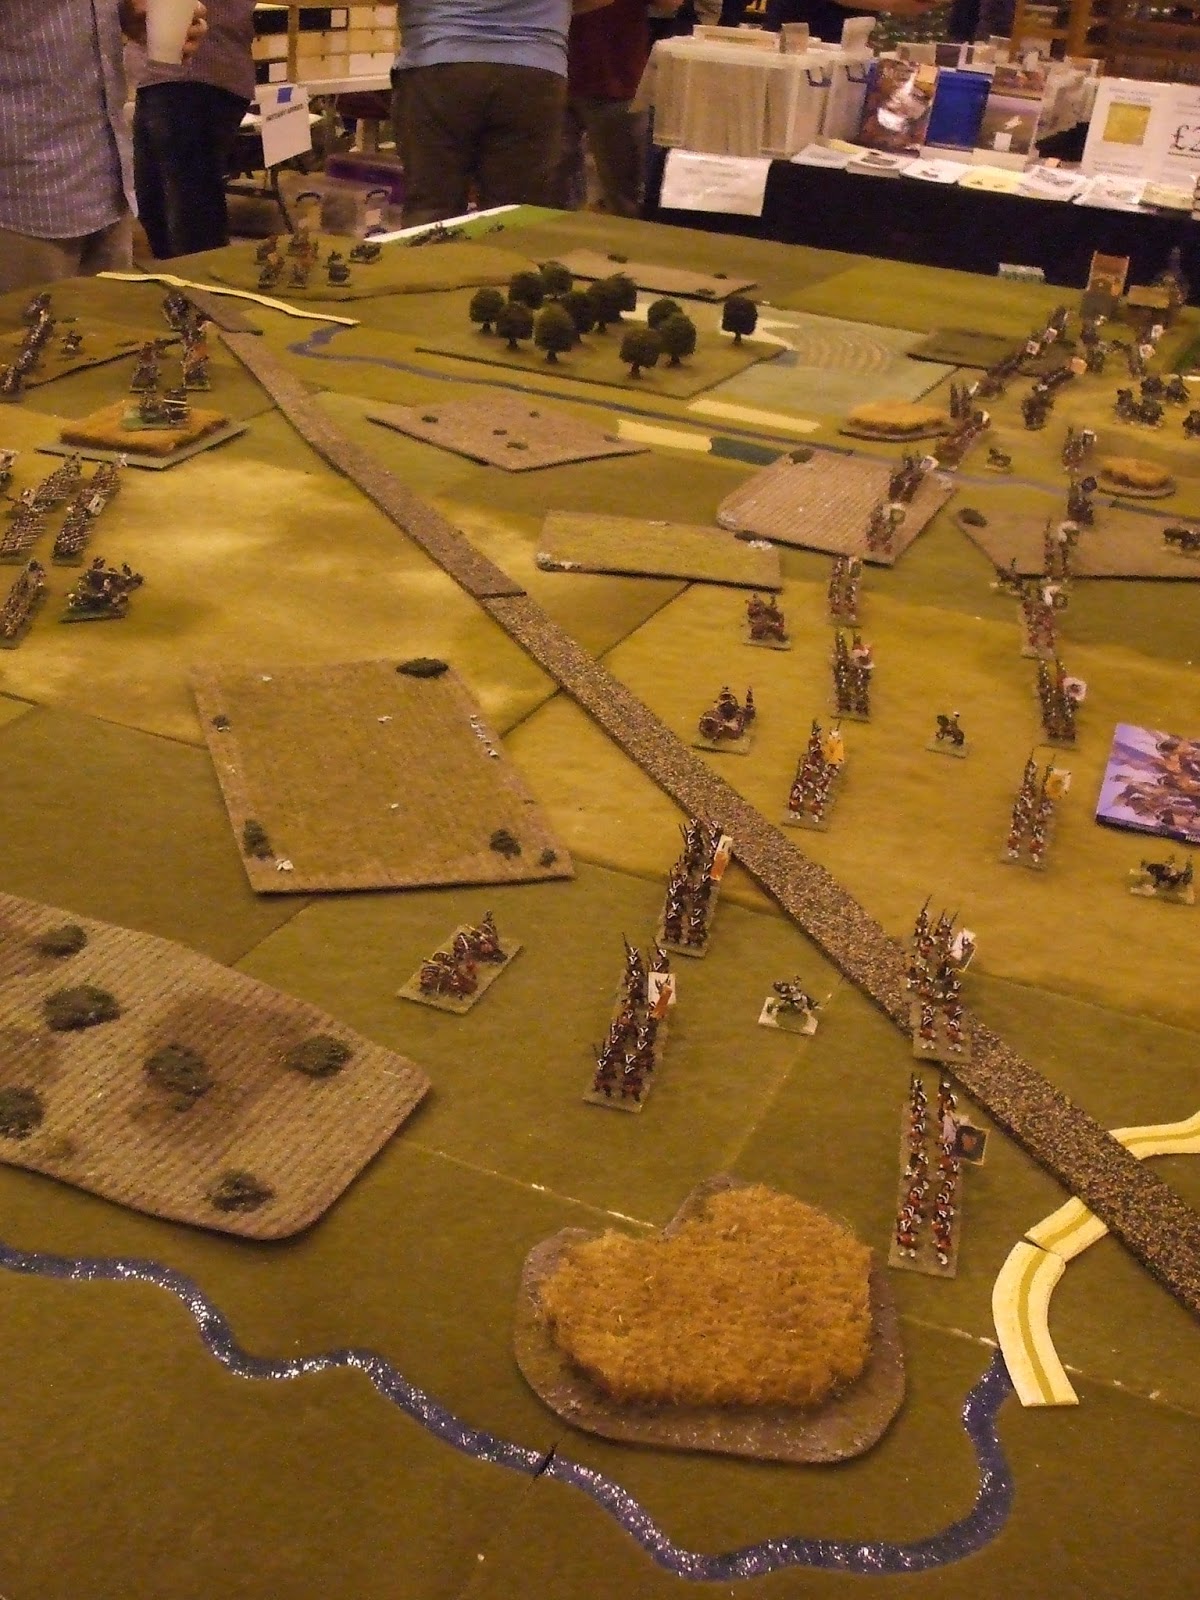
It is some time since the Grand Alliance figures ventured onto the table so this weeks action was set in this period.  The French are preparing to make a further advance into Imperial territory and to this end have secured the crossing of the Schaumenwasser, a tributary of the Rhine.  They intend to construct a further stone bridge to allow the main army to cross quickly, at the moment only a pontoon bridge is available.  The Comte de Salle Forde is in charge of operations and has 9 battalions of infantry and 4 regiments of horse plus 3 pieces of artillery under his command.  One third of his infantry are by the bridge guarding it and the medium gun emplacement.  The other six battalions plus the cavalry and two light guns are deployed to face the expected Imperial attack.

 
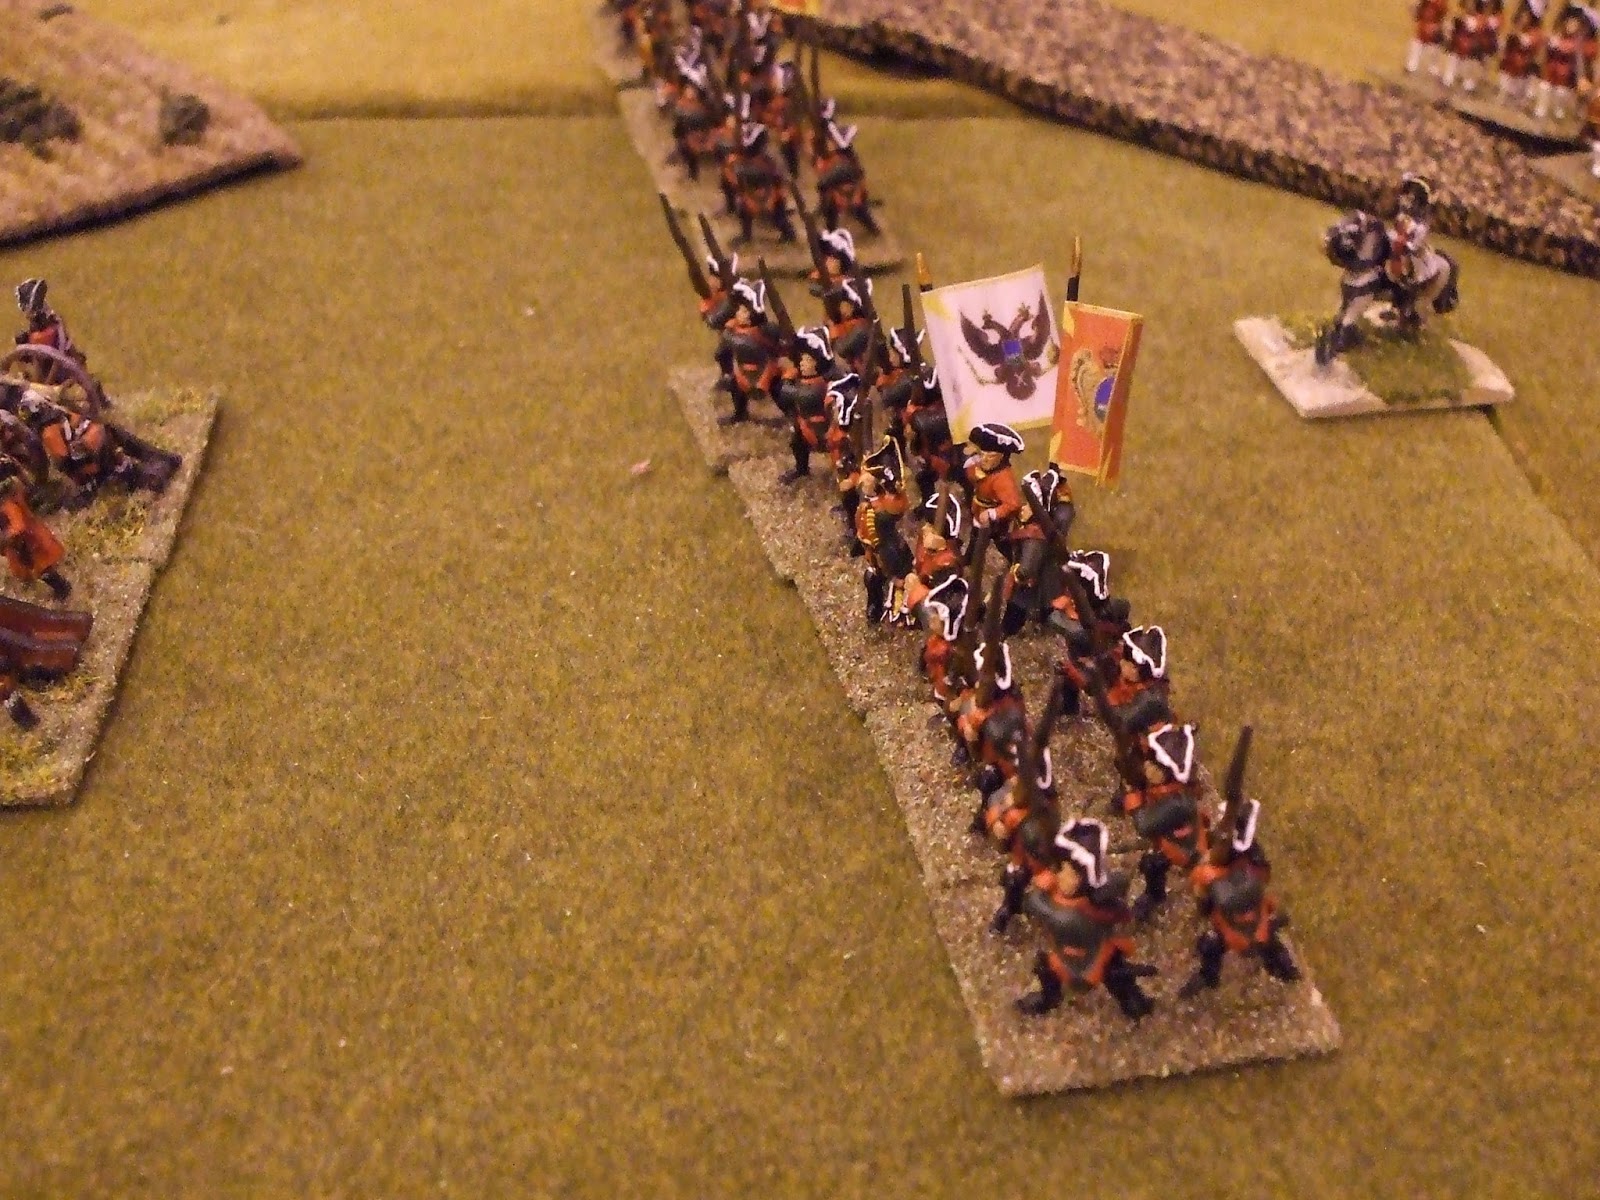
Not surprisingly the Emperor has taken a dim view of the French preparations and ordered Graf Von Grommitt to march his army to the Scheune Brucke, drive off the French forces and restore Imperial control over the Schaumenwasser crossing.  To achieve this task Von Grommitt has 8 battalions of line infantry, two of grenadiers, a medium and light gun and 5 regiments of horse.  He has deployed with his horse opposite their French opponents and his line infantry opposite the French centre.  The grenadiers, under the command of the veteran Major General Boome are on the right, tasked with capturing the Scheune Brucke.  The starting positions can be seen in the (rather blurred) photograph above.  A roll of the dice decreed that Steve should take the part of Salle Forde and I that of Von Grommitt.

Von Grommitt ordered a general advance and his troops initially moved forward in an orderly way.  However, the cavalry under the Duke of Hofburg - Riesling advanced too far, bringing them within charge range of the French cavalry.  In the ensuing melee the French gained the upper hand, especially as the defeated Fugger regiment disordered the supporting Erbach regiment as it routed. This meant that the Erbach regiment was in it's turn defeated by the Aubusson regiment which was following up its earlier success.  The Veningen Gendarmes had driven off the Vaillac regiment, but had taken heavy casualties in the process, thus preventing them from sweeping forward.  Seeing this hesitation, the Spanish cavalry regiment charged the Gendarmes and in no time drove them from the field.  In under half an hour 60% of Von Grommitt's cavalry was destroyed.

Meanwhile, in the centre the Hessian and Austrian infantry continued their advance.  As the range closed the French light artillery began firing and then the French infantry volleys joined in.  Salle Forde seemed to have given orders that his artillery concentrate on one target and the unlucky unit was Erbprinz.  Casualties increased amongst the Hessian regiment's ranks and a final decisive volley from Remazy was the last straw.  The Hessian regiment broke, streaming back and Von Grommitt himself galloped across the try and rally the shaken infantry.

Too much firepower for Erbprinz
Von Grommitt managed to rally the infantry, but as he was about to return to the front, an aide arrived to say that Genral Boome's attack seemed to have stalled.  Pausing only to reiterate his orders that the infantry should continue to advance, Von Grommitt headed off to the right to see what was delaying General Boome.  He arrived to find that the grenadiers were standing in column waiting for their artillery to arrive. (the command dice had been particularly unkind to General Boome, he had a rating of 9, but the previous three rounds he had rolled 10 or more).  Von Grommitt had a few short words with General Boome, which had the desired effect and then galloped off to the tardy artillery.  Once again the 'interview' was short and the artillery captain's contribution was minimal, but the guns moved forward with exemplary speed afterwards.

As he made his way back to the centre, Von Grommit's attention was drawn to the left, where the last of Hofburg - Riesling's cavalry was fighting for their lives.  All that remained were two under strength Austrian cuirassier regiments, Alt Hannover and Herbestein.  Herbestein were bested by Aubusson, but inflicted such heavy casualties on the French that they were forced to fall back to reform.  Alt Hannover, stood their ground and repulsed an attack by the Cuirassier du Roi, then charged in their turn.  The French also stood their ground, absorbed the impetus of the charge and then drove back the Austrians.  It was the French who recovered the quicker and once again the Cuirassier du Roi charged.  This time they were victorious and the last of the allied cavalry were driven from the field.

Alt Hannover try and stem the tide

Hurriedly Von Grommitt tried to put together a new left flank.  Erbprinz turned to face the French cavalry and orders were sent to the remainder of the Hessian units, Lowenstein and Wartensleben to move to new positions supporting the allied gun.  Fortunately for the allies the French cavalry took some time to re-organise from their exertions and a new front was formed.

However, the re-positioning of the Hessians meant that the central attack was significantly weakened. The Austrian infantry were making real progress against the French left, pushing back Rouergue and Languedoc and uncovering the temporary pontoon bridge.

The Austrian infantry attack
 Aid could not come to the French from the defenders of Scheune Brucke because they were now (at last) under attack.  General Boome had sent the Hessian grenadiers forward and they had removed the obstacles from the bridge and charged over.  On the far side were further obstacles and as the Hessians struggled to clear them they were charged by Solre.  Caught at a disadvantage the grenadiers were forced back and reformed on the far bank of the Schaumenwasser.  The Palatinate grenadiers had now deployed and they fired volleys at the d'Humieres regiment.  In no time the fire of the grenadiers forced the French to fall back.

The Hessian grenadiers try and force their way over the bridge
In the centre the fire of the allied medium gun was at last beginning to have an effect. Regiment Remazy was forced to fall back as casualties mounted and the colonel of the Palatinate Life Regiment saw a chance to break the French line.  Ordering the colours to the fore he bellowed 'Charge!' and his regiment surged forward.  The Comte de Salle Forde had seen the threat and ordered the Toulouse regiment to fill the gap.  Just in time the French got into position to oppose the Palatinate troops.  A desperate melee took place, both sides knowing the importance of the result.  It was a close run thing, but the Palatinate troops had no supports to call on, whereas the French could.  When the French light artillery moved onto their flank, the writing was on the wall for the Germans. Grudgingly they began to fall back, the withdrawal became a rout as musket volleys and close range artillery flayed their depleted ranks.  It proved to be the high water point of the allied attack.

The Palatinate Life Regiment attack
Although they had done well, the Austrian attack was running out of steam and the units needed time to reform.   Sensing the momentum was swinging his way Salle Forde ordered his cavalry to resume the attack, starting with eliminating the allied artillery.  Regiment Vaillac moved forward and manoeuvred onto the flank of the gun.  Their commander ordered the charge, assuming that this would be a formality, once the gunners saw the cavalry, they would run for shelter.  However, the gunners stood and fought like demons, knocking troopers from their mounts and then attacking them as they struggled to their feet.  Against the odds (with the benefit of incredibly lucky dice!) the gunners drove off the cavalry who retired to lick their wounds.

The French cavalry attack
Further to the left the remaining French cavalry lined up to attack the Hessian infantry.  Ignoring the closing volleys the horsemen crashed into allied lines.  On the right of the French line were the Cuirassier du Roi, facing them were Wartensleben.  Perhaps weakened by their earlier attack on the French infantry, the Hessian regiment crumbled under the pressure and routed.  They could not outrun the cavalry who pursued them and totally crushed them.  A last desperate stand by the colonel, ensign and musketeers was short-lived and the cuirassier were able to gallop back to their lines bearing aloft the colours of the Wartensleben regiment as a trophy of war.


The Cuirassier carry off their trophy
With a second attack by the Hessian grenadiers also failing, Von Grommitt decided that it was time to withdraw.  It needed to be now, as the French would be quick to press any advantage.

Salle Forde was relieved at the victory, his main line had been severely tested and it was only the success of the cavalry which had provided the victory.  

Saturday, 2 July 2016

More Darmali photos

John has very kindly sent me some photos he took at the recent Darmali game

The Assad ready to sail to Darmali

Kogroferov's men await the onsluaght (the troops in the houses are not shown)

Mahdist cavalry in the distance and the troops heading for Darmali nearer the camera

Darmali under attack

The Egyptians have been driven back from the defences and make a stand in the town

Thursday, 30 June 2016

Relief of Darmali - a Sudan scenario

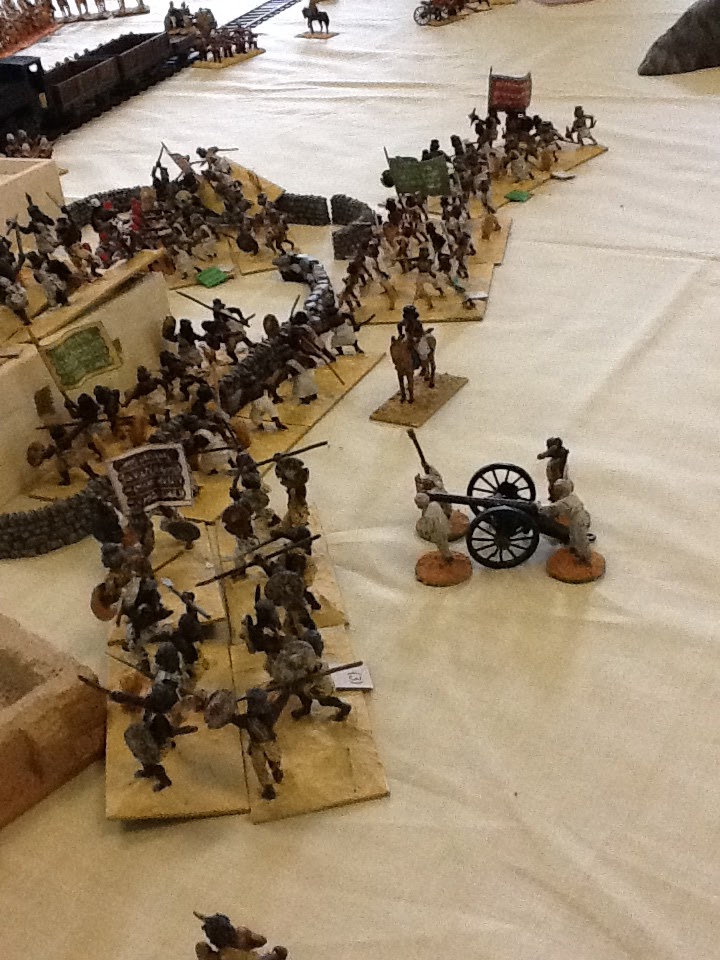
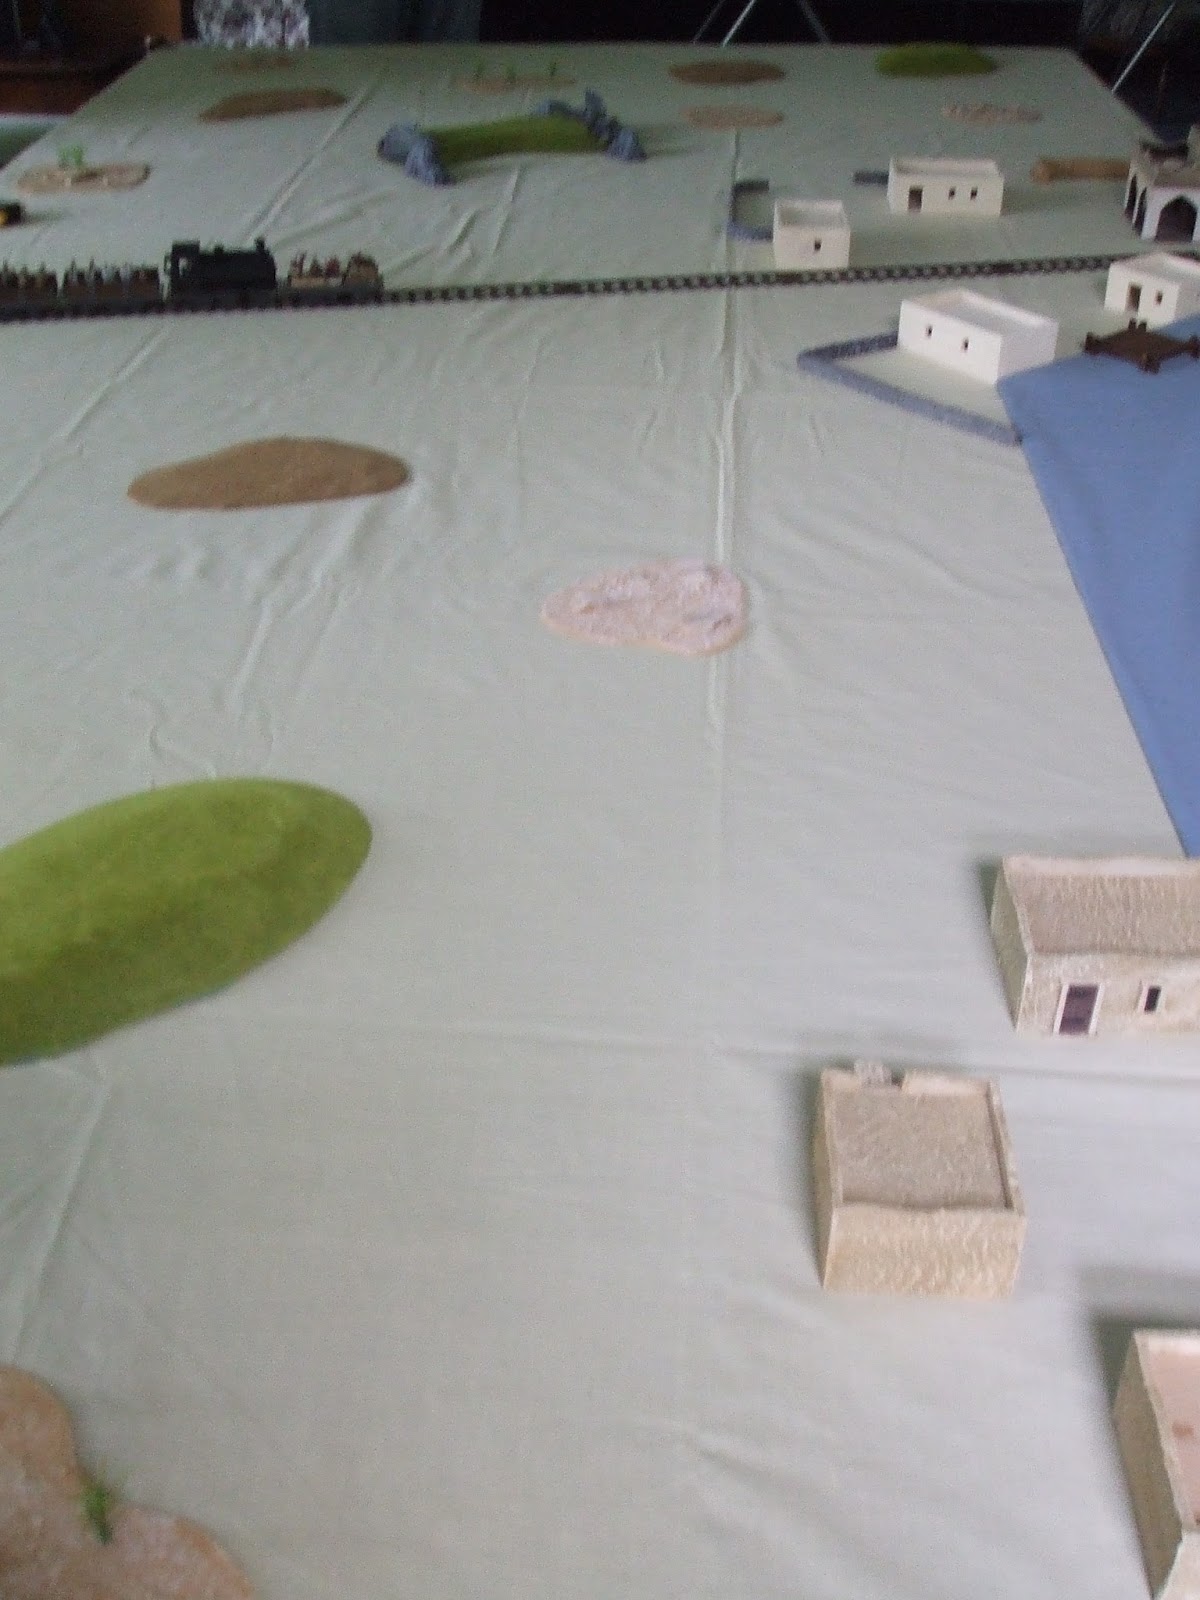
The Sunday following the Phalanx show Steve hosts a large game for the 'Gentlemen Pensioners', this year it was set in the Sudan.  A new feature this year was the desert railway, courtesy of Sarissa.  In the scenario the railhead has reached Darmali on the banks of the Nile, where a garrison of Egyptian troops are stationed.  There is an outpost at the village of Wadi Yahmeen, also on the banks of the Nile.  The local Mahdists, under the charismatic leadership of Emir Qat are determined to wipe out these 'Turkish' garrisons and thus disrupt the Imperialist's plans.  News of the impending attack has reached British headquarters and a relief column has been organised.  A special train with artillery and two units of British infantry is on its way, accompanied by three units of mounted infantry and a cavalry unit.  The senior service has not been forgotten and a gunboat, the Assad, commanded by Lieutenant D R Beatty was to make its way up the Nile to assist in the operation.  Aboard were two units of Bluejackets.


A general view of the table, looking towards Darmali, with the village of Wadi Yahmeen in the distance.

 The view from the Wadi Yahmeen end of the table.

There were eight commands, four per side and I was allocated the role of Beatty and also the commander of the Egyptian forces in Wadi Yahmeen.  Steve had prepared a colourful backstory for this chap, a certain Russian emigre rejoicing in the name of Alexi Kogroferov.  A distinguished officer in the Tsar's army, he had fallen foul of a corrupt senior officer and had been dismissed.  For a time he had pursued his passion for languages, compiling bi-lingual dictionaries as he travelled around the Middle East.  In Cairo he had been recruited into the Egyptian forces fighting alongside the British and his linguistic skills had proved to be much in demand.

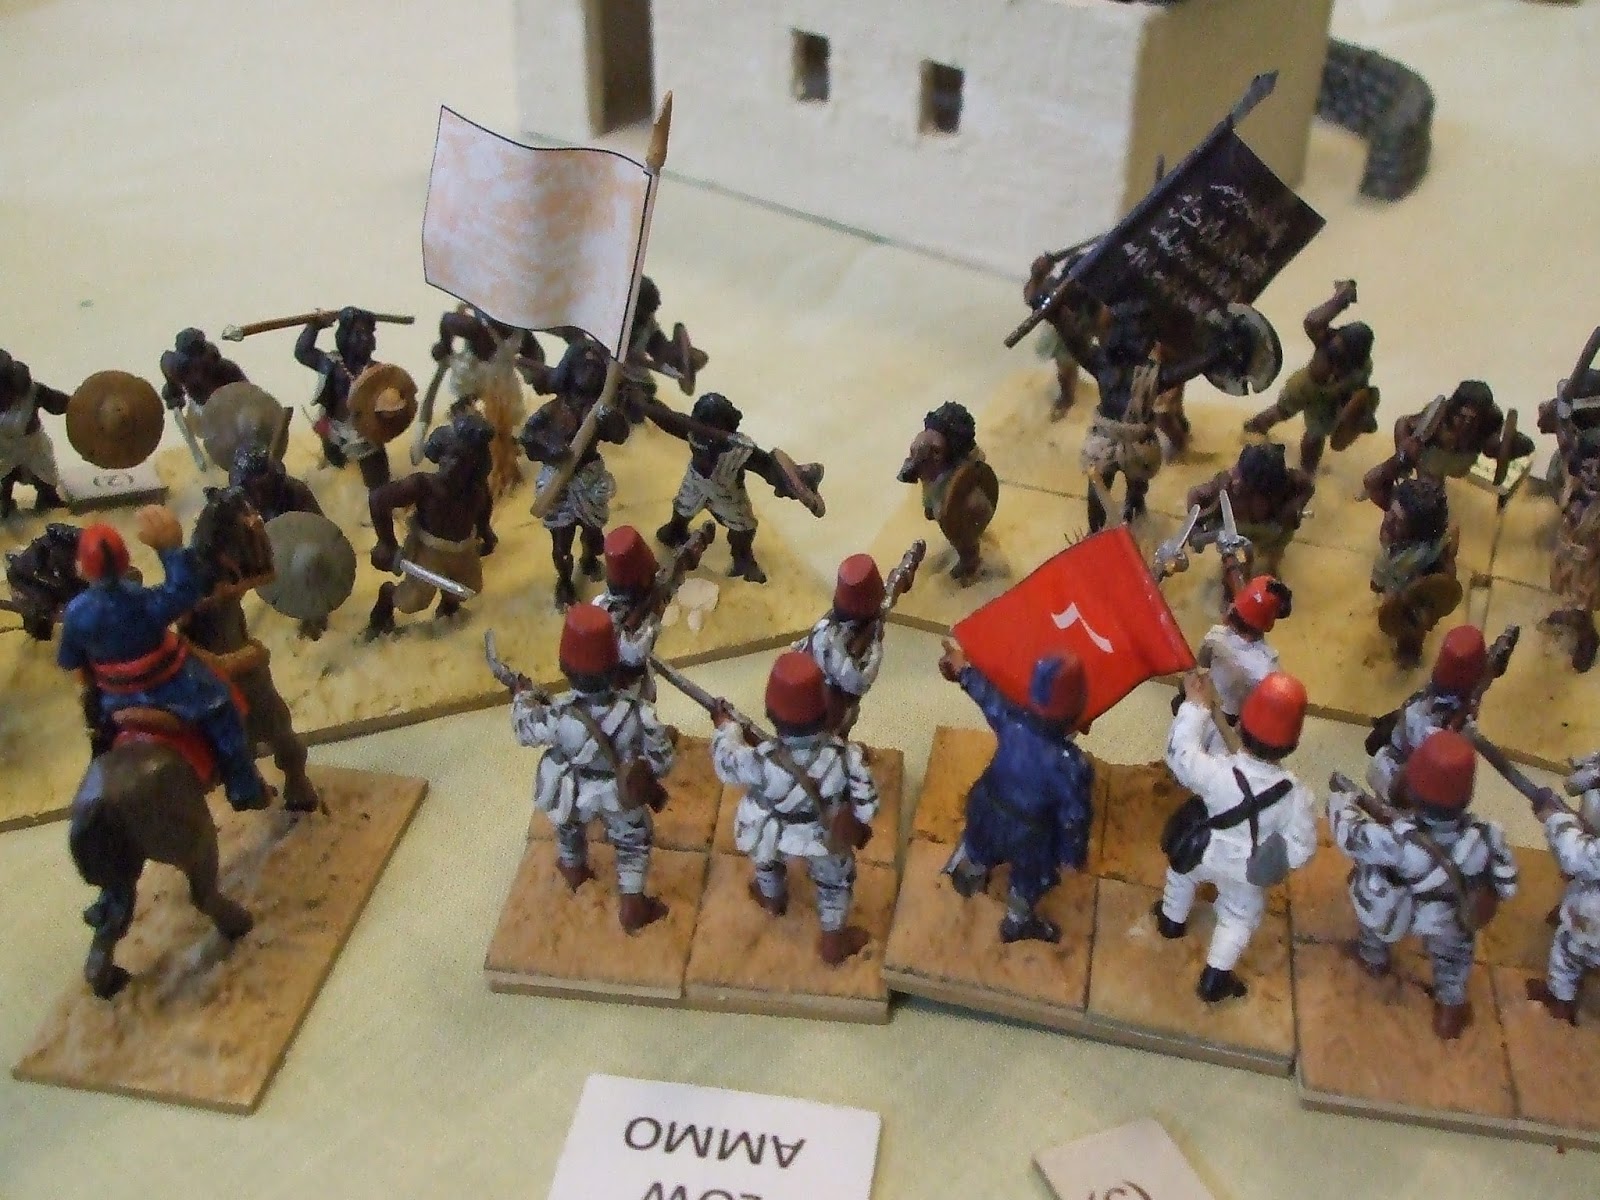
After the Turkish troops had been deployed, the Mahdists were put on the table.  Usually their units are hidden, but to get everyone involved from the start of the game, everything was in 'the shop window'.  There seemed to be an awful lot of Mahdists heading towards Kogroferov, including the Emir himself, but the garrison of Wadi Yahmeen managed to stop the first rush by rapid rifle fire and some rather accurate artillery support.


However, the downside to the use of 'rapid fire' was that all the defenders were now low on ammunition.  Pleas for resupply were coming in from all directions and Kogroferov could not meet them all.  The left flank seemed to be most at risk, so that received supplies first and also the reserve company was sent in that direction.  On the right, the attack was led by the Emir in person


As he rode up and down the ranks exhorting his men to greater valour he was an obvious target.  When the next attack surged forward, the Emir was in the forefront, leading by example.  The fighting was fierce, with no quarter on either side, but when the Egyptians were forced back the Emir's body was found, surrounded by dead foes. Rather than disheartening the Mahdists, the loss of Emir Qat only inspired them to greater efforts.


Mahdists assaulted the village from all sides.  Once again the artillery crew excelled themselves stopping one unit in its tracks.  On the river, Beatty was manoeuvring the Assad towards the jetty at Wadi Yahmeen.  Once there he took the decision to land one unit of Bluejackets to support the defenders.   Kogroferov was glad of the reinforcements, but would they be sufficient to hold back the enemy?  No sooner had the sailors reached the village square than they were met by the remnants of the Egyptian defenders all fleeing for their lives, the defence had crumbled!


Only the gunners had stood firm, firing with a speed and accuracy that lifted Kogroferov's spirits. However, ammunition was running low and a runner was sent to bring up further supplies.  Before it arrived yet another Mahdist charge surged forward and this one carried on through the storm of shells.  The gun crew laid about them with any weapons they could, but after a brief resistance they were overwhelmed. Kogroferov escaped, but with several wounds and he made for the safety of the Bluejackets square.


Beatty was giving what support he could from the Assad. The machine gun and the remaining Bluejackets fired at one of the Mahdist units to great effect, but another unit carried on into the square.

The Blue jackets were assailed from all sides by the Mahdists.  Their discipline kept the square together, but they had taken heavy casualties.  As the Mahdists gathered for another attack, Kogroferov was shot and wounded again and whilst he was receiving medical aid a second attack swept towards the square.  Fighting for their lives the sailors upheld the finest traditions of the senior service, but eventually numbers told.  The square began to dissolve, soon there were three knots of men, fighting back to back, edging towards the jetty.  One by one these knots of gallant men were cut down and the fighting ceased.  


From the deck of Assad Beatty could only look on as his men perished.  He did not have sufficient men to retake the village so, with a heavy heart he ordered that the Assad should steam for Darmali to help the defence there.  When he did arrive, he found it was too late; that garrison too had been wiped out and the Mahdists had melted back into the desert.

The game was declared a Mahdist victory, with all the Egyptian troops killed.  The British had failed to get to Darmali in time, the Mahdist attacks on the train delayed them long enough for the main attack on the town to succeed.

As usually happens in these multi-player games I did not have much idea how the other actions were going.  Here are a few pictures of the rest of the table

The train almost at Darmali, but the first Mahdist attack is closing in
The machine gun jammed and the crew were cut down, but the dismounted cavalry are still holding firm


Attack on the other side of Darmali
The British mounted infantry fighting the Mahdist cavalry


The last stand in Darmali
More photos and an account of the fighting around Darmali can be found on Wills blog.  Thanks to the other players, Phil, Roman, John, Will, Nick, Dave, and Steve for making the game so enjoyable. Also to Gwen, Kay and Lynne for providing an excellent buffet lunch.

Saturday, 18 June 2016

Phalanx 2016

It has been a bit fraught the last couple of weeks with family commitments and preparations for the  Phalanx show,  so table activity has been rather sparse.  There has been even less time to post on the two battles which Steve and I managed to stage, perhaps over the next few weeks I will be able to catch up.

For the moment, here is a brief post on the show.

Another very enjoyable day at the Phalanx Show, the Spartans do organise a very welcoming show. The B & B seemed to be doing a brisk trade, as did the traders.  A good attendance, with a  fair sprinkling of 'family' parties.    Perhaps not as many demo games as in previous years, but a good range of periods were covered.  Next to the Lance & Longbow was a 15mm game of Zorndorf from the Mailed Fist group


Manchester Wargames had a Black Powder Peninsular game, "3rd day at Fuentes D'Orono"


There was also a colonial game


We ran a 'Lion Rampant' game based on the Battle of Chesterfield, 1266.  During the day we ran our game three times, with each side winning once.  The final game was a draw, with both armies fought to a standstill.  We did get some willing 'volunteers' to participate and the rules worked well with the newcomers picking up the game quickly.

Hansard leads his Sergeants towards D'Eyville's archers

Ferrers leads out his knights

D'Eyville's men are spotted by Henry of Almain's contingent
Many thanks to Dave, Bob, Will, Nick, John, Gary and Steve for all their help with the game.

Thursday, 2 June 2016

Preparation for Phalanx

Only a couple of weeks to go and almost everything is now organised for our game at the Phalanx show at St Helens.  Steve and I have settled on a 'what if' scenario based on the battle of Chesterfield (1266).  This was one of the last actions of the 2nd Barons War and details of it are rather sketchy. The main action seems to have taken place in the town of Chesterfield which posed a few problems as we have very few figures on individual bases.  Eventually we settled on expanding the clash between the Yorkshire contingent of rebels led by D'Eyville (or D'Ayville) and the Royalist forces under Henry of Almain, son of Richard of Cornwall and nephew to Henry III.

Only 4 of the participants are named in the sources, Almain and the rebel commanders, Robert Ferrers, earl of Derby, Bladwin Wake and John D'Eyville; so a bit of creative thinking was r4equired to provide the banners for the various units.

The usual pattern of games has also been disrupted by family commitments and the half term holidays (grand parent duties), but hopefully normal service will be resumed next week.

Here are a few photos of the first run through the game.

Almain leads the Royalist vanguard

D'Ayville's Yorkshire contingent

A unit of rebels attack the Royalist supports

Monday, 23 May 2016

A Second advance on Riga. Another fictional scenario from the Great Northern War using Ga Pa

Family commitments ruled out a game last week, but this week offered Steve and I the opportunity to try out a second Ga Pa scenario.  This is set a few years after "the Encounter at Rauna" post and the quality of the Russian force has improved, whilst that of the Swedes has declined due to the demands of the King's campaigns against Saxony.

The terrain is very simple to set up, basically is is open, with a couple of woods on the flanks, no ambushes this week!

Russians on the left, Swedes the right.
The Russian forces comprise 12 battalions of infantry, of which 9 are rated as trained.  Of the six regiments of cavalry 5 are trained and one, the Horse Grenadiers are elite.  To complete the Russian force they have two batteries of artillery which are of heavier calibre than those fielded by the Swedes.  For their part the Swedes have 8 battalions of infantry, 4 veteran and 4 trained and 6 units of cavalry of which three are veteran and 3 trained.  They also have two very light battalion type guns.  The Swedes have two other advantages, their commanders are better and all the cavalry are 'gallopers' rather 'trotters'.  However, their cavalry units only have 1 step whereas the Russians have 2.   The Russians objective is to break through the Swedish position and march on Riga, whereas the Swedes must stop the Russian advance.

First blood to the Russian cavalry
A roll of the dice decreed that, once again, Steve would command the Swedes.  We then rolled for the rating of our commanders, I ended up with two rated as 6 and three as 7, Steve had 8s and 9s.

The Swedes won the initiative and decided to attack, which suited me as my lower rated commanders would have difficulty managing a co-ordinated advance.  I therefore relied on Hold orders for the infantry although the cavalry did venture forward on the flanks.  The Russian artillery proved its worth from the start, out-ranging the Swedish guns they were able to disorder the advancing battalions before the Swedes could reply.  Indeed, when my cavalry repulsed the first Swedish cavalry attacks I allowed myself a brief glimmer of optimism.

The Swedish infantry stand firm
Big mistake!  When the Swedish battalion guns were advanced in front of the battalions on the Swedish left I ordered the front line on that flank to advance; hoping that their volleys would drive off the crews.    The first line did advance, but their support lines did not, and to compound the error, I had miscalculated and Steve still had orders available for the infantry on his left and two battalions quickly marched forward to support their guns.  The musketry exchanges resulted in me being disordered and failed command rolls in subsequent turns meant that I couldn't recover.

The front lines prepare to cross bayonets
On the wings fortune still favoured the Russians.  My left wing cavalry drove two Swedish units from the field, but became disordered in the process and once again struggled to recover.  Meanwhile the elite Horse Grenadiers decided to advance, hoping to threaten the flank of the Swedish infantry. Steve countered this by moving his converged grenadiers to face the threat.  Their volleys eventually drove off the Horse Grenadiers, who had attempted two charges, but had been repulsed on both occasions.  On the opposite flank the same sort of thing happened.  The Russian cavalry drove one unit of Swedish cavalry from the field and then caused two more to rout.  However, all the Russian cavalry was now disordered and could not exploit their advantage.  As my commandeers struggled to regain order, the Swedish commanders quickly rallied their men and then sent them back into the fray.

The Horse Grenadiers are driven off
In the centre the advance of part of my front line had masked the fire of my guns.  This encouraged the Swedes to press on with their attack and they quickly moved forward.  Soon  both front lines were exchanging volleys, with casualties on both sides.  However, the quality of the Swedish infantry enabled them to withstand the pressure  whereas the Russians began to fall back.  This tended to disorder their supporting lines and the Russian commanders struggled to restore order.

Trying to rally the troops
Now the advantage on the wings began to swing in favour of the Swedes.  Their reordered cavalry were able to charge their disordered opponents and quickly drove them back.  Progress on their right was particularly good.  Driving all the Russians from the field the Swedes redeployed to threaten the flank of the Russian infantry.  Assailed to front and flank the Russian infantry were in dire peril  At this point I ceded victory to Steve.

The end is nigh!
The two amendments we had implemented,

1  Attached commanders aiding recovery from rout/disorder

2  Units interpenetrated by units of an equal or better quality had to check for disorder

seem to have worked well and will be written into the rules.  

Monday, 9 May 2016

Encounter at Rauna, a fictional Great Northern War scenario using the Ga Pa rules

It has been some time since the Prince August figures last appeared on the table so this week I devised a scenario involving a Swedish ambush of a Russian force advancing towards Riga.  It also gave Steve and I the opportunity to reacquaint ourselves with the Ga Pa rules.  A general view of the table layout is seen below.


The Russian column is led by a brigade of 3 regiments of dragoons commanded by Anatoly Rostov, (one of the regiments has been sent to investigate the village of Rauna).  Next are two brigades of infantry, each of six battalions.  The first is under the command of Feodor Golitzin, the second is commanded by Count Alexander Tolov, (a recent appointment due to Palace connections).  Between them is the commander of the expedition Prince Michael Morevsky, he has changed the order of march drawn up by his staff in to ensure that his personal baggage is safely under his personal view. The artillery, originally placed between the infantry brigades has been relegated to the rear of the column.

The Swedish force is heavily outnumbered. but does have the advantage of surprise.  It comprises 2 regiments of horse, (Abo and Upplands), 4 battalions of infantry, (Dal, Jonkopings,Viborgs and Smalands) and a light gun.  The gun is concealed at the edge of the wood top right, the cavalry are behind the wooded hill closest to the Russian dragoons and the infantry are concealed in the woods and broken ground lower right.  Von Kressow the Swedish commander has ordered the artillery commander, Captain Blyborg, to open fire at the Russians once they are in close range.  When he hears the artillery fire Baron Creutz, commanding the cavalry, is to move round the hill and charge the Russians.  Kressow himsellf will choose the moment to order Major General Fehman to attack with his infantry.

Golitzin urges his men forward

The Russian objective is to press on to Riga, brushing aside any enemy forces which attempt to bar their way.  For the Swedish force the objective is inflict as much damage on the enemy as possible without incurring heavy casualties themselves.

Rostov was caught unawares by the sudden artillery bombardment of his leading unit the Sibersk Dragoons.  Fortunately, the first rounds caused few casualties, but as the smoke cleared Creutz's leading regiment, Abo, was charging home.  The ineffective pistol volley from the Russians was ignored by the Finnish troopers as they closed.  Although shaken by the impact, the larger Russian unit managed to stand its ground and against the odds force the Finns to fall back to reform.  Relief was only temporary as Upplands now charged.  Rostov's heart swelled with pride as this attack was also repulsed by the Sibersk Dragoons.

The DSibersk Dragoons drive off the Upplands regiment
Behind Rostov, Golitzin had been considering how to manoeuvre his columns into line to face the Swedish cavalry should the dragoons be driven back.  However, an aide galloped up with news that an attack was coming from the right.  Turning, Golitzin saw a line of blue-clad infantry advancing out of the woods, redress their ranks and then move forward again with purpose.  The orders were given for the leading brigade (2 battalions of the Tula regiment and one of Novgorod) to turn to face this threat.  The battalions made the manoeuvre, but, being newly raised, lost their dressing.  As the officers pushed the men into line, the Swedish advance closed in.  On the right of the Swedish line was the Smalands regiment.  They fired a volley into the Sibersk dragoons, causing significant casualties.  The dragoons were then hit by a salvo from the Swedish artillery and were driven back in disorder, disordering the Vladimir Dragoons who were behind them.  As Rostov galloped over to rally the Vladimir Dragoons he saw that the Moscow Dragoons had abandoned the search of Rauna and were moving to rejoin the brigade.

Smalands leads the Swedish infantry attack
In the centre of the column, Prince Michael was concerned about his baggage.  Requisitioning a battalion of the Narva regiment from Count Tolov, he ordered them to protect the wagons as they were taken to Rauna.  Once this was done he ordered Golitzin's second brigade to turn to face the Swedish infantry and advance in support of the first brigade.  Although they too were newly raised, they achieved the manoeuvre adequately and stepped forward with a will.  At the rear of the column Count Tolov had received no orders from  Prince Morevsky, but assumed he should follow the brigade to his front so he too turned his leading brigade to the right with orders to support Golitzin's men.  As he moved forward Count Tolov saw that the left of the Swedish line was unsupported and he therefore ordered his second brigade to swing to the right over a wooded ridge so that they could then attack the open flank.  Unfortunately he had miscalculated the difficulties of marching through the rough terrain and for the rest of the action his men struggled to force their way forward.

Prince Michael Morevsky with his baggage
Prince Michael was waiting for his artillery to move forward, confident that his guns would tear the thin Swedish line to shreds.  However, an aide, dispatched to hurry them along returned to say that the guns were bogged down at a river crossing and would take several hours to arrive.  "Well, we will have to do it with the bayonet !" he replied and sent out orders for the infantry to push forward.

Smalands drive back a battalion 
At the head of the column, the Vladimir Dragoon regiment was having a torrid time.  Fired on by the artillery and Smalands and then charged by the reformed Upplands regiment they fled in disorder.  Rostov now had his hands full trying to rally all three of his regiments as the Moscow regiment had been disorderd by the fleeing Sibersk regiment.

All along the line the infantry squared up to an exchange of volleys.  In most cases the Swedes gained the upper hand due to their experienced infantry.  The newly raised Russian battalions were not used to battle and when the Swedes levelled their pikes and bayonets and charged, the Russians were driven back in disorder.  Prince Michael joined his brigade commanders rallying the fleeing units, but it was akin to trying to stem the tide.  Golitzin's brigade was down to three battalions holding the line, Tolov had four, but three of them were struggling through the woods.  The opposing cavalry units were all disordered, the last viable Swedish unit, Upplands, had been moving towards the baggage wagons, but had been repulsed by a volley from the battalion of the Narva regiment .  The reformed Sibersk Dragoons were faced by the Jonkopings regiment and under artillery fire and forced to withdraw also.

The Russian battalions flee in disorder
Prince Michael saw that his wagons were safely on their way back towards the main camp and therefore ordered Golitzin to take command of the rearguard whilst the remains of the column streamed back down the road.

Narva save the baggage wagons
For his part Von Kressow was generally satisfied.  The enemy had sustained significant casualties whilst his own infantry had suffered few losses.  The artillery had acquitted itself well, but baron Creutz's cavalry had been ineffective, more was expected of them.  A Swedish victory, but Von Kressow knew that the Russians would be back.

A very satisfying scenario, even though I commanded the Russians.  The quality differential between the forces allowed the Swedes (outnumbered 3 to 1), to defeat their opponents.  In later campaigns the quality difference is much less marked and the Swedes find things much more difficult.  We altered the command ratings to those given in Pike and Shotte, Swedes rated 7 to 9, Russians 6 to 8.  In our next Ga Pa game we will try two more amendments

1  Giving a modifier on orders if the general is attached

2  Troops routed through by units of a lesser quality do not need to test for dispruption