Saturday, 15 April 2023

A Rescue Mission; a Sudan scenario using the Black Powder rules

There had been some brigand activity 'up country' and the area commander had received orders from 'on high' that it would be politic for the Egyptian troops to be given the task of sorting things out.  With some misgivings the general had followed orders and sent an Egyptian force to subdue the rebels.  It had come as no surprise to him when a message came through that the Egyptians had been forced to form  a defensive zariba and required aid to rescue them.   Accordingly a force of 3 units of foot, three units of cavalry and 2 machine guns and a field gun  was sent under Brigadier Rowlandson, an experienced officer who had spent several years in northern India.


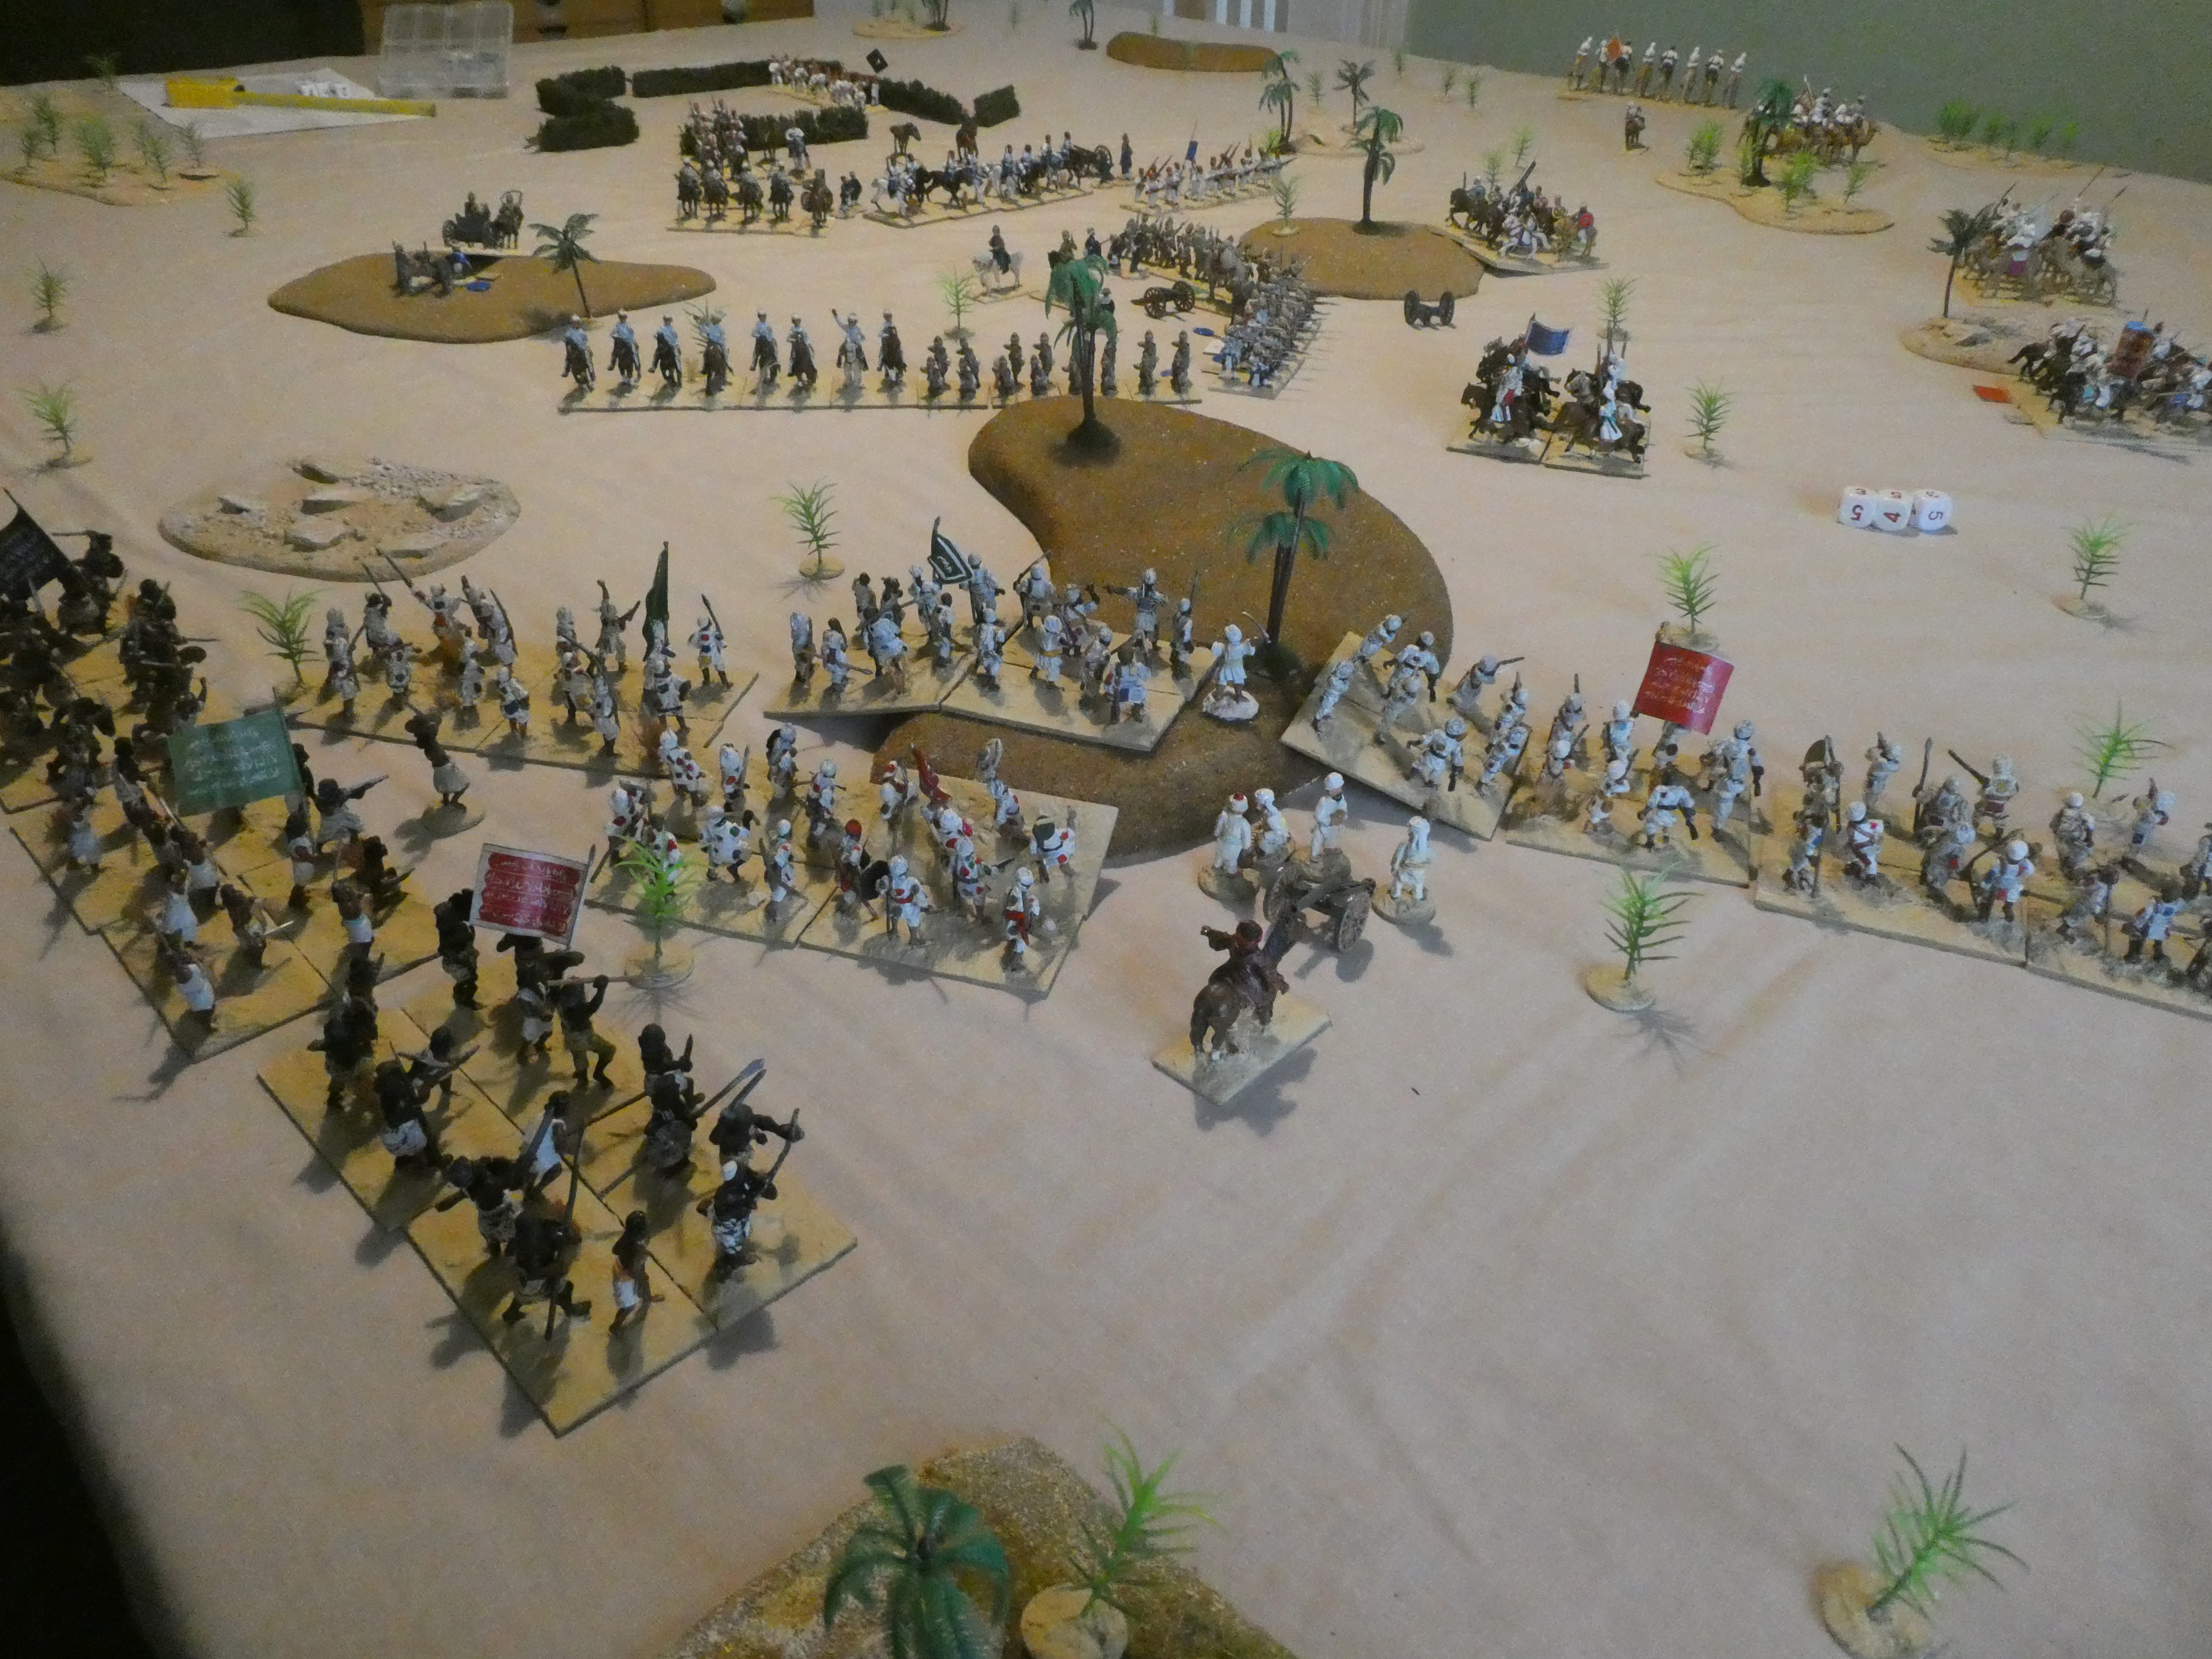
Overview of the terrain, The Egyptians in their zariba on the right and the Imperial troops on the left 

Rowlandson ordered Major Makepeace, the infantry commander to keep his troops under close control and advance in a 'box' formation, ready to repel attacks from any direction.  The front of this 'box' was to be covered by the cavalry under Major Dempsey; who was also to scout out the flanks to warn of any approaching Dervish troops.  The Imperial troops advanced at a steady pace until word came from the Royal Hertfordshire Lancers on the right flank that enemy camelry and cavalry were approaching
 
The enemy approach

Perhaps wary of being outflanked, the Lancers remained in position rather than attacking the enemy; the Dervish did not hesitate and moved forward quickly; catching the Lancers at the halt.  

The Lancers attacked

Even outnumbered 2:1 the Lancers managed to hold against the first impetus, and fought the more numerous camel mounted Dervish troops to a standstill, forcing them to fall back.  However, before the Lancers could recover they were hit by a fresh unit of Dervish horsemen.  This proved too much for the Lancers  their morale cracked and they routed, pursued by the victorious Dervish


Although costly this action had severely damaged two units of camel-mounted Dervish troops and also pulled away one unit of Dervish cavalry who pursued the Lancers.

Major Dempsey had advanced his unit of Hussars towards the Egyptian zariba but having observed the loss of the Lancers he ordered them to cover the right flank of the infantry.  With the mass of cavalry to his right, Makepeace had halted the infantry and ordered them to face outwards, stationing his artillery at the corners.  Rowlandson had taken the unit of Light Dragoond forward and established contact with the Egyptian commander and suggested he move his troops towards the Imperial infantry and then the two commands could retrace their steps to camp.  Meanwhile the Dervish cavalry had focused its attentions on the Imperial infantry and artillery.

The machine gun stops a Dervish cavalry charge

An attack on a machine gun had been repelled, but as the gun tried to gain the security of the infantry lines it was caught and overrun, the gunners dying defending their gun.  An attack by the recovered camel troops was defeated by the Hussars, aided by some accurate artillery fire from the Egyptian artillery.

Another attack repelled


The infantry were also coming under attack.  The Banffshire Highlanders poured a withering fire into an attack by Dervish cavalry, almost expending all their ammunition.  Urgent calls were made for re-supply before more attacks were launched by the Dervish.    The success of the Hussars was short-lived as they were attacked by a fresh unit of Dervish cavalry and swept away, Dempsey galloping over to try and rally them.  The successful Dervish cavalry then attacked the Borsetshires who, encouraged by the returning Rowlandson held their ground and then received reinforcements from a surprising quarter as the Royal Artillery crew left their gun and charged over to help.  Soon the cavalry had to fall back and the Imperial troops busied themselves in preparation for the next attack.

The Hussars are driven off

The Dervish cavalry had sustained heavy casualties in its attacks and as it fell back to re-organise the Egyptian forces continued their advance.

Now a new threat emerged as hordes of Dervish infantry moved towards the left flank of the Imperial troops.
The Dervish infantry appear

The Egyptian commander moved his cavalry to assist Dempsey's Light Dragoons in trying to hold the Dervish infantry back.  He also used his artillery and infantry to fire into the cavalry forming up to recommence their attacks.

The Egyptian infantry play their part

The Highlanders came under attack again as did the Royal Kelhamshire's to their right.  Both managed to hold their ground, although the Highlanders once again ran low on ammunition, truly not a great day for the Imperial commissariat.  The right flank of the Royal Kelhamshires looked vulnerable and Dempsey ordered the Light Dragoons to charge into the mass of Dervish infantry massing to attack.

More pressure on the Highlanders


Pressure on the Imperial left
The flank was stabilised, but two unit of hadendoa had slipped round the cavalry and they charged the remaining machine gun.  The gunners fought valiantly, but in the end fell beneath the spears and swords of their opponents.  Any further progress of the hadendoa was checked by the presence of the Egyptian cavalry.  
Another gun overrun

With the two commands now combined, the Dervish commander decided to call off the attack.  The Imperial troops had been weakened and lost two guns, a loss which would be keenly felt.  For his part Rowlandson could point to the successful 'rescue' of the Egyptian force, but he felt that in the minds of the officers back at base the question of who had been rescued him or the Egyptians would be debated.  Certainly, the Egyptian commander felt that his troops had performed well and made a significant contribution to the success of the mission.


Wednesday, 15 March 2023

WMMS, Alumwell

 For the first time in three years Steve and I set off down the M6 this Sunday to visit the Alumwell show.  The venue remained the same and it was a good day out.  With the trade stalls and the Bring and Buy around the edge of the sports hall and the games and model displays in the centre there was plenty of room to wander around.  There was a good range of games on offer and photos of some of them follow.  Not all the games advertised who had organised them, or even what particular action was being represented which is a shame when it was clear that a lot of effort had gone in to what had been produced.

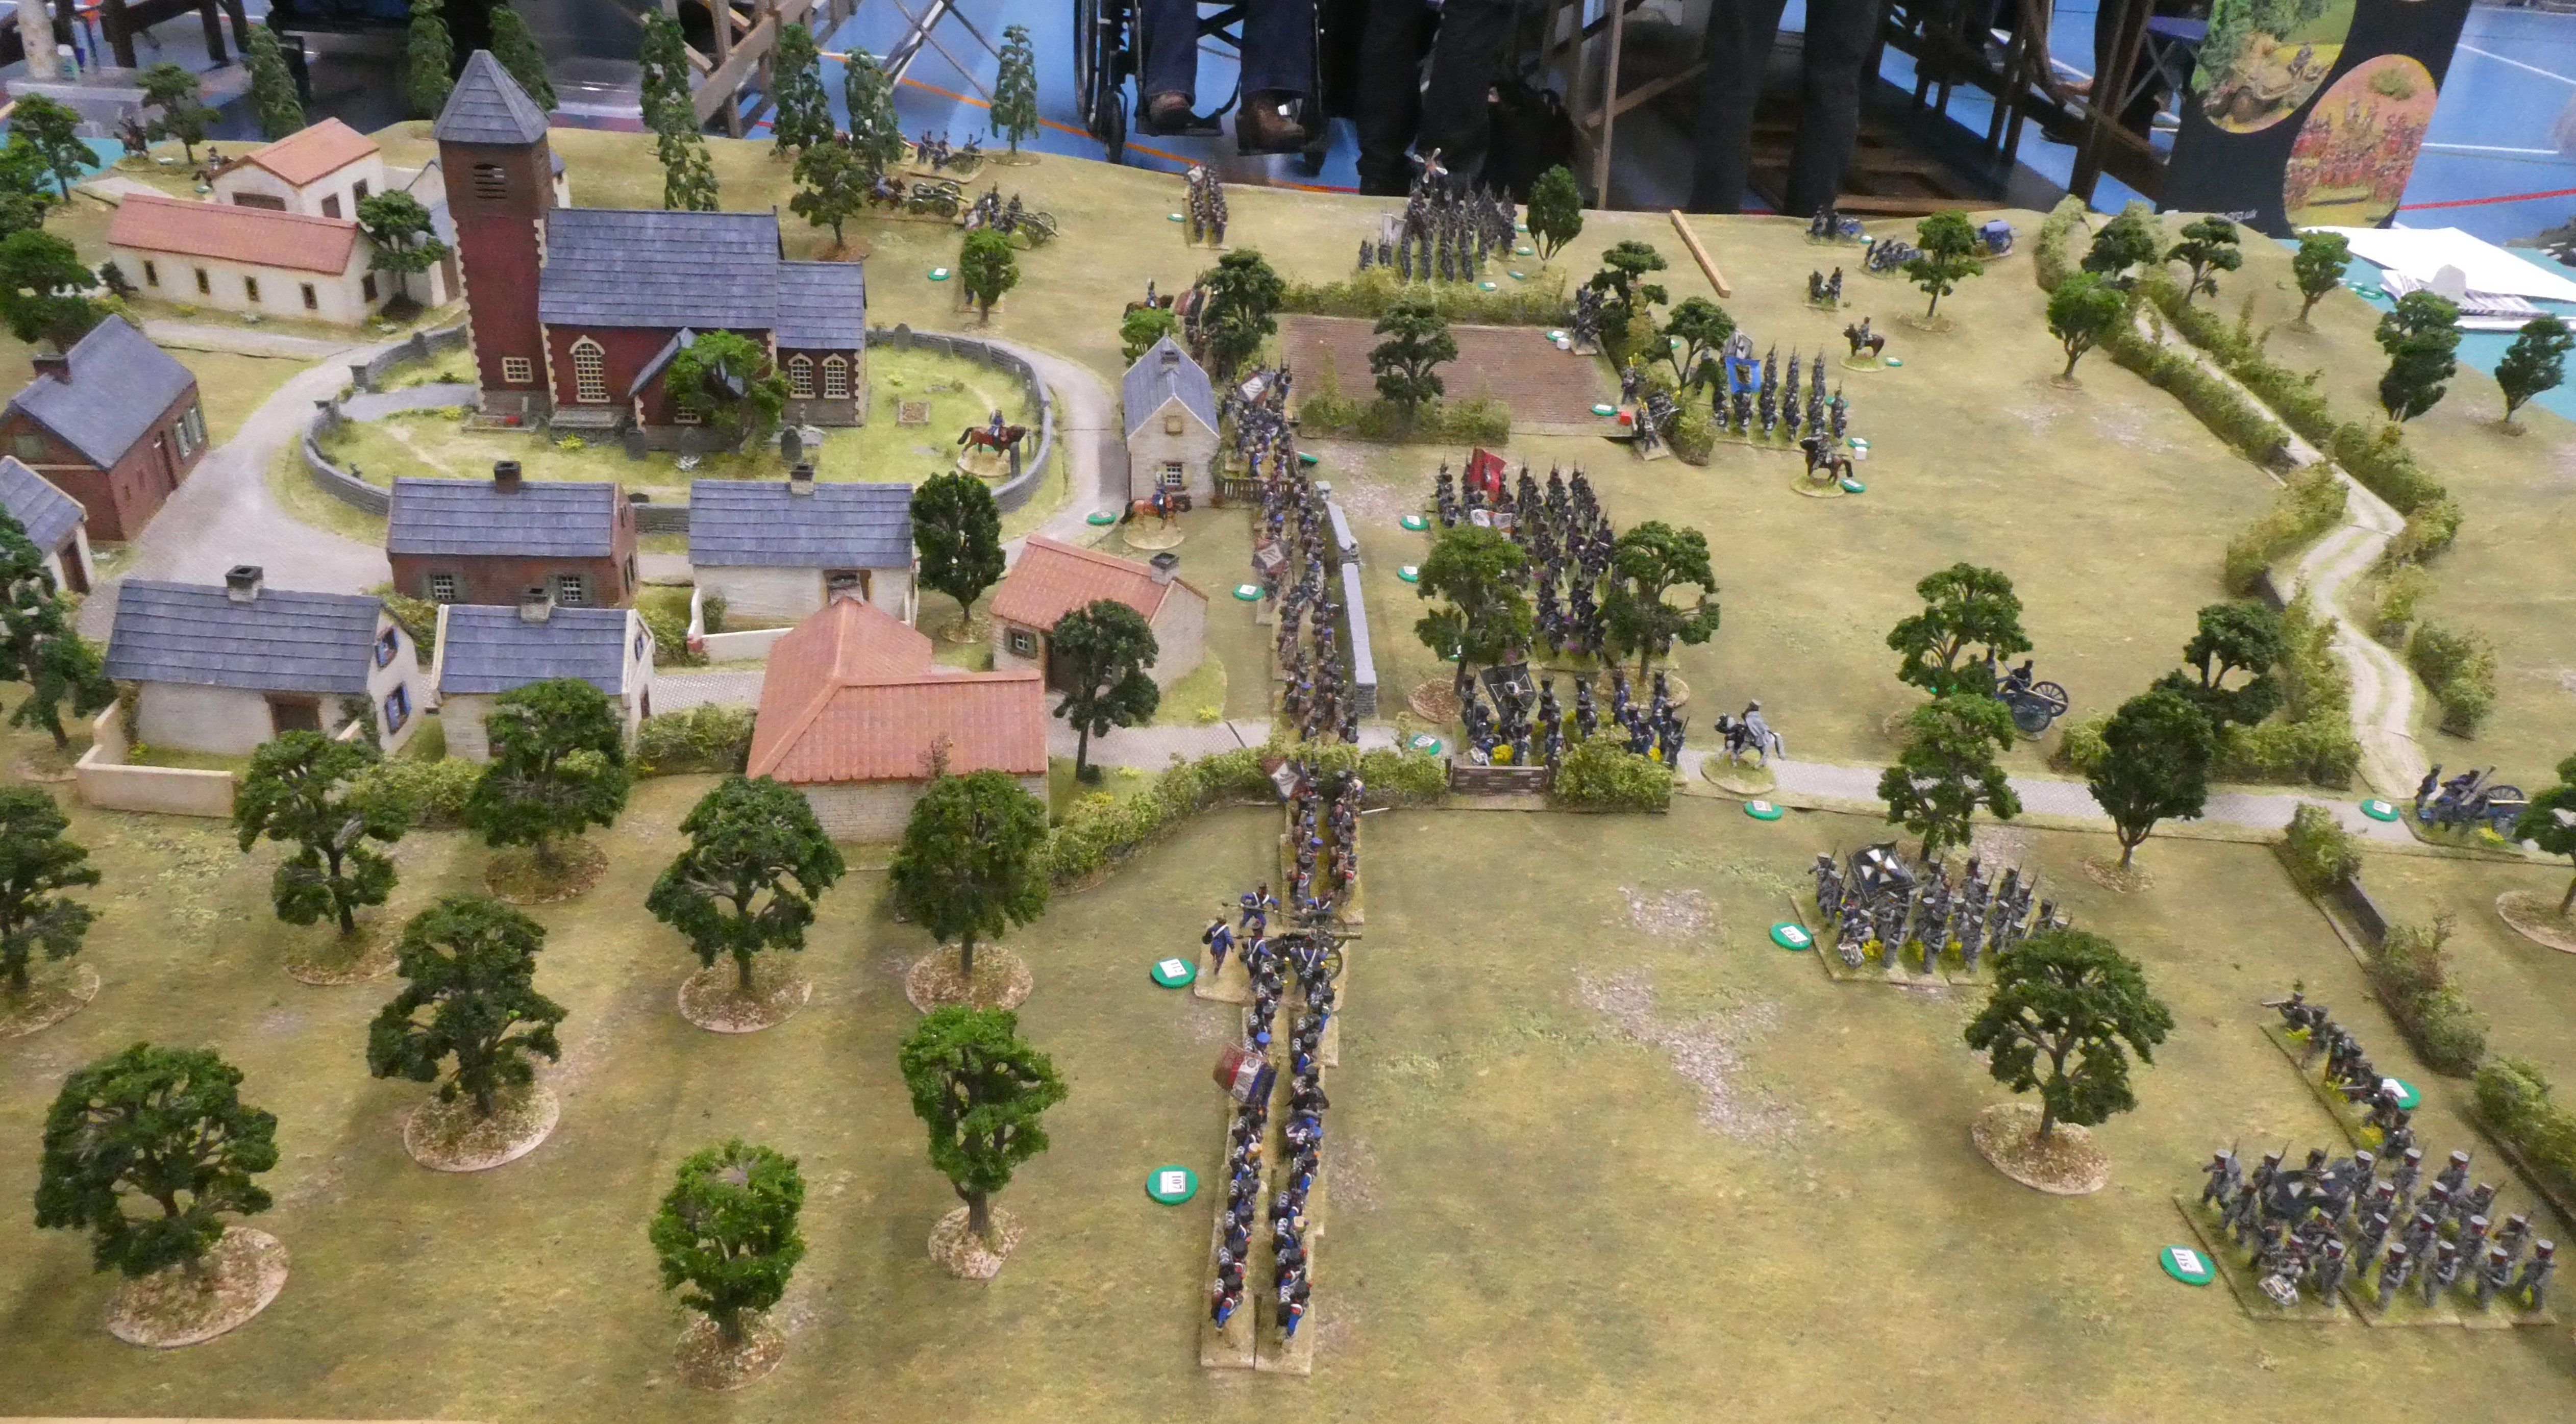
 First, the Potteries Old Boys with their game of the assault on Plancenoit using Perry and Warlord plastic 28mm figures.


The Phoenix group also had a 28mm Napoleonic game which seemed to have elements of Borodino, with a redoubt,  Polish troops attacking on the right flank and the presence of Bagration.


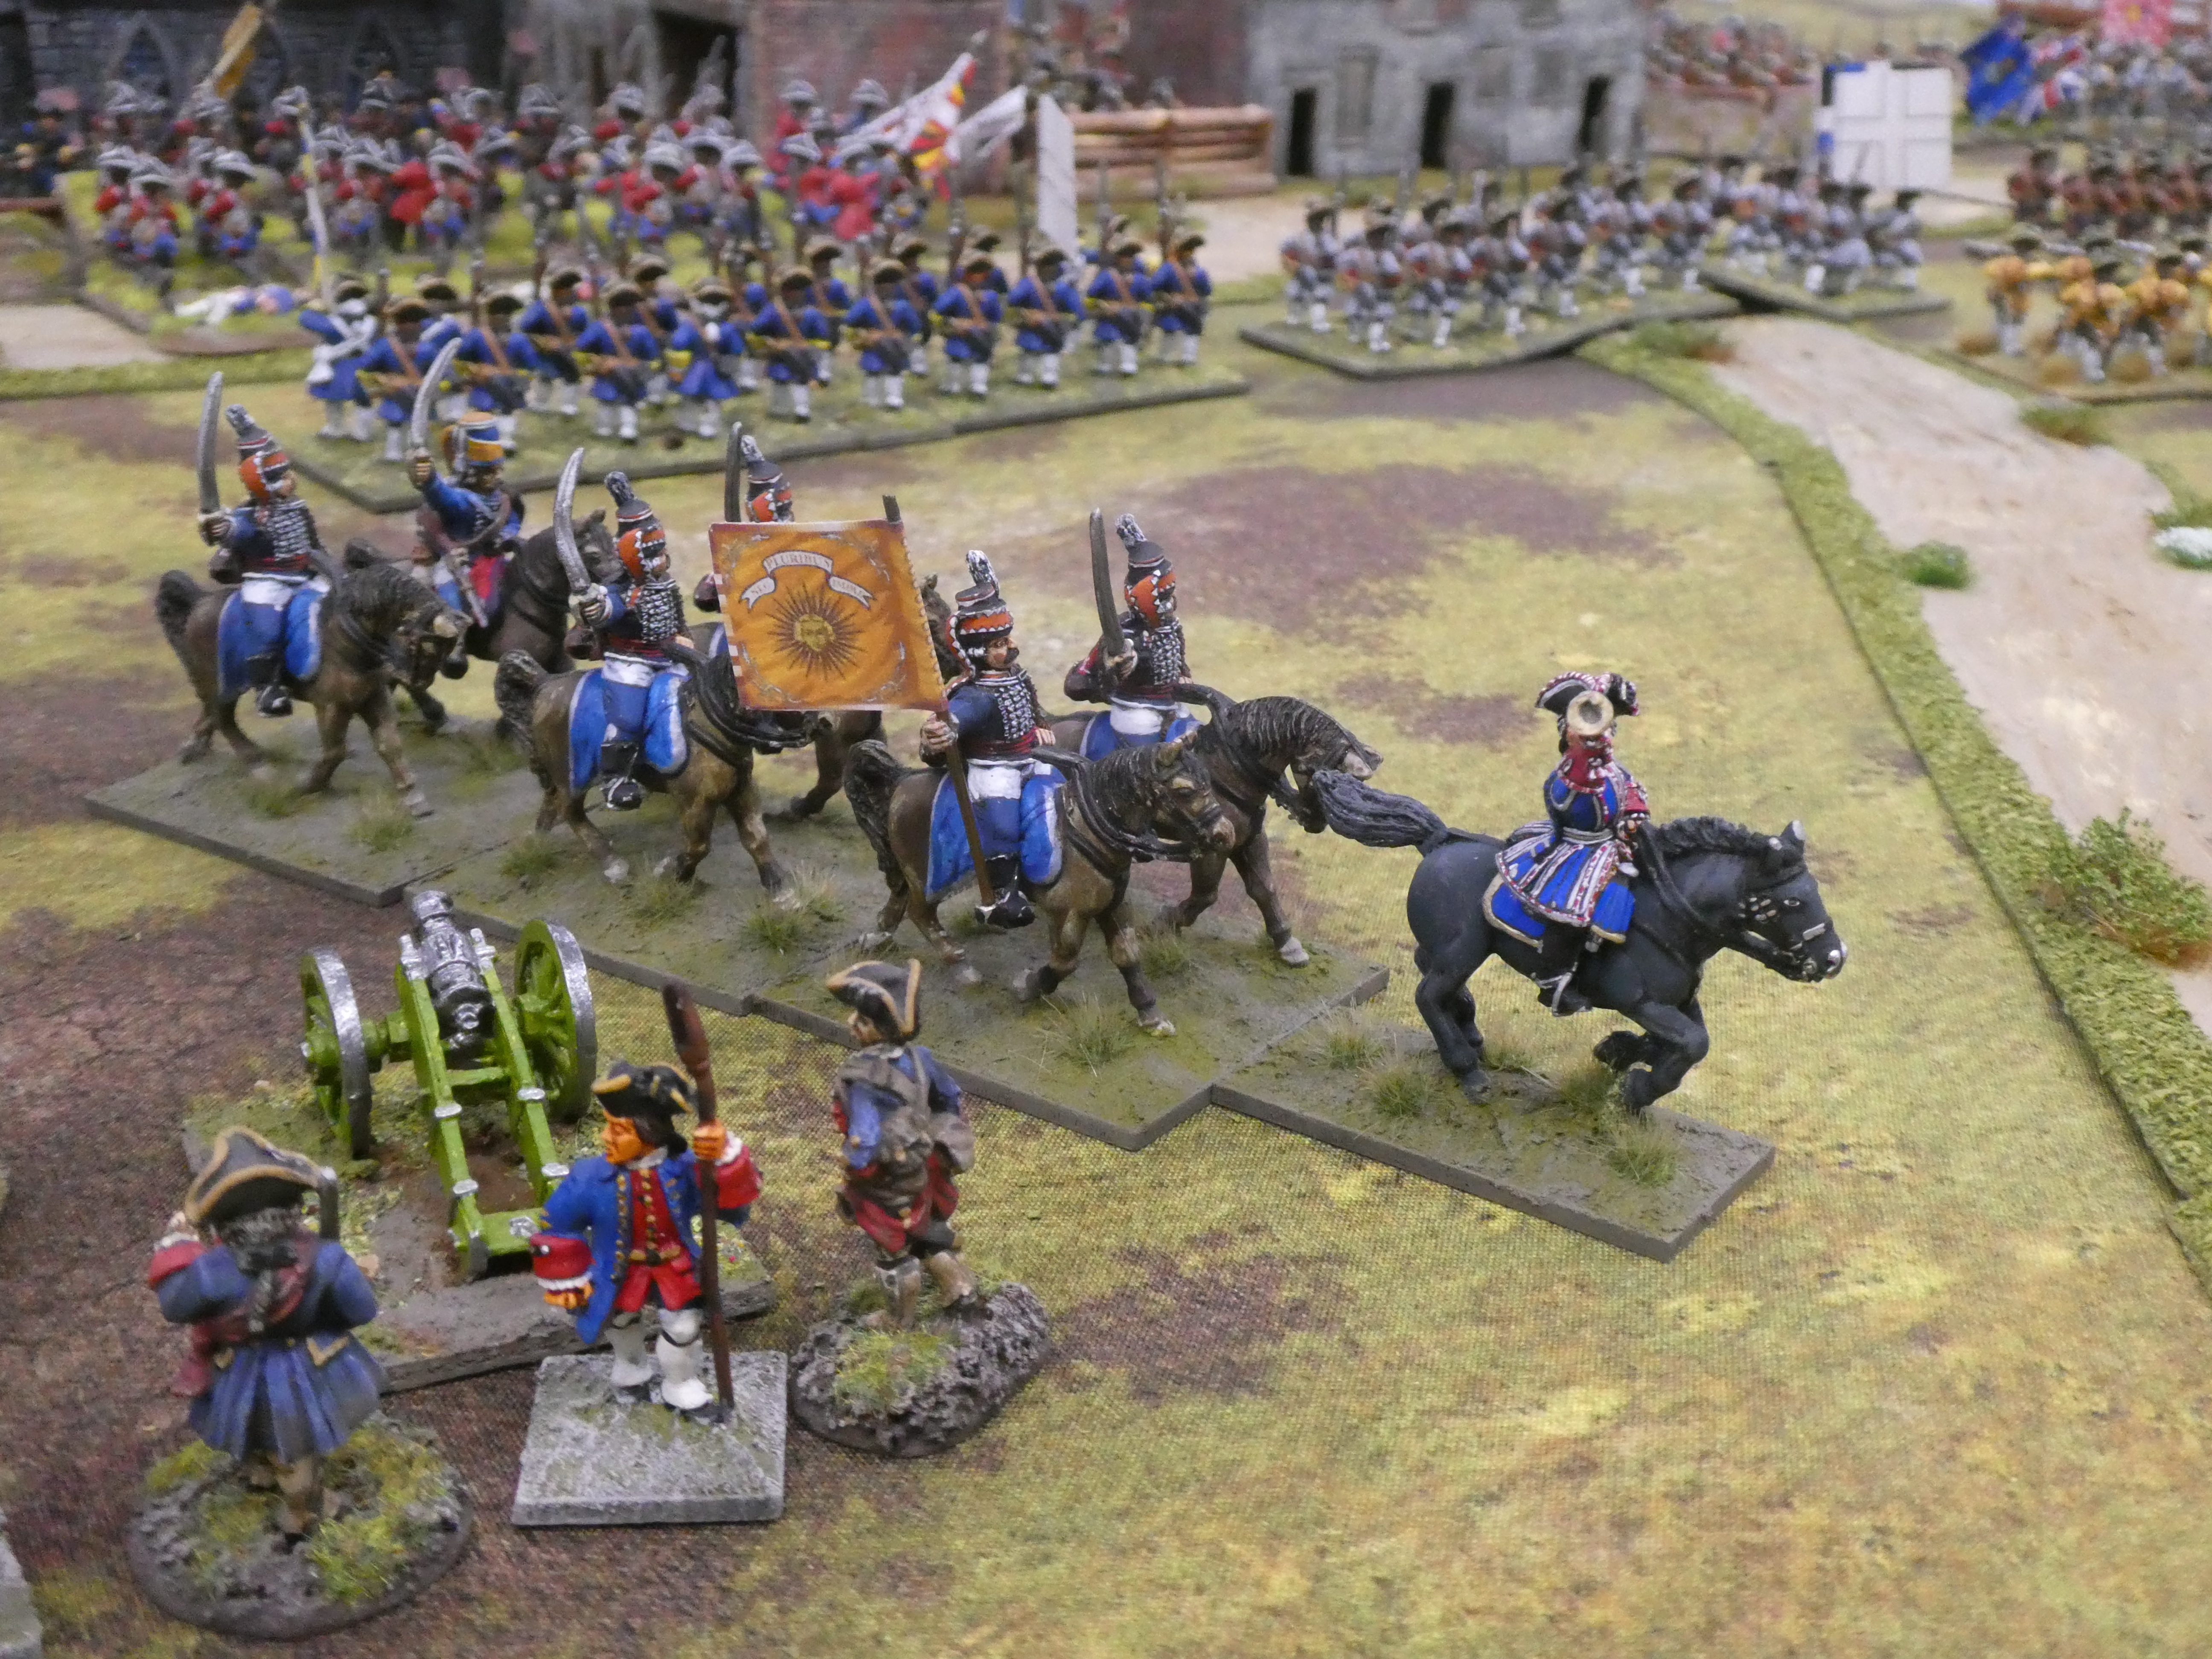
The Border Warriors had a game of the battle of Lauffeld from the War of Austrian Succession.  Quite a spectacle.


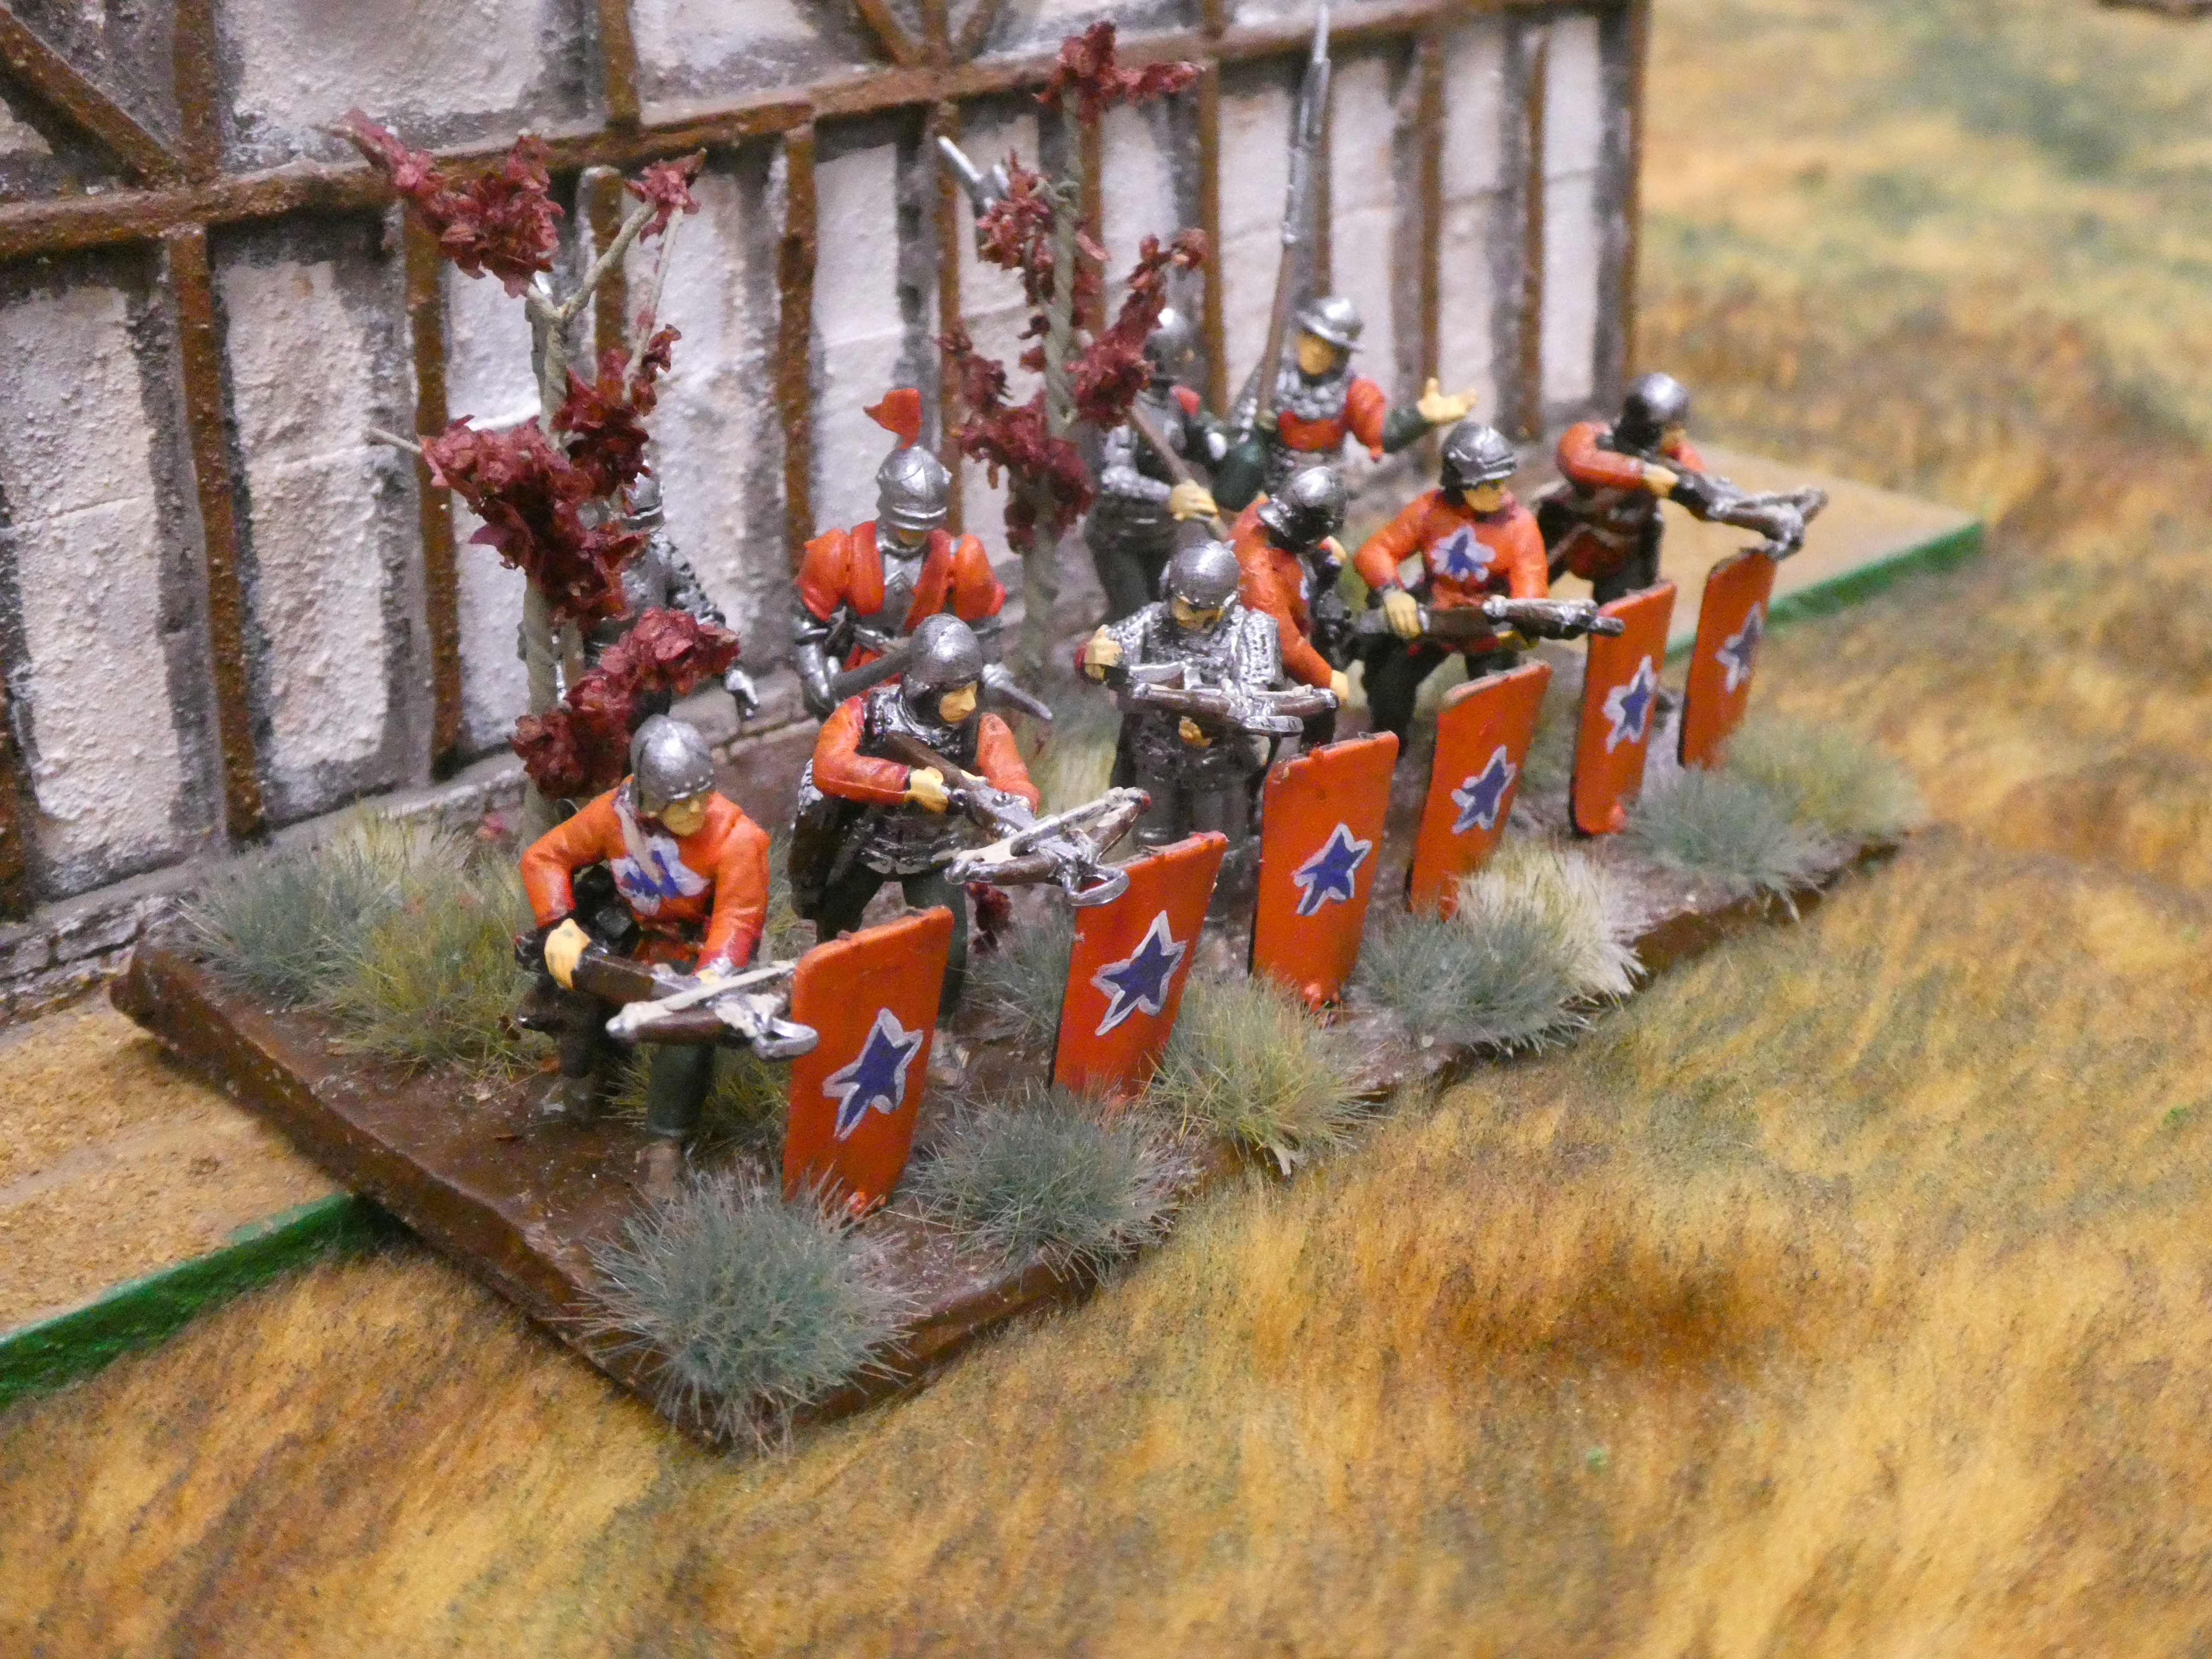
The Guards Wargames Club had a scenario set in the mid 15th century


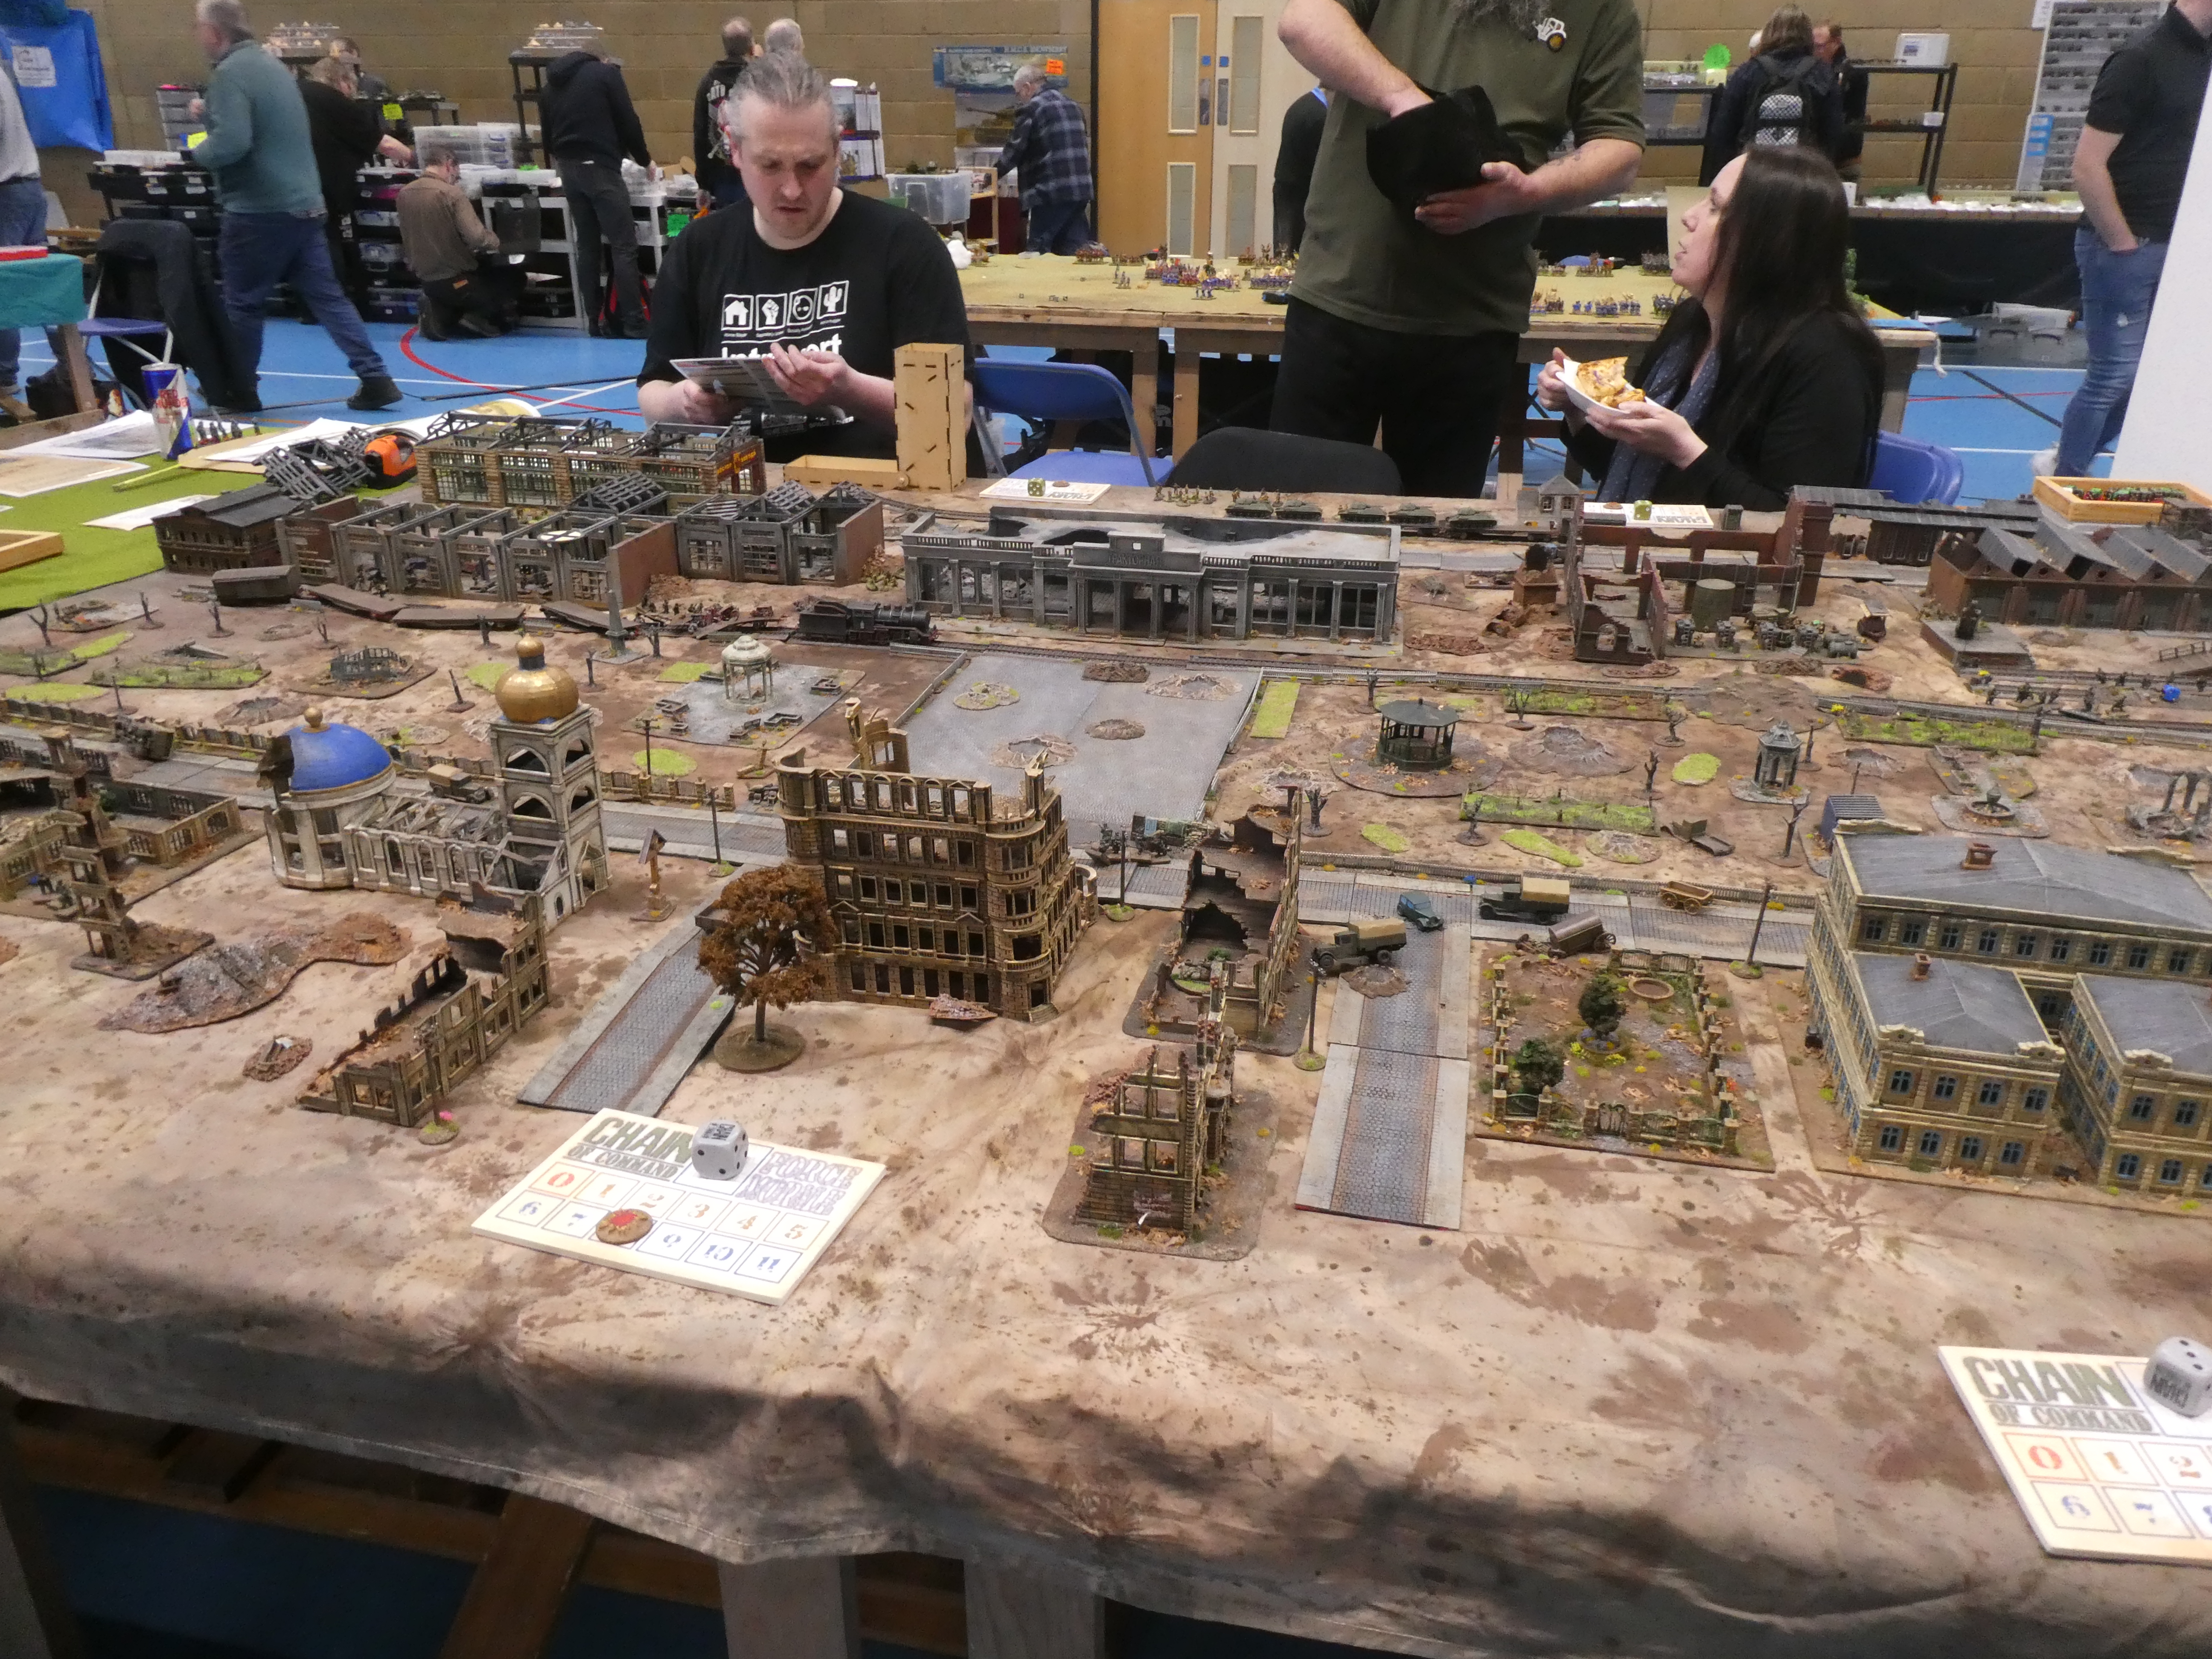
Wyre Forest Gamers had a WWII game using the Chain of Command rules


Another WWII game was set in  the early days of Barbarossa


And one was set on the Western Front in the winter of 44/45


One of the advantages of visiting a show and not putting on a game is that you are free to try out a participation game.  Steve and I liked the look of the "Dragon and Peacock Wars" game by Tiger Miniatures.  Although we were unfamiliar with the war and the rules, Charles was on hand to talk us through it.  The rules are rather 'bloody' ie if you are defending and roll a '1' , your unit is destroyed.  Nevertheless we both enjoyed it.


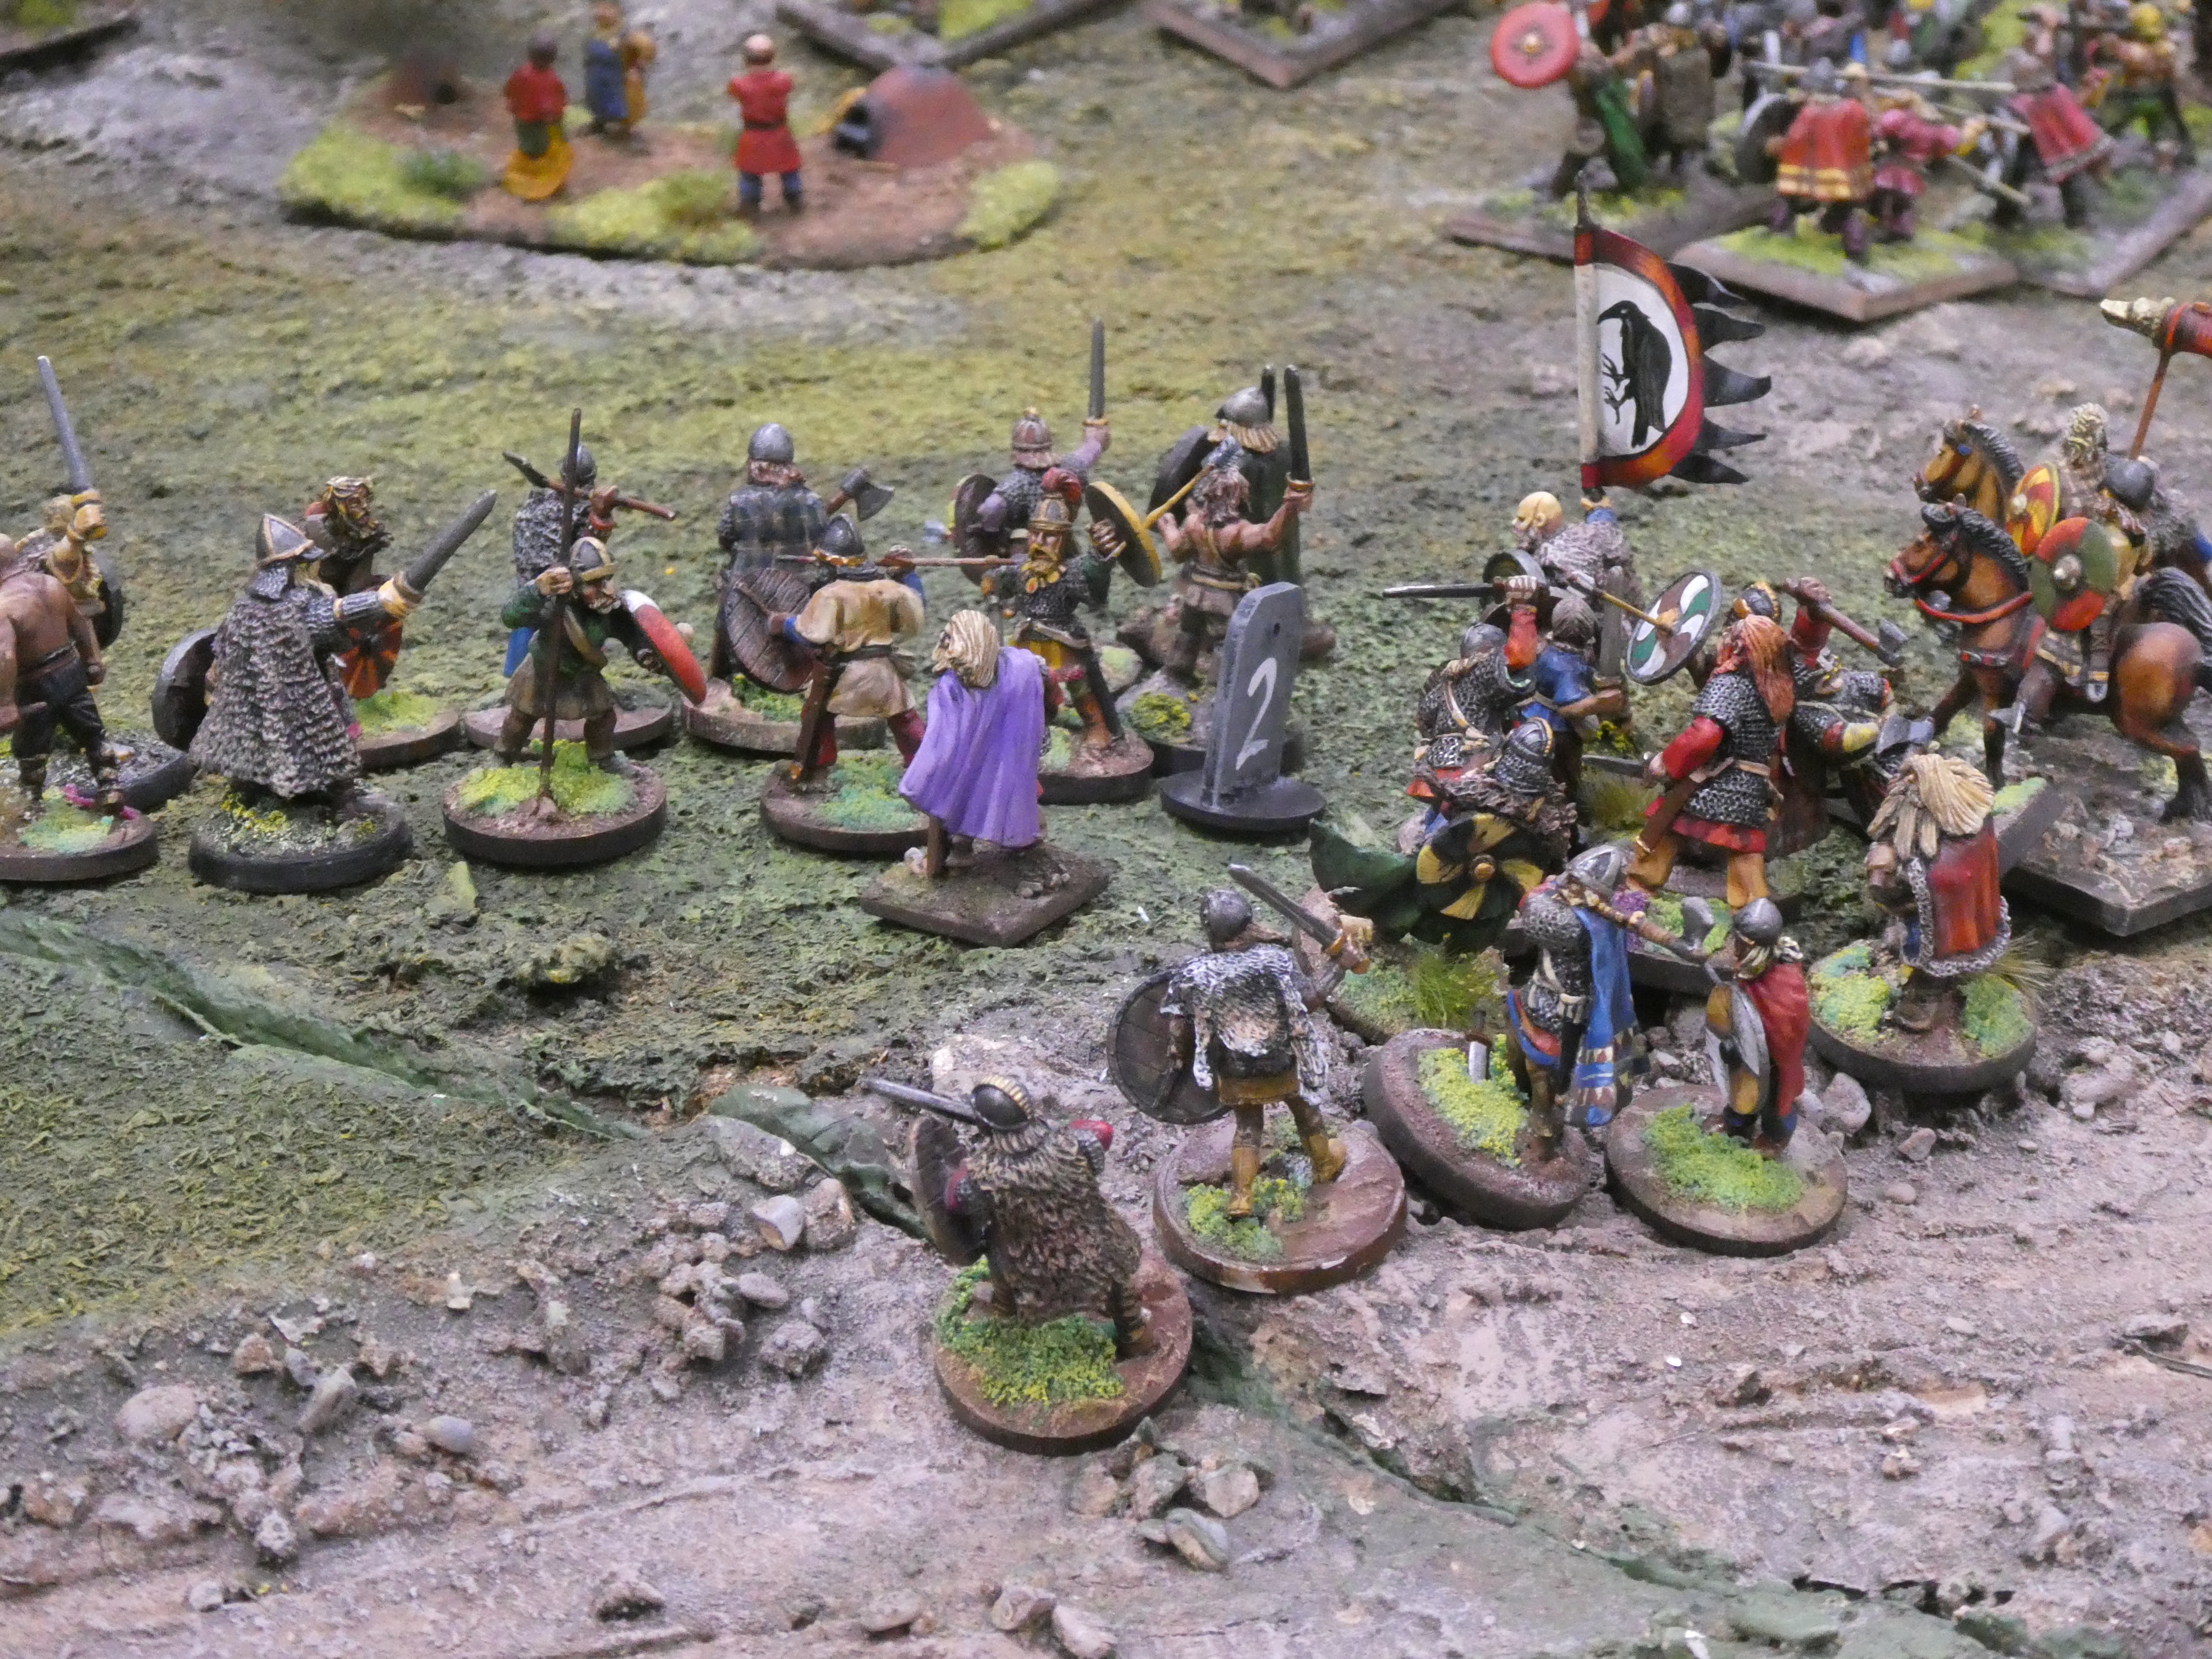
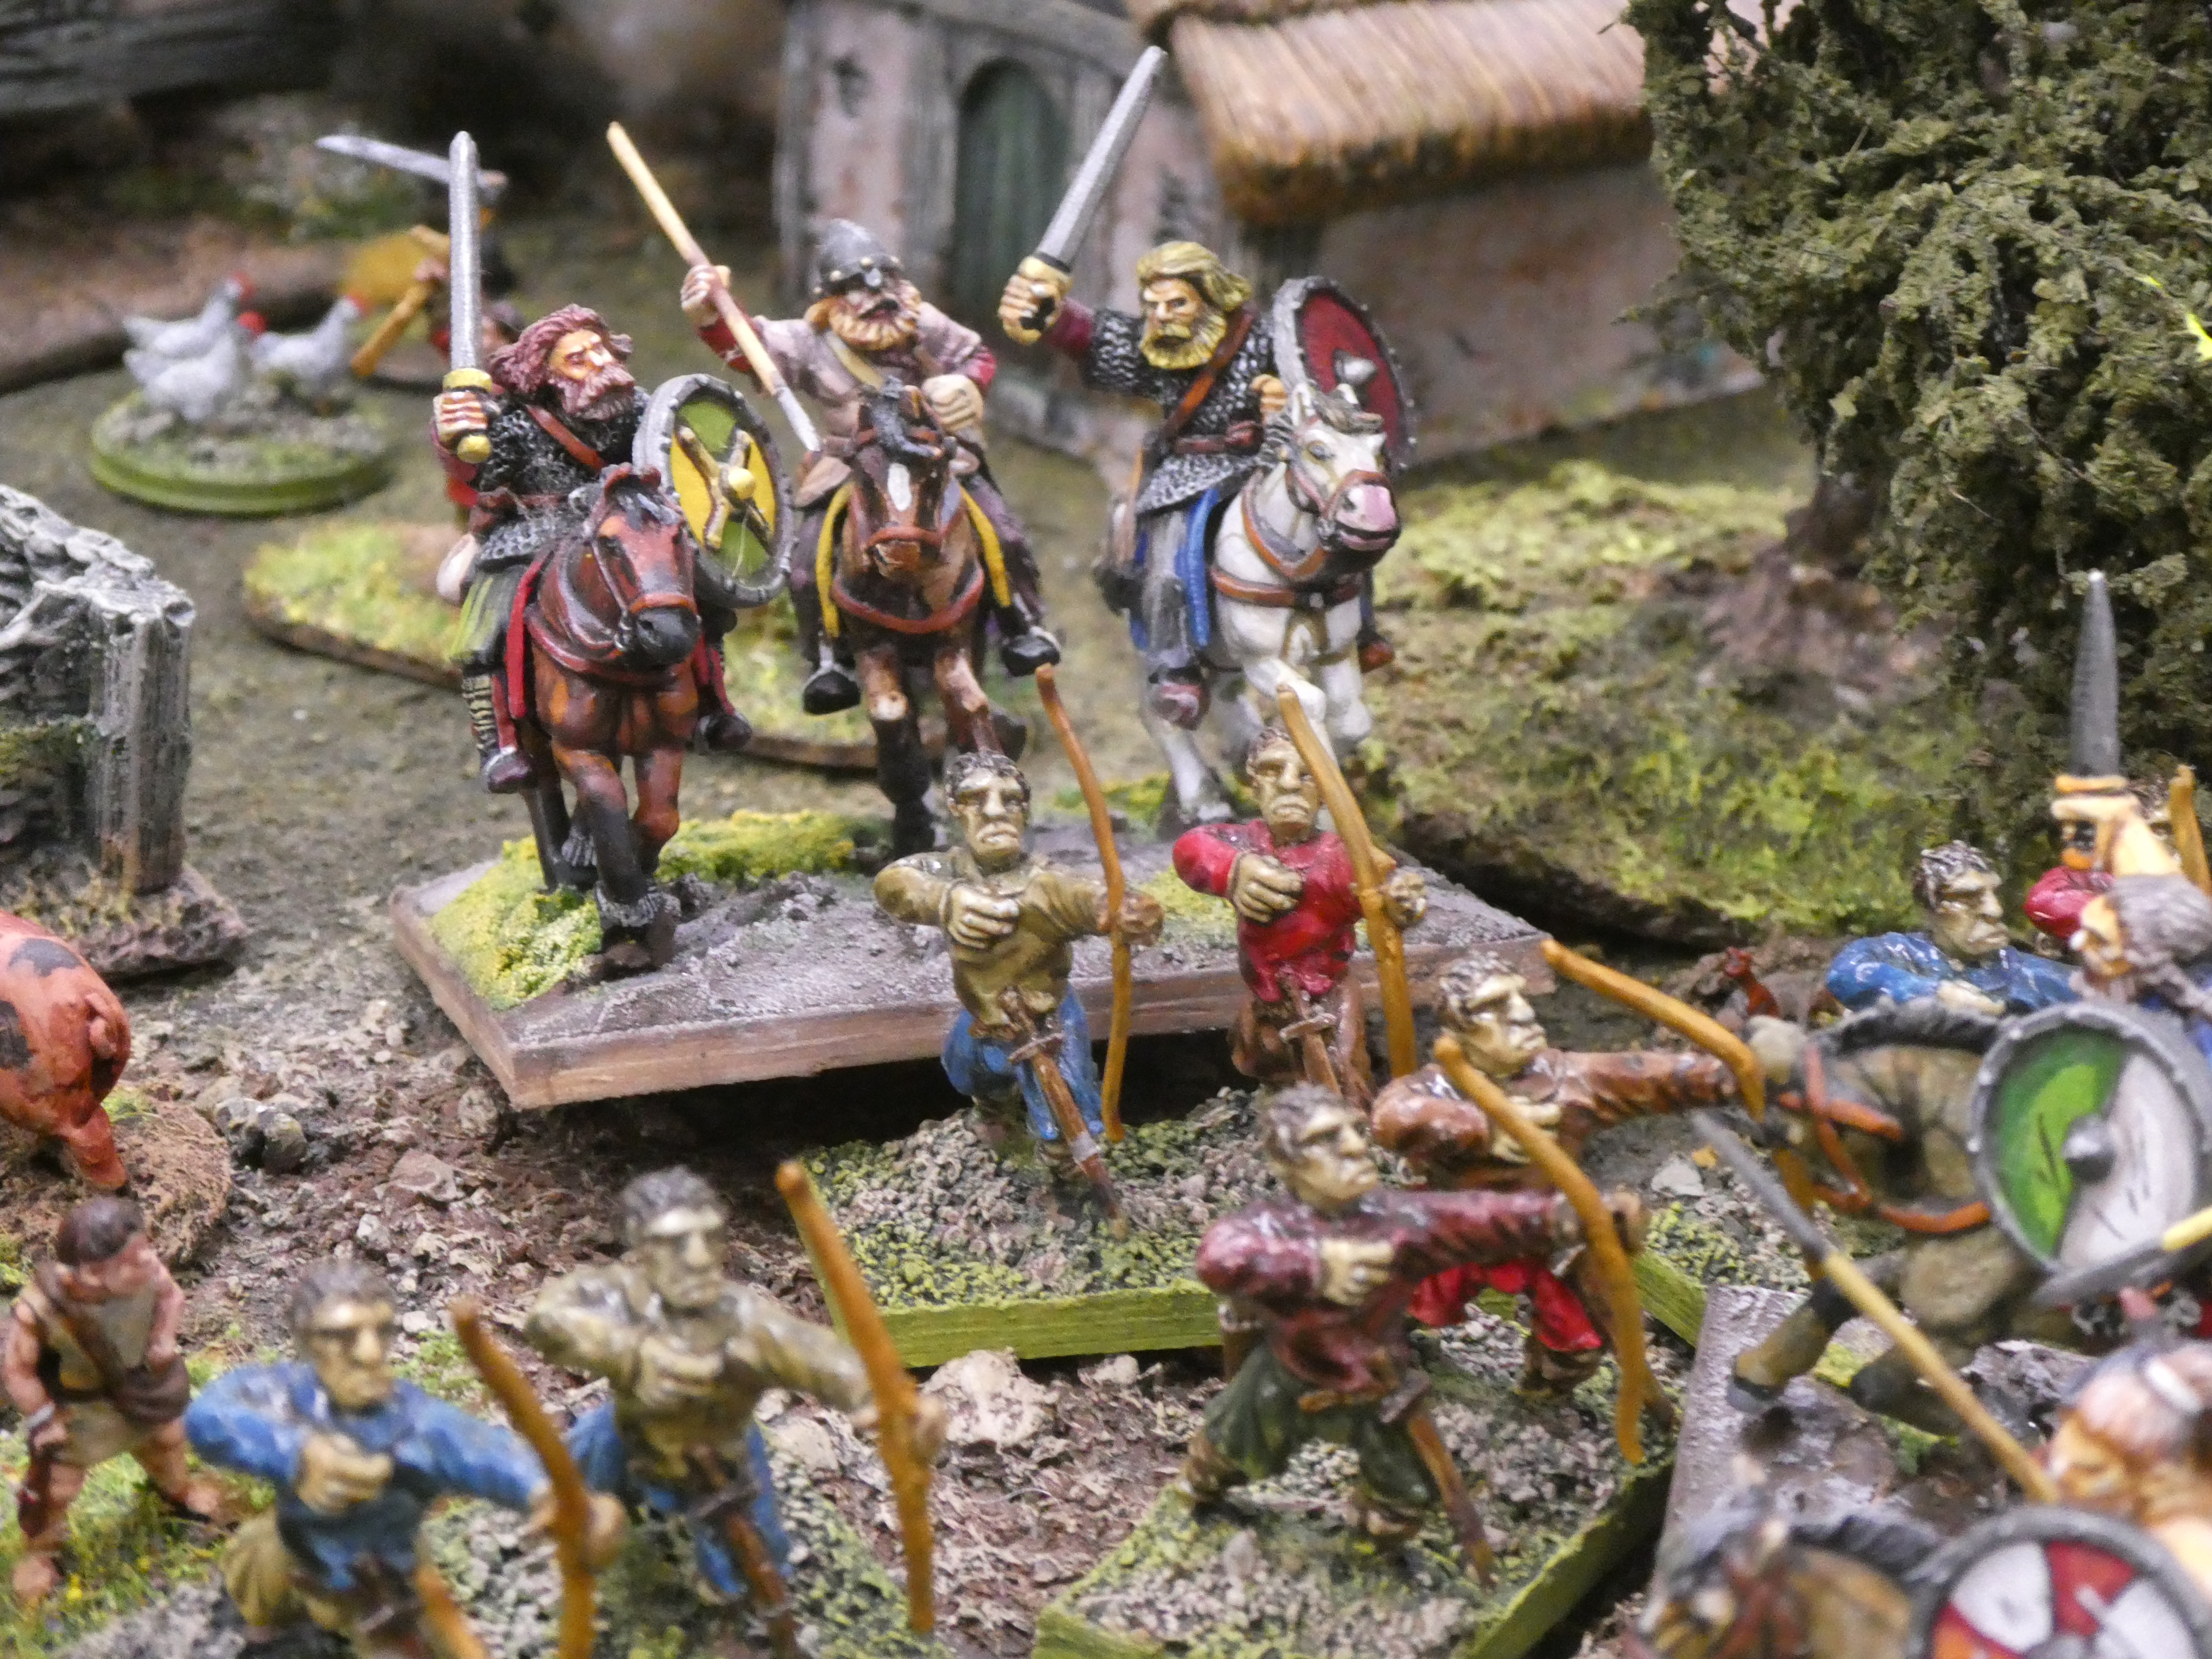
Back in Western Europe the Shrewsbury Wargames Society had a Dark Ages/Medieval 'what if 'game based on the idea that Harold lost the Battle of Stamford Bridge and was killed in the battle.  William  landed in the south and established himself there while Tostig and Hardrada were in charge further North.  The game is set near Newark and features a Viking raid and the local resistance to it.


On more familiar territory, the ECW


and the Sudan, though slightly different in that it is the Mahdists who are on the defensive, with the Imperial troops attacking.


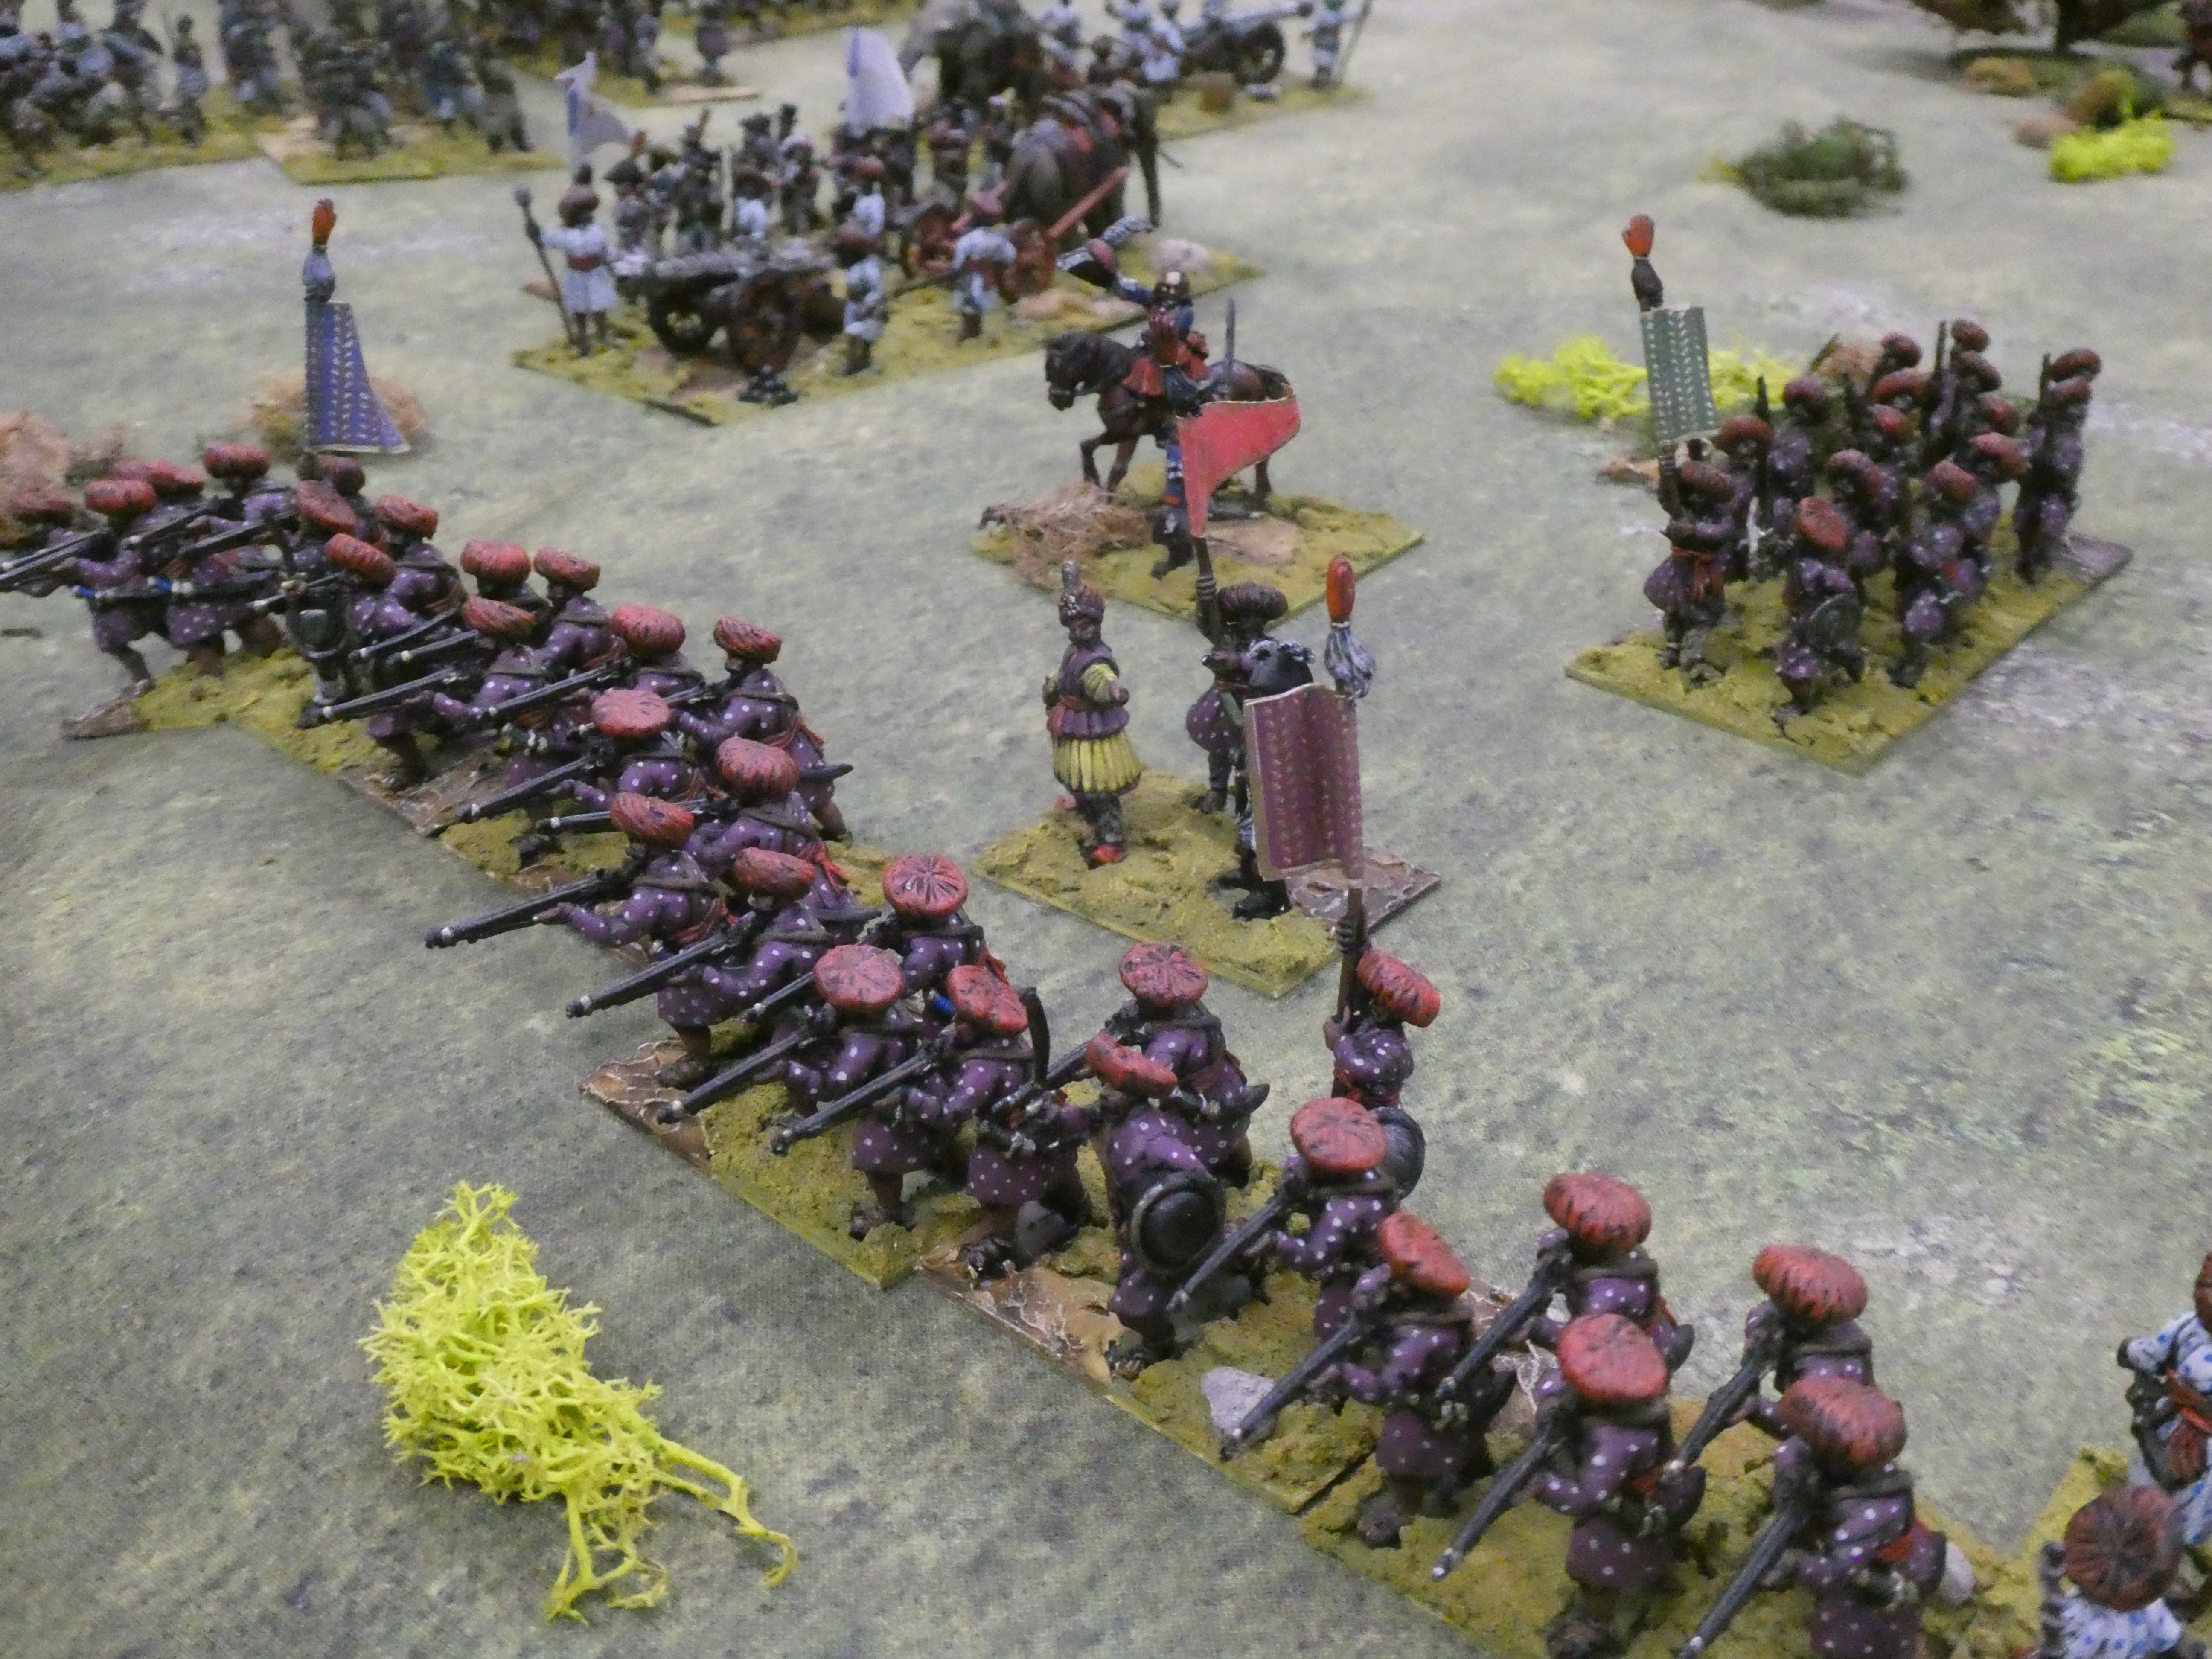
 Finally the 2nd Mysore War from the Leamington Spa group.


As usual at Alumwell there was an extensive display of modelling and painting skill.


It was good to see that the Alumwell show has survived the enforced break due to Covid.  Perhaps the number of traders was down slightly, but there seemed to be a good public attendance.  They were rewarded  by seeing a very good selection of games in a spacious setting.

Sunday, 5 March 2023

Battle of Shklov, August 12th 1654

  By the treaty of Pereyaslav(1654),  between Muscovy and the Cossacks, the Ukraine fell under Muscovy suzerainty.  This led to heightened tensions between Muscovy and the Polish Lithuanian Commonwealth which saw the Ukraine as part of its territory. In the summer of 1654 the forces of Tsar Alexis I of Russia invaded the Polish Lithuanian Commonwealth, initiating the Thirteen Years War and proving to be the precursor to the Deluge, which devastated the Commonwealth over the next few years.  At the beginning of the campaigning season, the Poles sent two armies to recover the Ukraine, but these were held in check by the Cossaack forces with a little Muscovite assistance.  Rather than provide aid to the Cossacks, Alexis had made his main effort directly against Lithuania and the main Muscovite army under his personal command was directed westwards towards Smolensk.

To oppose this force, (estimated to be 30-40,000 men), the local commander, Hetman Janusz Radziwill, could at best assemble 11,000 men, but as this was 'paper strength' the actual numbers were probably considerably lower.  As the Muscovite army advanced Radziwill moved what troops he had eastwards to try and hold the line of the Dneiper near Shklov.  For this scenario, which represented the clash of the Muscovite advanced guard and Radziwill's force, I selected the following forces.

Muscovy

Three brigades of cavalry; two with three 'regiments' of Old-Style cavalry and one with one regiment of Old-Style cavalry and two 'New Formation' regiments.  These latter regiments were similar to the western reiter regiments.

Poland Lithuania

Three units of pancerni type Cossack cavalry.  Two small dragoon regiments and a small Hussar regiment.  

The table layout, with the Russians nearest the camera

The Muscovite force arrives along the road leading to the bridge over the Dneiper.  The three brigades are strung out along the road with gaps between each brigade decided by rolling a d3, the result being the number of turns before the next brigade arrives.  The river is fordable but units may become disorganised.  Pancerni and  New Formation regiments are classed as tough fighters and may re-roll one failed attack dice per round of melee.  'Old-Style' cavalry are raw and cannot be issued a brigade order, making coordinated movement difficult.  Nor surprisingly the Hussar unit is tough, having the lance modifier and also the heavy cavalry bonus.  They are also classed as stubborn, allowing them to re-roll one failed morale save when in melee and being shot at. 
 

The pancerni await the attack 

The Muscovite objective was to cross the river, disperse the enemy and make all speed towards Smolensk.  On the Polish Lithuanian side the objective was to try and prevent passage of the river if possible, but more importantly, not to lose too many troops by making suicidal attacks.

The leading 'brigade' of Russian troops advance to the bridge 


As the attackers, the Muscovites had the initiative and unfortunately for them, their lead unit did not press on across the bridge, but sat and waited for the other units to form up on their flanks.  This gave Radziwill a chance to push his men forward and be in a position to hit the Muscovites as they crossed the river.  The leading brigade paid dearly for this hesitation with the first regiment across being charged before it could reform.  Although it held the first impact, it was shaken and in the subsequent round of melee it was driven back across the Dneiper in rout.


The first attempt to cross the Dneiper

By now the second brigade of Muscovite troops was arriving and this contained the New Formation regiments.  The overall commander of the advanced guard, Prince Yakov Cherkassky sent these units to the right of the bridge, trying to outflank the Polish Lithuanian defenders.  This manoeuvre pushed back a unit of Polish dragoons who had been adding their fire to the defence of the river line.  Afraid of being flanked they took up position on a hill on the Polish Lithuanian left.  To plug the gap, Radziwill committed his reserve pancerni regiment.  It was only just in time as Cherkassky sent four units of cavalry across the river, so each of the Polish Lithuanian regiments was now engaged in melee.  The Hussars dealt with their opponent fairly quickly, but the pancerni unit to their left took a lot of casualties.  Even though they were victorious they had to fall back to rally.  


Another attempt on the other side of the bridge

Beyond the bridge the New Formation cavalry regiments had entered the fray and proved tougher opponents than the Old Style regiments.  In the melee on the left of the Polish Lithuanian line the two units slugged it out and in the end both had to fall back to reform.   The other New Formation cavalry regiment defeated the pancerni, routing them, but at a cost, meaning they needed to reform before they could move forward.  


The 'new formation' cavalry enter the fray

The Third brigade of Muscovite cavalry now arrived and were able to take advantage of the work of their comrades.  Although disordered by crossing the river they nevertheless were unopposed.  Pressure on the Polish Lithuanian force was increasing and the line was buckling.  A second pancerni unit being routed decided Radziwill; better to pull back what forces he had than risk losing them all against such numbers.


A decisive breakthrough

A victory for the Muscovites, as historically.  Both sides claimed a victory.  Radziwill, because historically Cherkassky did delay his advance by a day; Cherkassky because he was able to cross the river.  The historic order of battle did give the Polish Lithuanians two full strength units of dragoons whose fire was very effective in breaking up the Old Style cavalry attacks.  Unfortunately I did not have sufficient figures to field two full strength units.
I did try and mitigate the lance effect of the Polish Hussars.  The lances they carried were hollow and reports suggest they tended to shatter on impact, so the lance 'bonus' was only available for one charge.  I did provide a wagon with a resupply of lances (just sufficient for one 'resupply'), but in the event the Hussars did not get the chance to re-equip before the Polish Lithuanian line crumbled.
All the details for the battle came from Michael Fredholm Von Essen's book, "Charles X's Wars: volume 2 - The Wars in the East, 1655-1657."  which is available from Helion books.