Sunday, 19 September 2021

Return to the Steppes

 For our latest game, Steve and I returned to the 17thC struggle between Muscovy and the Ottoman empire.  Our scenario came from the 'Task Force' supplement to the 'By Fire and Sword' rules published by Wargamer Games Studio Ltd.  It includes examples of task forces for 10 states, from Denmark to the Crimean Khanate, plus the City of Gdansk. from the 1640's to the mid 1670's.

Here is a photo of the map for the scenario; the objective is to control the hills, each one being worth 2 points.


Each force had 5 units of light cavalry, two of which were allies; Cossacks for the Muscovites and Tartars for the Ottomans and 2 units of 'feudal' cavalry, sipahi or boyars.  For infantry, each force had a mixed 'levy' type unit and one of muskets.  The Ottomans had larger units of light cavalry, so the Muscovites had an extra unit of infantry, a small unit of town streltsy.

The Ottomans won the initiative and their infantry made good progress towards the central hill, with the two units of Sipahi covering their flanks.  On the flanks, the light cavalry were surprisingly restrained.  To the Ottoman left, one unit of Tartar horse galloped off towards the Cossacks, but the other remained rooted to the spot.  On the opposite flank, the skirmishing horse archers refused to move, but one unit of light cavalry did venture forward.

The Ottoman centre moves forward

Learning of the Ottoman approach, the Muscovite commander had been somewhat concerned for his baggage train and ordered his servant Cossack unit to guard it and had brought forward his streltsy to support the Border Dragoons.  This did give him some quality infantry, but it meant that he was now outnumbered in both horse and foot.  

On his right, the Cossacks saw the opportunity to attack the isolated Tartar unit and charged.  In the centre, the Boyar cavalry failed to carry out their orders to advance and one of them became disordered in the confusion.  This uncertainty seemed to spread the the infantry, who were also reluctant to move forward.  The left wing cavalry at least claimed the hill nearest them and the skirmishing horse archers moved around it to harass the Ottoman light cavalry which had advanced.

The Cossack - Tartar clash

Even with the advantage of a supporting unit the Cossacks came off worst in the first round of melee, only just avoiding being driven back.

In their second move the Ottomans pushed home their advantage in the centre.  The Azab musketeers took control of the central hill and the Sipahi charged the Boyar cavalry.  Both failed to counter-charge and took the impact at the halt. One managed to win the first round of melee, but the disordered unit of Boyars lost and became shaken due to casualties. On the Ottoman right, the light cavalry at last obeyed orders and moved forward and the two sets of skirmishing horse archers ended up in melee.  The Streltsy fired an ineffective volley at the Azabs and the Border Dragoons inflicted some casualties on the Levy which became disordered.  Once again the second Tartar unit failed to advance.

The Muscovite commander decided to attack the Levy and ordered the Border Dragoons to charge.  Although they moved forward, they failed to reach contact and then took casualties from close range fire.  The Streltsy remained where they were, supporting the Boyars to their right.  On the Muscovite left, one light cavalry drove back the nearest Ottoman unit, but became Shaken in the process.  The other moved forward to support the horse archers.  On the right, the Cossacks fighting the Tartars, broke and fled, but before the remaining Cossack unit could take advantage, the second Tartar unit at last followed orders and raced forward to confront them.  In the centre, one Boyar unit had gained the upper hand over its opponents, but the other began to falter.

Tartar success

Seeing their opponents falter, the Levy charged forward and got the better of the initial clash.  The Streltsy were ordered to charge into the melee in support of the Border Dragoons, but as they did so they were hit by a volley from the Azabs and suffered significant casualties.  Their participation was enough to rout the Levy, but both Muscovite units were now Shaken and within charge range of the fresh Azabs on the central hill.  On the right, the Tartars quickly dispatched the remaining Cossack unit, though both Tartar units now needed some time to reorganise.  The disordered and shaken Boyar unit routed, meaning that the infantry now had their flank 'in the air', but the second Boyar unit had routed its opponents and was now free to come to their aid.  On the Muscovite left, the light cavalry battle was swinging in favour of the Ottomans.  The skirmishing horse archers had been driven from the field as was the second unit of light cavalry.  This meant that only one unit of light cavalry remained.

A rare success for the Muscovites

The Border Dragoons take on the Levy

The Muscovite centre on the brink of defeat

The Streltsy turned to face the Sipahi, but this left their flank open to an attack by the Azabs.  The Border Dragoons could not help as they had pulled back to rally.  The Boyars charged across to attack the Sipahi, but lost the melee and became Shaken.  The Muscovite commander had no choice but to save what units he could and fall back to the wagons.

A thoroughly deserved victory for the Ottomans, who were quick to seize the opportunities as they arose.  Many thanks to Steve for an enjoyable game.


Friday, 10 September 2021

Into the Unknown

 One of the well-known foibles of wargamers the world over is that they acquire an enthusiasm for a project, purchase the figures, paint a few of them..... and then find a new project.  The earlier one is put into the "I'll get around to finishing it off" box and then  forgotten.  The next time it sees the light of day is when said wargamer is having a sort out and on seeing the aforesaid project decides to pass it on or sell it.  Most of us have at some time been the recipient of such projects and a small collection I recently acquired from a friend prompted this post.  The problem was that John had no idea of the manufacturer or range the models came from. So after some fruitless searching of the internet I decided to post some photos on the blog and hope that one of the people who pass by the blog would know what on earth (or perhaps somewhere else in this case) the figures represented.  The hope is that I can pass them on to my teenage grandson, but it only fair that I can give him some idea what they are and a possible rule set to use with them.  I thought I had found a clue when I found a name under one of the tanks   'Otterma' or possibly Otterman, because there is the suggestion of a final 'n'.  However, I didn't find anything when using this as a search term.  I would be very grateful for any leads.

For information, they seem to be c1:300, 

First, some tanks and vehicles


Some bikes and Dune Buggies?


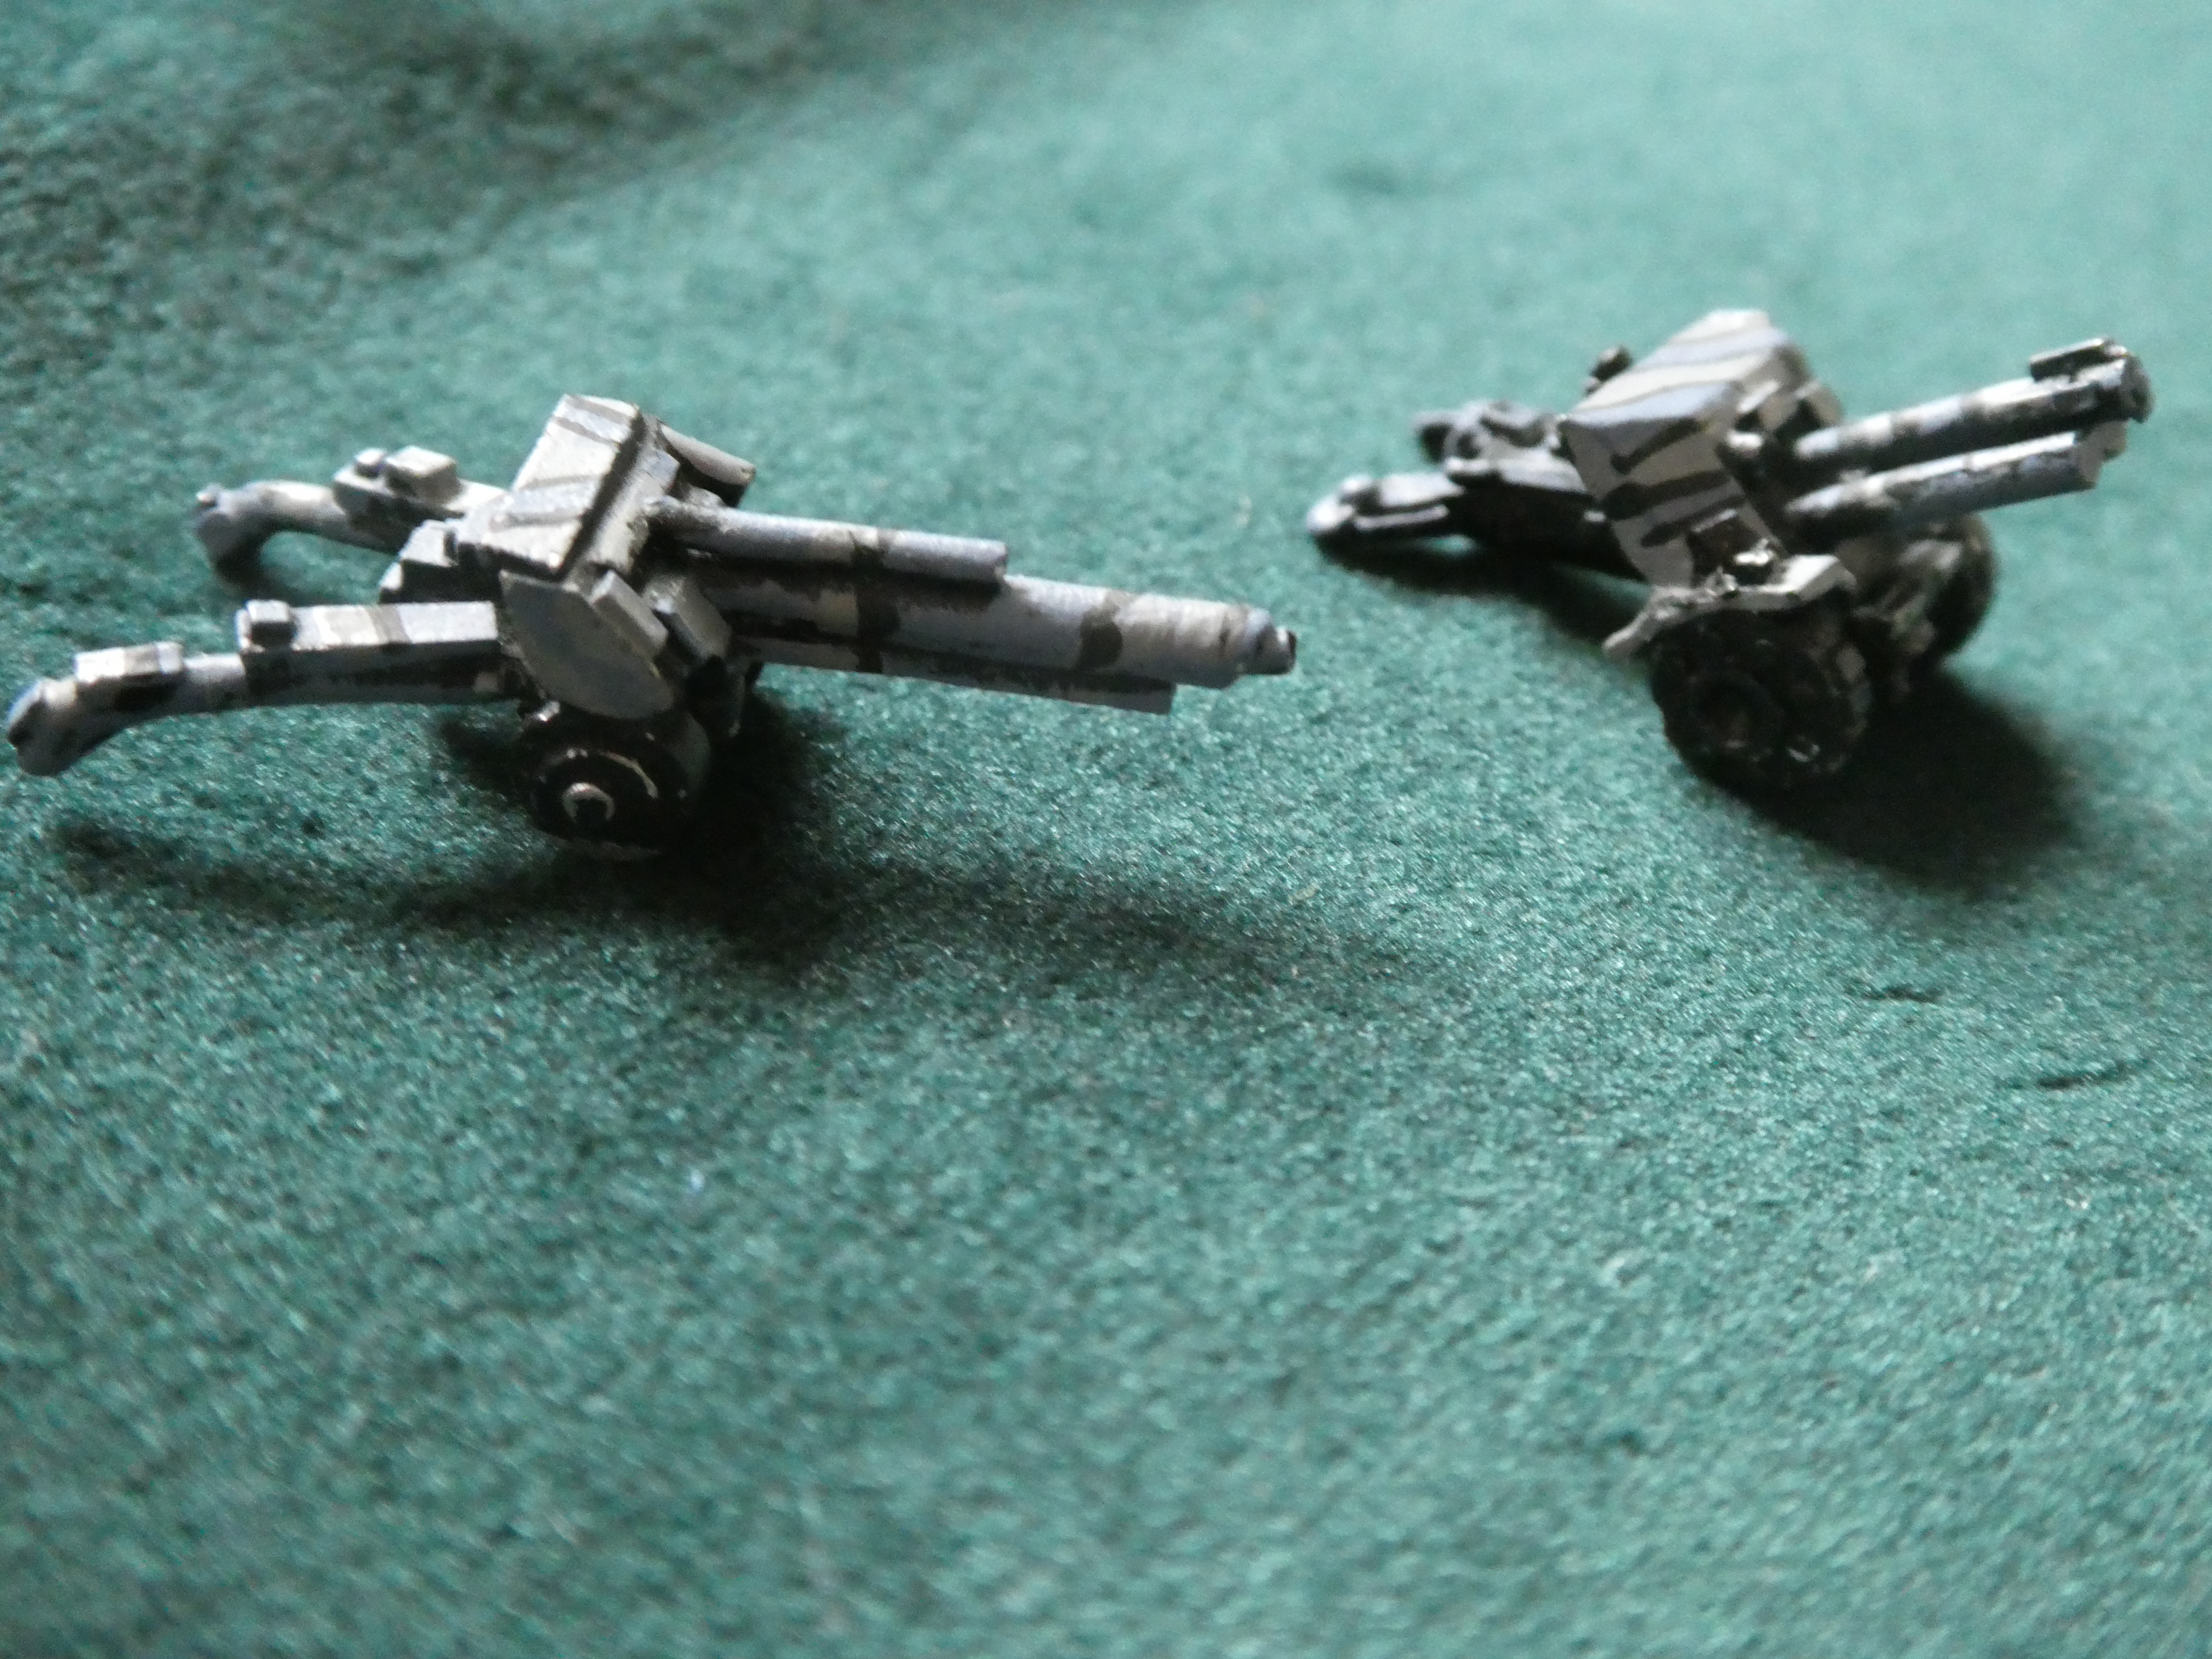
Artillery


Men, with a curious mixture of blasters and swords?


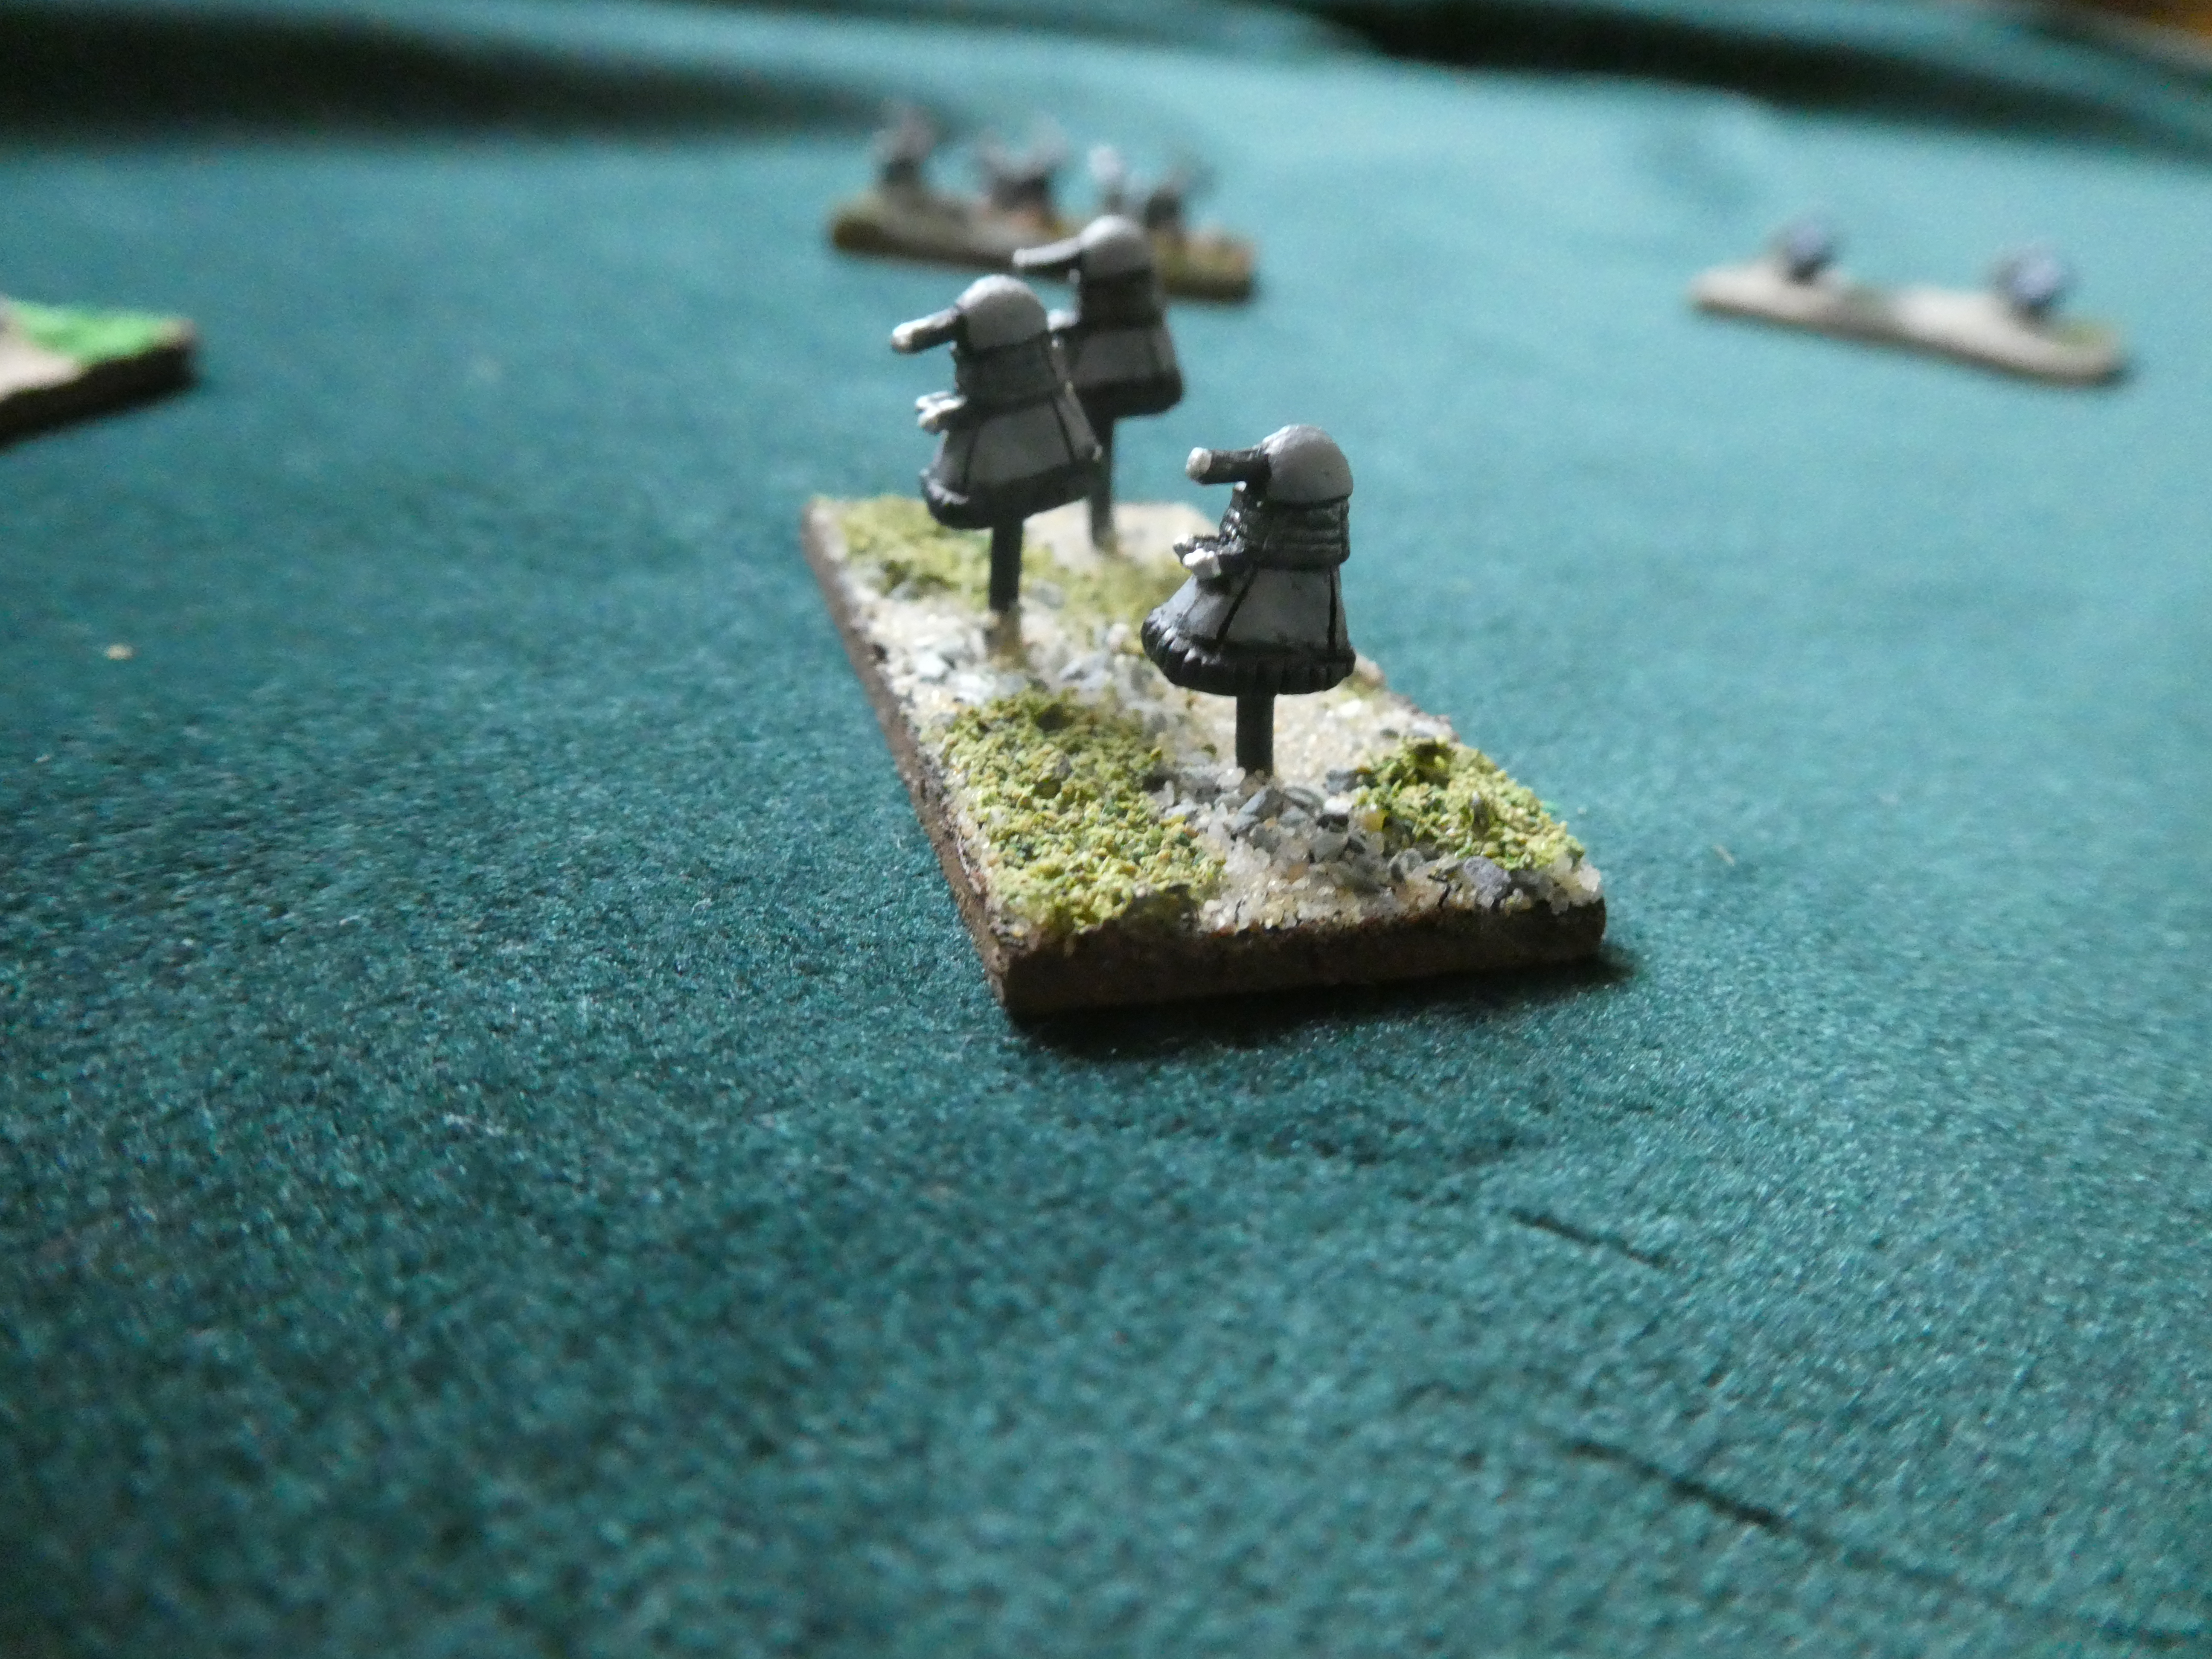
Finally some Daleks, though I didn't know they had the ability to levitate !


Monday, 23 August 2021

A trip to Shropshire

For our first holiday since  COVID  struck we decided to stay within the UK and opted for the Church Stretton area of Shropshire.  With the restrictions being relaxed it was possible for the whole family to get together, so we hired a large 'cottage'.  We had a very busy week and I think everyone could say that their interests were catered for.  For the readers of this blog the items of interest were :

Stokesay Castle

Not actually a castle, but a medieval fortified manor house.  A fascinating place to visit.  The majority of the structure you see today dates from the late 13thC when it was constructed for a wealthy local wool merchant, Laurence of Ludlow.

The North Tower from the churchyard

The building was never intended to withstand a serious siege, but to deter any marauding bands of robbers.

The North Tower from the moat

The Great Hall, Solar and South Tower

In the mid 17thC the original gatehouse was replaced by a timber and plaster construction, similar to many 17thC houses in Ludlow.

The Gatehouse

Acton Burnell Castle

Contemporary to Stokesay, Acton Burnell was built by Robert Burnell, Chancellor of the Exchequer to Edward I.  The design is similar to that of the keeps of major castles, but the function of Acton Burnell was more to do with prestige and entertaining guests, than operating as a centre for projecting  military power.  On the ground floor were store rooms and in the north east corner, a porch and grand staircase led important guests up to the great hall.

Exterior view

In the early 15thC the castle passed to the Lovell family of Oxfordshire and into the hands of Henry VII after Bosworth.   It was acquired by the Duke of Norfolk in the early 16thC and by the mid 18thC had become merely a barn.

Interior view
So, two 13th C castles, neither fitting the usual mould of what a castle should look like, but both interesting in their own way.

Shropshire Regimental Museum

Housed in Shrewsbury Castle, the museum collection covers all the military units associated with the county, starting with the 53rd (Shropshire) Regiment and the 85th King's Light Infantry, both raised for the Seven Years War.  These were amalgamated in the 1881 Cardwell reforms into the King's Shropshire Light Infantry.  In addition there are uniforms and artifacts for the county's militia nd volunteer units.   Although fairly small, the museum is worth visiting.


Replicas of the uniform worn by the 53rd in the AWI, presented to the museum by a US re-enactment society.


The Elphinstone Colours, survivors from the AWI

As you can imagine, being part of the Welsh Marches, there are plenty of castles and other historical sites to visit in this part of the world.  If you get the chance, it is well worth a visit.


Sunday, 1 August 2021

Another desert encounter; a scenario using our version of the Black Powder and Battles for Empire rules

After two or three games set in the AWI we decided to have a change this week and headed for the Sudan.  OK, it could be argued it was another game set in the colonies, but it presented a totally different set of challenges.  Bob joined us again, so that released Steve to umpire and I took the chance to command the Dervish forces for a change.  Usually, it is necessary that I command the Imperial force as the Dervish begin the battle concealed. 

The battlefield, the Imperial force enters from the left

Bob's task as commander of the Imperial forces was to seize the arms and ammunition held in the village.  He opted to attack on the flanks with his cavalry and use the mounted infantry and artillery in the centre, to pin down the defenders.  I placed my Beja units around the compound on my right flank and held the village with the smaller of my two Ansar 'rubs'.  The larger Ansar 'rub' was placed on the left and the cavalry held back behind the village in reserve.

Lady Luck smiled on the cavalry on the Imperial left.  They made a rapid advance, but ended up close to the compound and my Beja troops, still in column.  Fortunately for the cavalry, my troops refrained from charging, (failing their command roll twice) and the cavalry had time to fall back and then deploy into line.
On the left, the Imperial cavalry make a rapid advance

But the Beja are waiting for them


The Ansar prepare to defend the village

On the opposite flank, the Imperial cavalry found themselves with enemy units on both flanks.  Suffering casualties from rifle fire they fell back , but the swift moving Ansar forced one into melee and the other to keep evading back towards their starting position.

The cavalry on the Imperial right find themselves in an ambush

And a unit of lancers are routed

The Lancers who were in melee with the Ansar eventually routed, which may have saved them, because two more units of Ansar were closing in to surround them.

By now the Imperial artillery and machine gun had taken up position on the ridge overlooking the village.  They were joined by one of the mounted infantry units and their fire caused increasing casualties on the leading Beja unit.  Provoked into attacking the ridge, the Beja charged, but the volume of fire increased as they attempted to close and in the end they fell back, their morale shaken by their losses.  Seeing the pressure increasing on my right, I ordered the cavalry over to the right to assist the Beja in driving off the Imperial cavalry. 

The Dervish cavalry arrive and move to support the Beja

With the Imperial cavalry on the Dervish left driven back, the Ansar now began to move to threaten the right flank of the Imperial centre.   


The Ansar on the Dervish left move to encircle the Imperial centre

Bob had been very unlucky with his command rolls for the mounted infantry units, indeed one of them were still sat on their camels as the game drew to a close!  However he did manage to get one deployed just in time to to face the first Ansar charge.  Once again rapid fire caused heavy casualties on the charging Ansar, but they charged home and a prolonged melee took place, eventually going in favour of the Imperial troops, but leaving them weakened and vulnerable to attack by fresh units. 

The Ansar try to break through the Imperial right flank

As the attack was going in against the Imperial right, the mounted infantry on the ridge were also attacked.  They had been 'softened up' by rifle fire from the village and the attentions of a field gun and they were unable to stop the charging Beja.  Even so, they stood their ground and eventually beat off the tribesmen.

The Beja attack the Imperial infantry on the hill

Hand to hand fighting had also been taking place around the compound.  The Beja had charged one of the Imperial cavalry units and although they had eventually been routed, they had given time for the Dervish cavalry to move up ready to charge the now disordered cavalry.


At this point we ran out time.  Although battered the Dervish forces had held the Imperial attack and under cover of darkness would be able to spirit the arms and ammunition away to a new hiding place.  The Imperial troops had also suffered heavy losses and perhaps would be not quite so 'gung-ho' in their next attack.

This was Bob's first encounter with these rules and he caused me problems all game.  He was particularly unfortunate with his command rolls for his mounted infantry and their tardiness did prove very helpful in me retaining command of the village.  He was also unfortunate with his right wing cavalry.  Their first move took them very close to the building holding the cache of ammunition (though they did not know this), a little luck at this point would have secured him one of his objectives.


Saturday, 17 July 2021

Prospect House: a Patriots and Loyalists scenario

For our most recent game, a larger AWI encounter, Steve reverted to our usual Patriots and Loyalists rules.  The background story was that General Greene's Revolutionary forces had been forced to withdraw following a bruising encounter with General Brooke's Crown forces.  After marching all night and most of the following day, Greene felt that he had put sufficient distance between himself and Brooke to allow his forces to rest.  He had made his headquarters in Prospect House and his three brigades had set up camp behind Mann's Ridge, (Archer's Brigade), Prospect Hill, (Brown's Brigade) and Mackay's Ridge, (Church's Brigade).  The vital supply train was also drawn up in the grounds of Prospect House.  Picquets had been placed on the hills to watch for any sign that the Crown forces were approaching.  The Revolutionary forces' task was to hold off any enemy attack and enable the safe passage of the supply wagons down the road leading through Brown's camp and then along the river valley.

Looking from Church's camp towards Prospect House

Archer's camp around Prospect House
No sign of Crown forces had been seen by dusk, so Greene felt confident enough to give his men a full night's rest before resuming the march on the morrow.  His confidence was also reflected in his hosting of a dinner for his brigadiers and senior staff at Prospect House, where full use was made of some excellent wine and spirits.

Dawn broke on a misty countryside and Greene's picquets had eyes peeled and ears pricked for any sign of an approaching enemy.  From the road beyond Mann's Ridge came indistinct muffled sounds and dark patches in the mist coalesced into a skirmish line of jaeger heading up the slope.  Archer's riflemen fired into the advancing enemy and fell back a little towards their supports.   Hearing the shots the men of Archer's Brigade began to rouse themselves and form up for action.  As more firing took place on Mann's Ridge, the men of Brown's Brigade also began to form up.  Conspicuous by their absence at this point were the senior officers who were rather tardy in arising.  When Greene was ready for action his first thought was for the supply wagons.  "Get them on the road back to base now" he ordered, "they must be saved".  

The fighting on Mann's Ridge was hotting up.  The whole of Von Stalheim's Hessian brigade was heading towards Prospect House.  Behind the jaeger were a unit of fusiliers and a unit of grenadiers.  A unit of musketeers was attempting to outflank the ridge by continuing to march along the road, directly towards Prospect House.  Archer's riflemen were driven off the ridge by the Hessian jaeger.  They suffered heavy casualties from the jaeger's bayonets, but they had bought enough time for two battalions to be ready to contest the ridge with the Hessians.  Archer himself had now appeared and was frantically trying to get the defence of Prospect House organised while the wagons were equally determined to move through the grounds towards the road. 

The vital bridge at Lawson's Farm

From Prospect Hill, Brown could see the fighting on Mann's Ridge, but no enemy were visible to his front.  He therefore directed his riflemen to harass the flank of the Hessians attacking Archer's brigade and, as his two continental battalions arrived, moved one of them to support the rifles and kept the second in reserve.  Further to the left, Church's brigade was also unchallenged.  The riflemen on Mackay's Ridge saw no enemy approaching and were buoyed by the arrival of the artillery and continental infantry battalions.   Church's confidence took a severe knock when he saw not one, but two brigades of British infantry heading towards him.  Brooke, the Loyalist commander had planned for a strong 'right hook',  moving over Mackay's Ridge and then along the turnpike to the bridge at Lawson's Farm.  If the brigades of Cary and Boyd could get over the bridge before the wagons from Prospect House passed there, the victory would be complete.

Cary's Brigade

Boyd's Brigade


As yet, General Greene was unaware of the threat to his left, his attention was fully occupied by the slow progress of the wagons as they crawled out of Prospect House and began their journey along the road.  Archer had launched his battalions against the jaeger.  The continental battalion drove back the jaeger, but were then charged by a supporting Hessian fusilier battalion.  This quickly overcame the continentals and the supporting militia, though it did take considerable casualties in the process.  

The leading elements of Brown's brigade on Prospect Hill were now engaging the enemy.  When Von Stalheim ordered a Hessian musketeer battalion to outflank Mann's Ridge on the right and cover the flank of the attack on Prospect House, they paid a heavy price.  One of Brown's continental battalions shredded the Hessian battalion with a succession of telling volleys and the Germans beat a disorderly retreat.  In addition, Brown's riflemen were now sniping away at the Hessian artillery, driving back the gunners.  On the other flank of Prospect Hill, the Delaware Regiment was firing at the leading elements of Boyd's Brigade as they advanced on Mackay's Ridge.  Brown's artillery also joined in, though made little impact.

The Hessian Musketeers sent packing

On Mackay's Ridge, Church was happy for any assistance; his riflemen had been driven back by the skirmishers from Cary's and Boyd's brigades and the Crown skirmishers were now sniping away at his Continental battalions.  On the left of Church's line the  artillery crew were driven back by a volley from the 50th foot.  They recovered. but by the time they returned to their gun they found the position being attacked by the 50th, who had crossed the fences along the turnpike and moved quickly up the ridge.  With his position on the ridge now compromised, Church had to order his line to wheel backwards to prevent them being outflanked.  The remainder of Cary's brigade was now pouring around Church's left.  A militia regiment which was trying to hold the line of the turnpike was driven back by a bayonet charge and the way to the vital bridge was open.

Church's artillerymen are driven back

 
The Militia are forced to retreat

Back at Prospect House, Archer was trying to cobble together another line of defence while his retreating units rallied.  He was not helped by the fleeing units blocking the advance of his artillery.  At least the wagons were now on their way which enabled him to deploy his remaining continental battalion to cover the house.  A large militia battalion was firing at the Hessian fusiliers, but the Germans stood their ground, fired a volley and then charged.  The militia broke under the impact and fled to the rear.  The seemingly invincible fusiliers were now joined by the Hessian grenadiers and they pushed forward towards Prospect House.  A volley drove back Archer's final unit of continentals and only an artillery gun and a reformed militia regiment stood in their way.  Finally, the militia fired a decisive volley and the grenadiers were driven back, leaving the fusiliers on their own.  With the wagons now beyond their reach, they let the battered remains of Archer's brigade fall back and contented themselves with occupying Prospect House. 

The Hessians reach Prospect House

The militia drive off the grenadiers

Seeing the situation to his right, Brown thought it may well be time to pull back from Prospect Hill.  He was probably influenced also by the increasing pressure he was coming under from Boyd's brigade.  Boyd had deployed his artillery to fire at the Delaware regiment and they had been joined by his light companies.  The increasing volume of fire had taken its toll on the Delaware regiment and they broke, having to be rallied in the lee of the hill.  Brown's artillery was also driven back by the fire of the light companies and when he saw Crown troops flowing over Mackay's Ridge he began to fear his command may not get away.

Church's position was desperate; One continental regiment was still on the ridge, but the other was facing the flank and was opposed by two Crown battalions, one of them grenadiers. One Crown battalion was on the turnpike ready to march to the bridge and cut him off from the rest of the army, only the remnants of his riflemen stood between that battalion and the bridge.  Fortunately, the militia regiment which had been driven back from the turnpike had managed to rally and as the Crown battalion began to march along the turnpike, the militia fired into its flank.  The casualties from this volley proved too much and the redcoats fled back towards their own lines.

The militia stop the march on the bridge

However, nothing could save the remains of Church's brigade near Mackay's Ridge.  The red-coated line continued its inexorable advance, firing volleys and driving the continental units back into bend in the river, even the riflemen were caught up in this net.

The net closes

An enjoyable scenario which we played over approximately six hours.  The Crown didn't achieve the goal of capturing the wagons, but they severely damaged the Revolutionary force.  Church's brigade had been shattered and Archer's wasn't much better.  All the continental battalions had suffered heavy casualties, but the wagons and most of the artillery had managed to get away.  The Hessians had paid a heavy price for their attack on Prospect House, but they had drawn away units from Brown's brigade, which may have made life more difficult for Boyd.  Thanks to Steve for the scenario and to Bob who although playing his first game using these rules, proved a formidable opponent.